
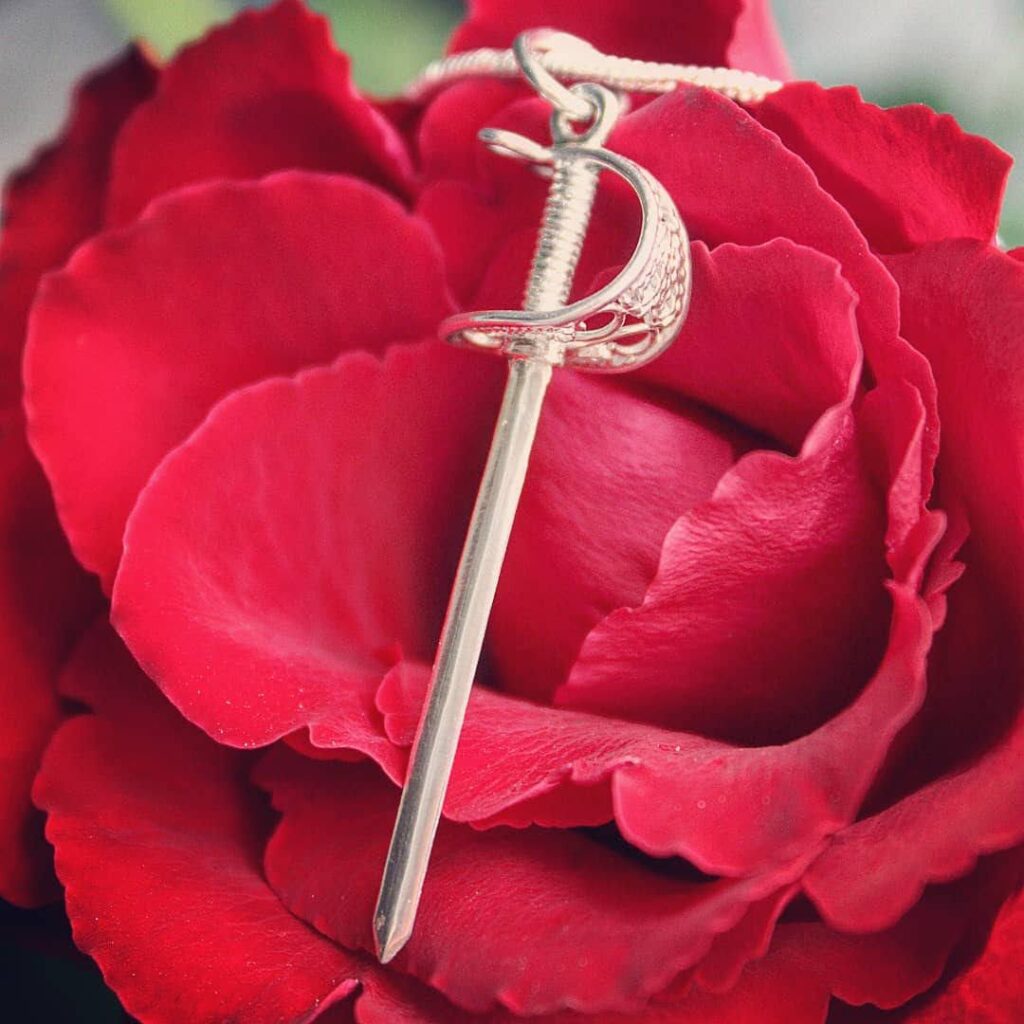
Here comes the story about crafting quite an unusual piece of jewellery in a shape of a rapier. In case you wonder, rapier is a kind of sword weapon popular around 300 years ago in Europe.
The backstory
The idea for this pendant has nothing to do with European history and weapon choices in 17th century. My day job is about building products for engineers like tools for the API management. We were brainstorming a name for that tool looking through words containing letters “api” in them. Once we got to the word “rapier” it was simply perfect for our case and we spell it as “rAPIer”.
Inspired by the success of our rAPIer I really wanted to craft something special to make the statement. A little research on rapier gave me a lot of confidence that it was more like an art rather than a practical weapon. And this was the beginning of my crafting journey.
Forging the rapier
Well, there is no forging in silversmithing really. It does, however, sound appropriate here. I happen to have a 1mm thick silver sheet for this project. It seemed to be perfect to cut out a blank bar for the future rapier. The longer side of the blank will become a blade and the short one will do as a handle.
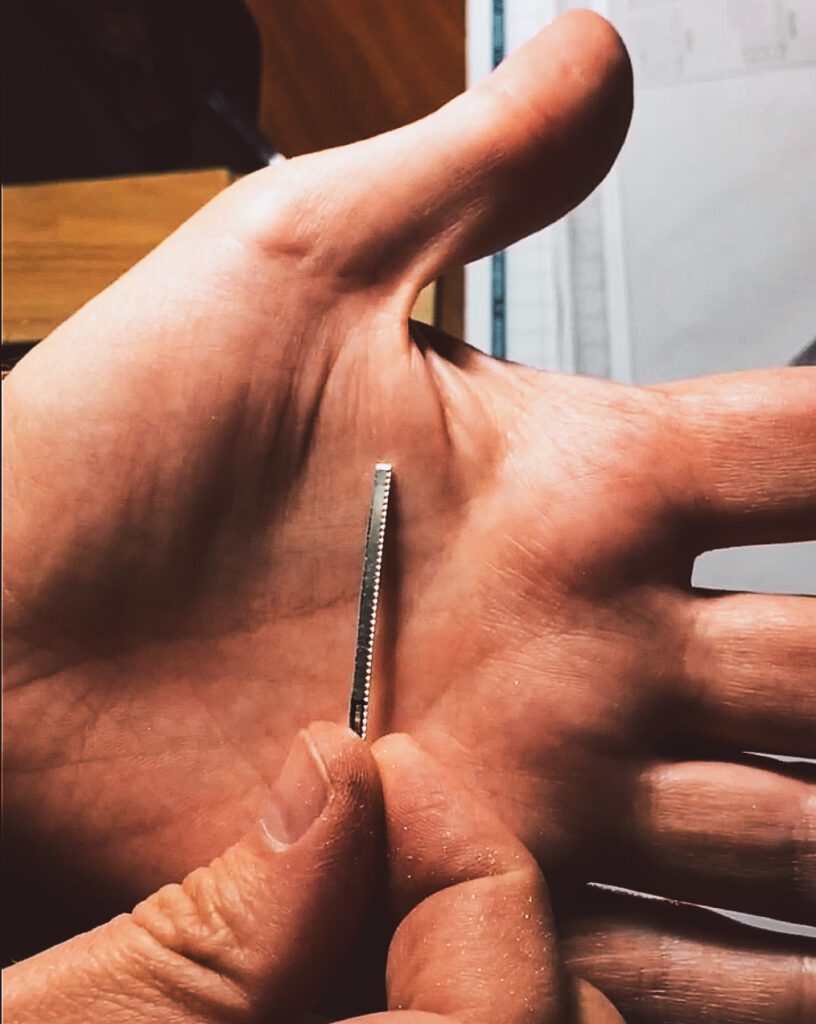
Even though it might seem as real forging – a hammer hits a metal bar against an anvil – it is actually called work hardening. Silver is a rather soft metal and hammering it makes it a little more stiff. This is exactly what I need to form the blade.
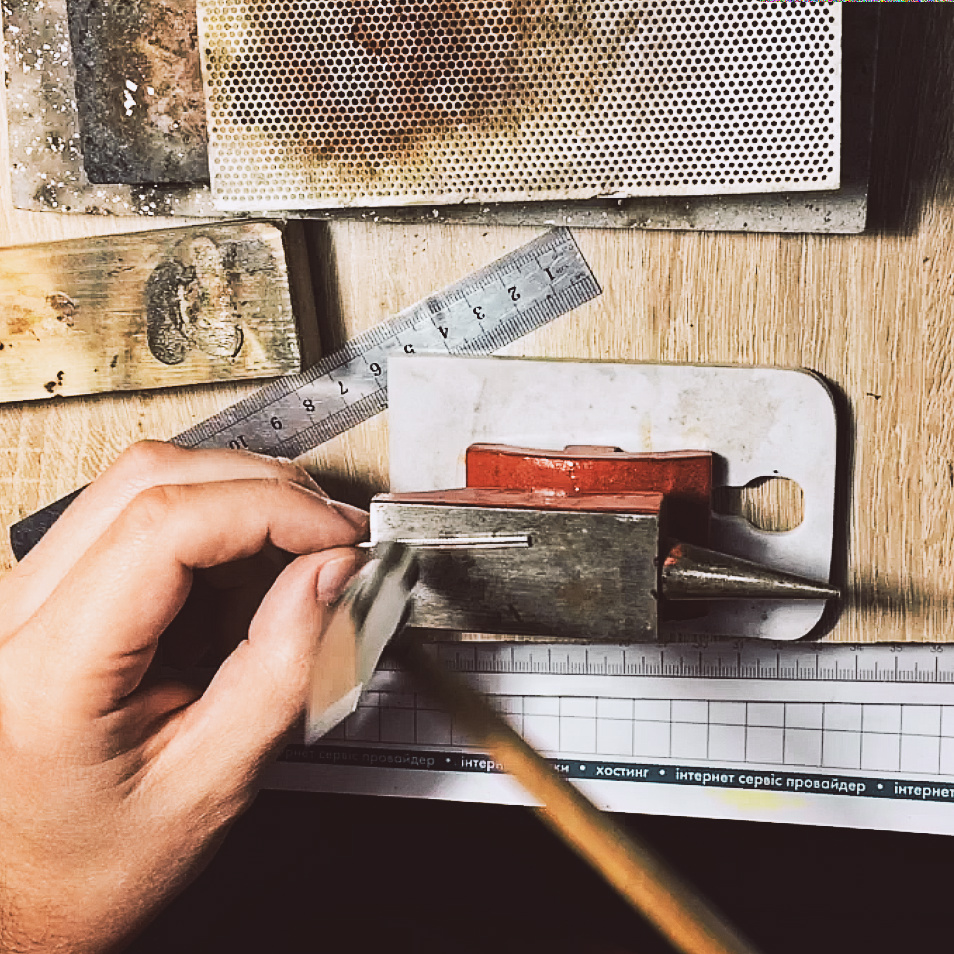
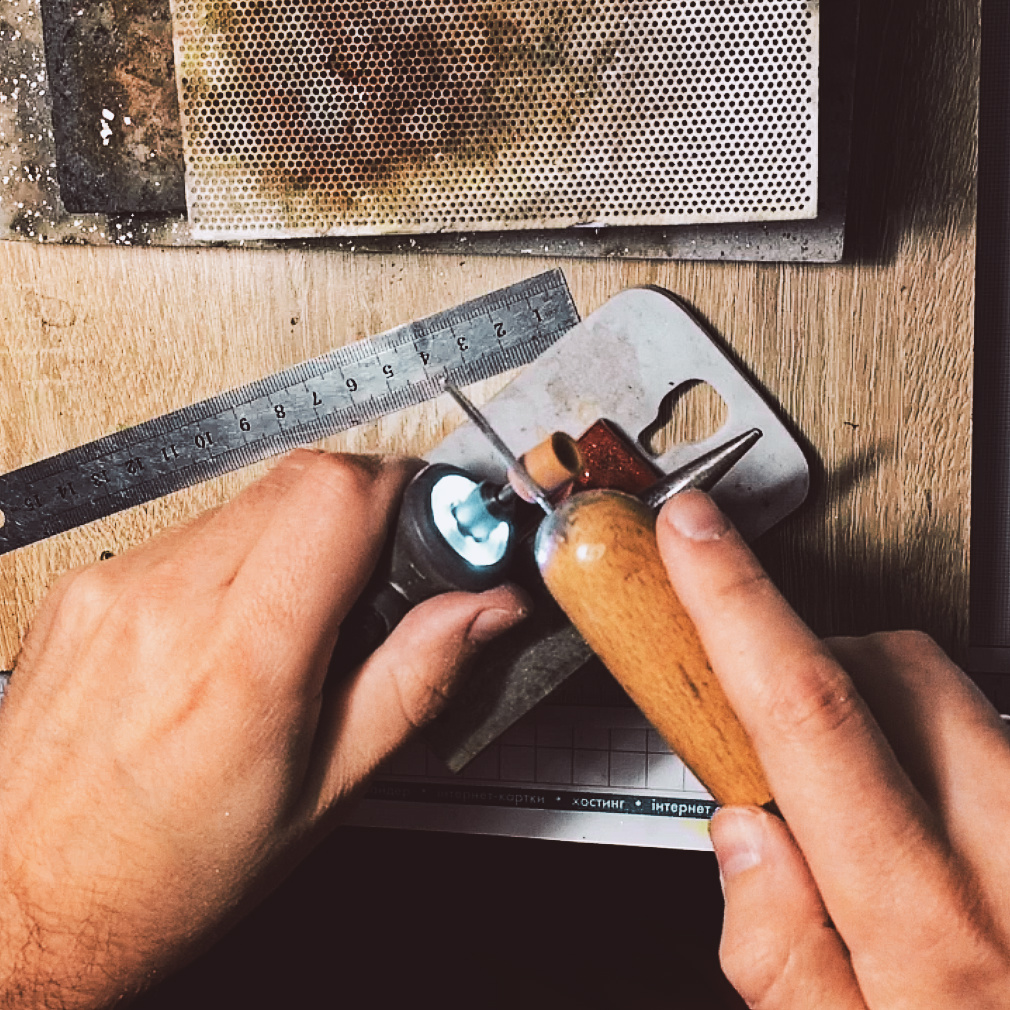
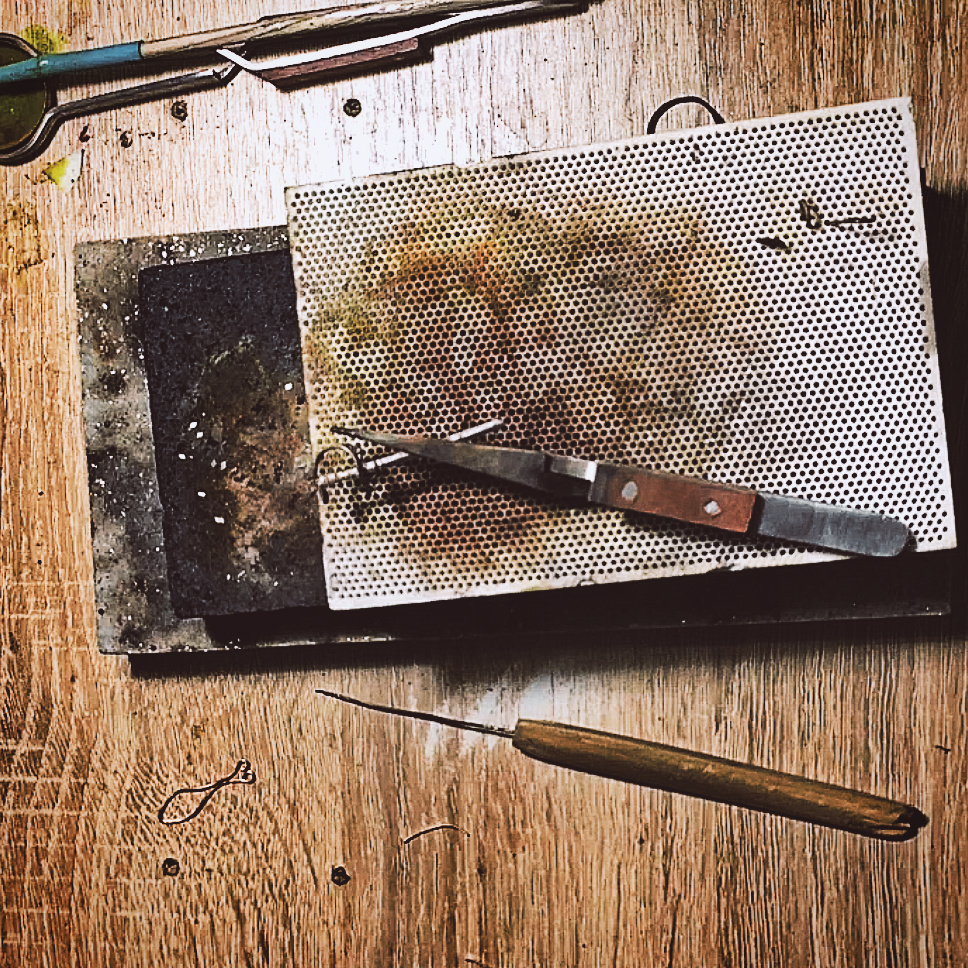
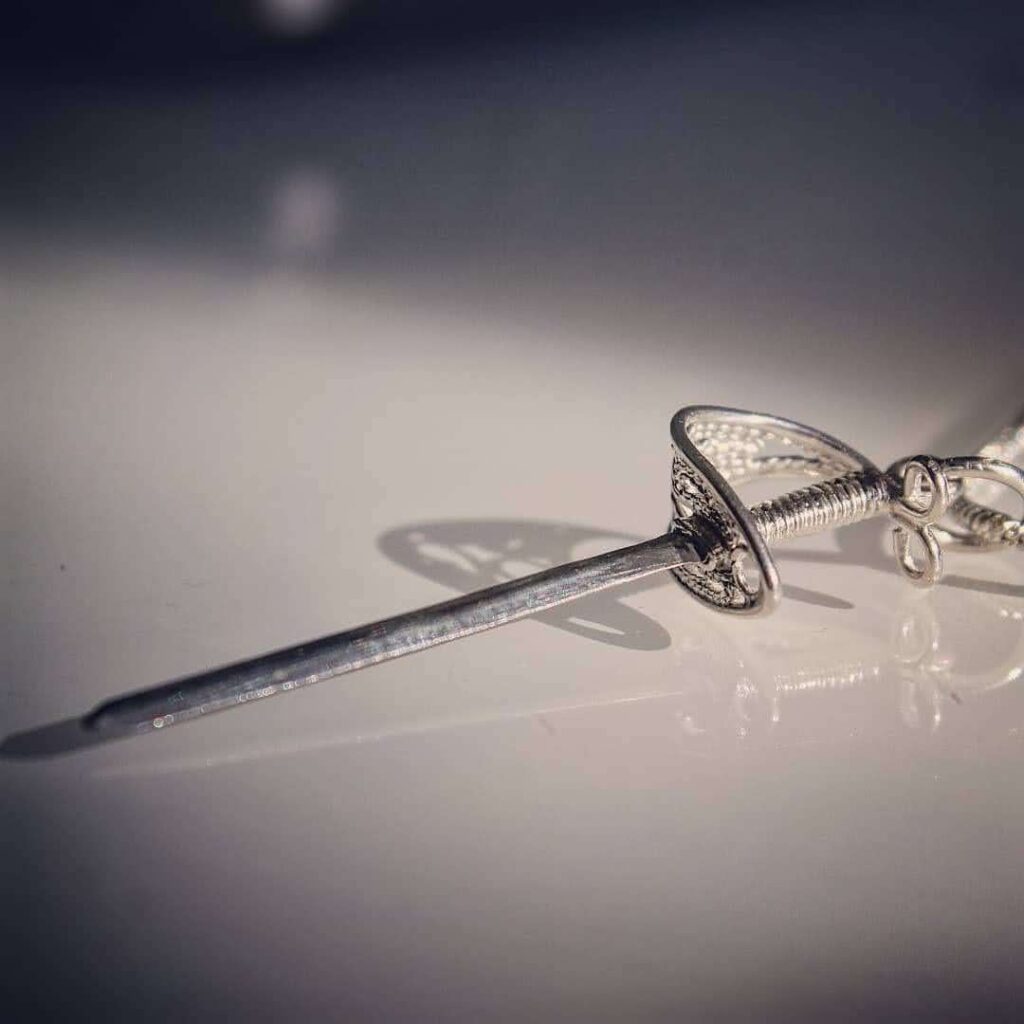
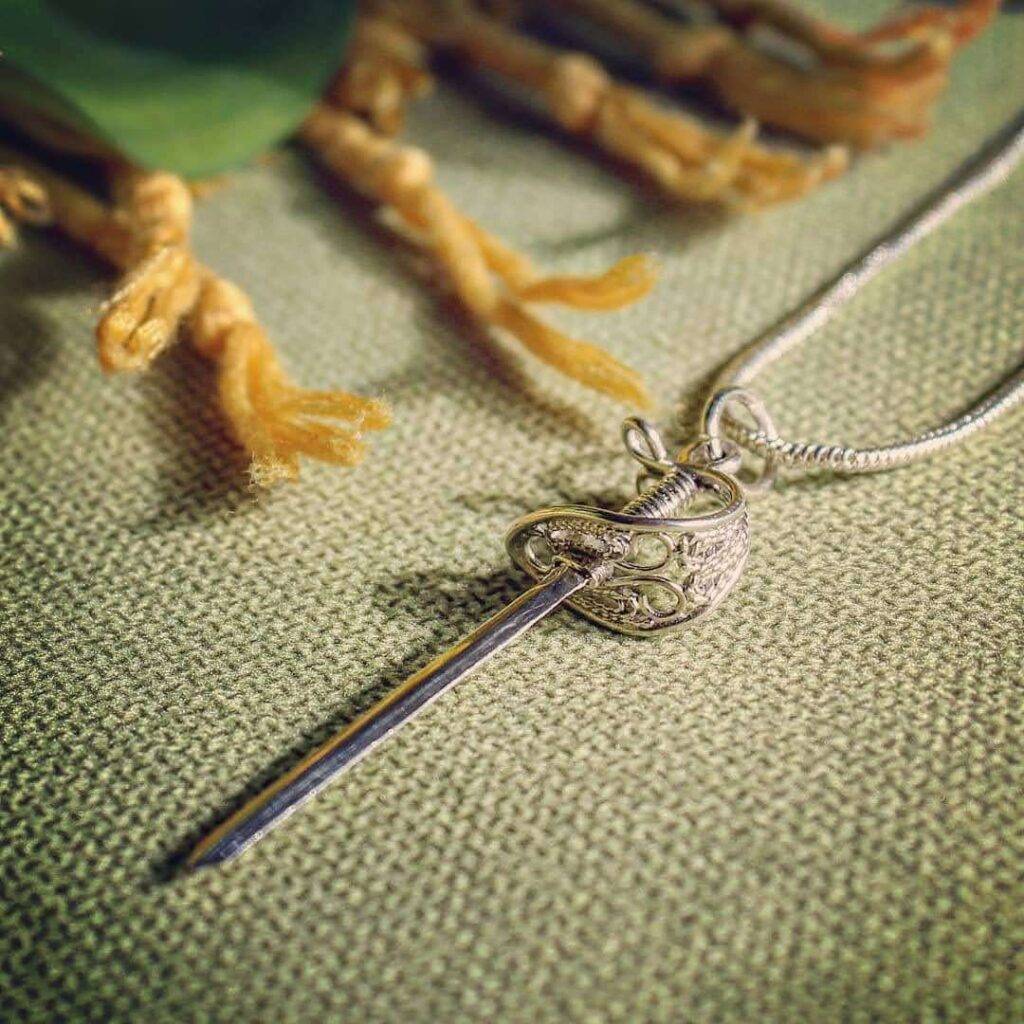
Rapier is a kind of sword with a slender double sided blade and a wide hilt to protect the hand in a fight. In this story there will be no fighting, but the blade should still like it’s ready for a duel. I use my Dremel with an aluminum oxide bit to grind and sharpen both sides of a blade. I wrapped some 0.5mm wire around the other side of the blade to make a straight handle to look nice.
The hilt
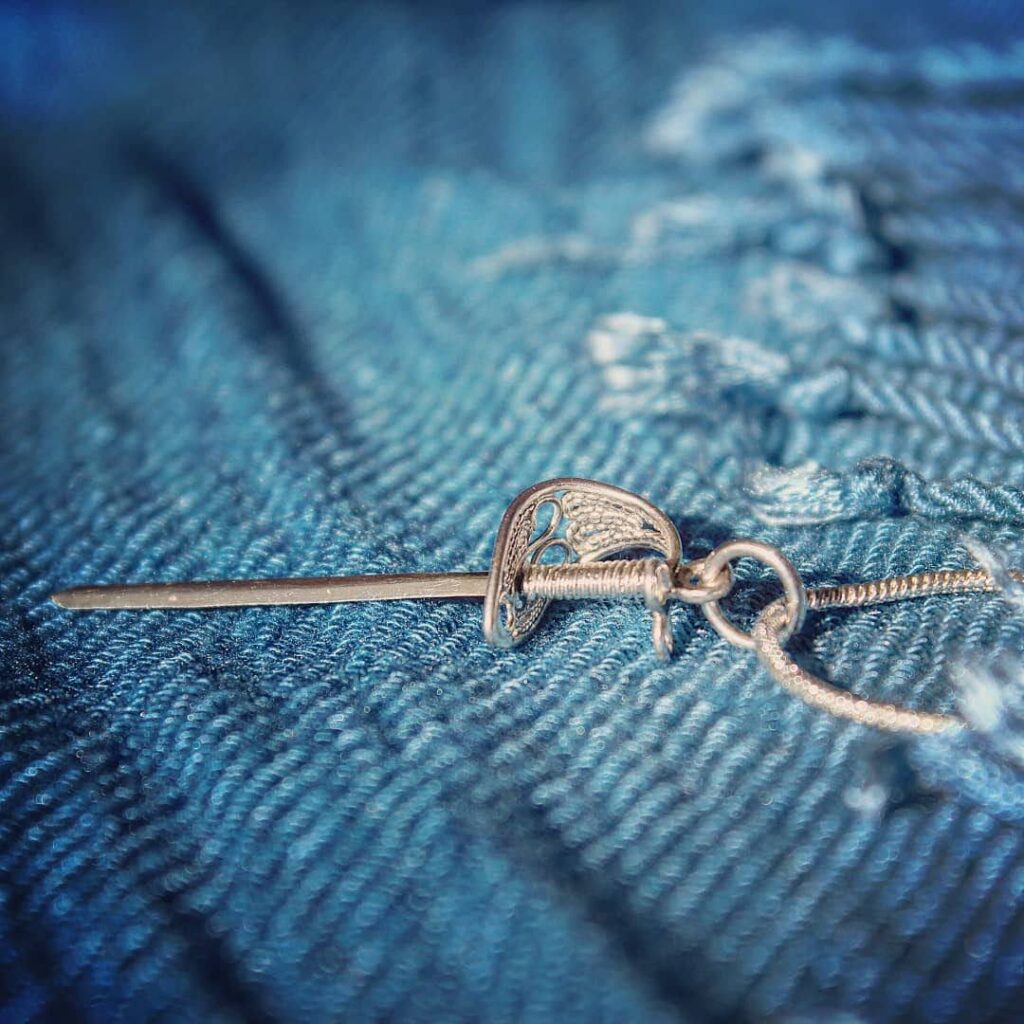
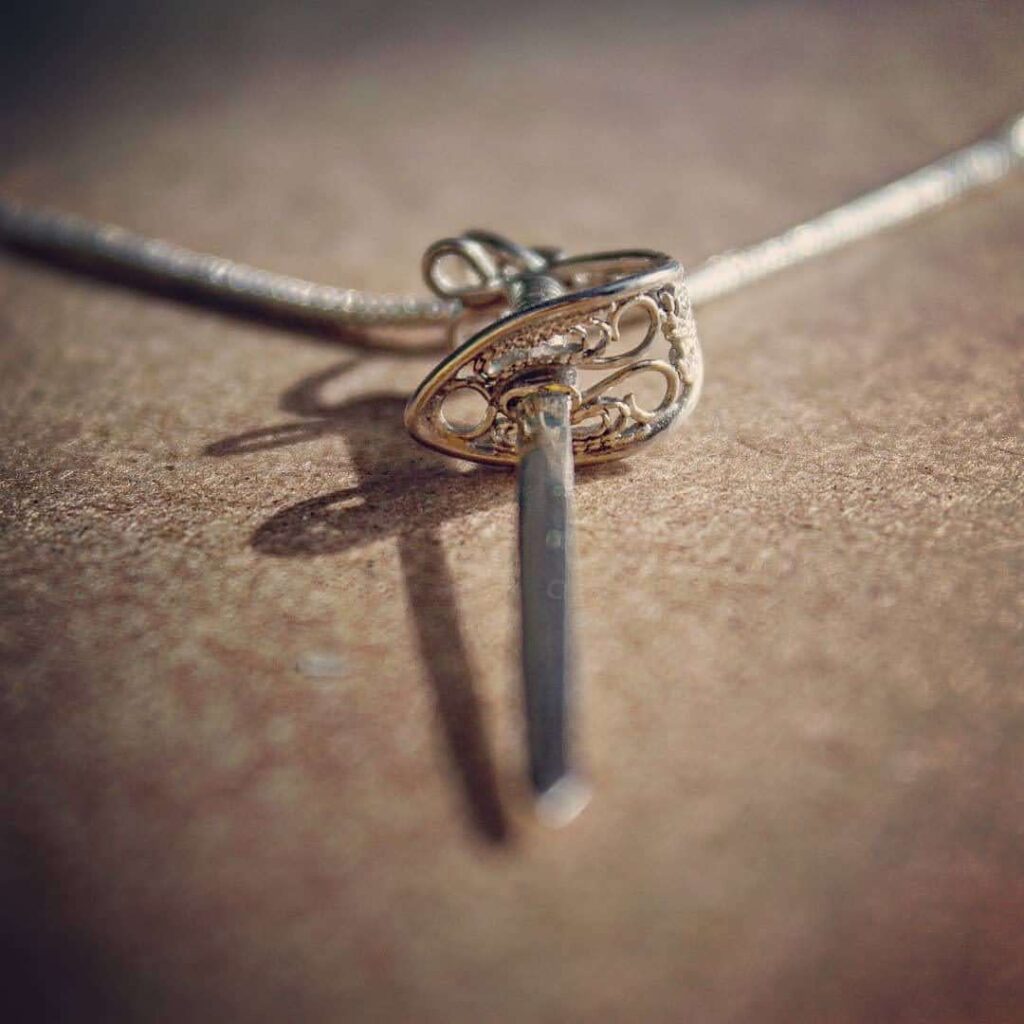
The hilt is a sort of a shield around the handle to protect the hand holding the rapier. Traditionally hilts were made out of a solid steel plate. It was reliable and durable but also quite heavy. In order to reduce the overall weight the hilts started to be made of bent bars, which also gave smiths a way to decorate rapiers.
Keeping the weight in mind I bent a 0.8mm wire in a fish resembling shape. Inside of it I put a loop where the rapier blade would go during the final assemble. Some of the open spaces in the hilt-to-be I filled with filigree wire – it always looks good on jewellery.

The final step is to join the blade with its hilt. It is important to bend the hilt in a waxing crescent moon shape before and then insert the blade into the middle loophole. When done right the thinner end of the hilt will spring load the handle side of the blade making it pleasantly easy to solder. Later on I added a little jump ring on top of the hilt to attach the bail and make it actually wearable.
In case you’re interested in the details of the entire crafting process do not hesitate to watch a little video I put together. Enjoy!
En garde!
Unfortunately, this item is not available for purchase. If you dream about something similar, please check my Etsy store or contact me through the form or on Instagram and let’s see what I can do 🙂