
There are shoes out there beautiful as jewellery. I’d like to try crafting jewellery beautiful as shoes. Let me take you through the journey of creating sexy high heel strappy sandals silver earrings with garnet stones.
Sole
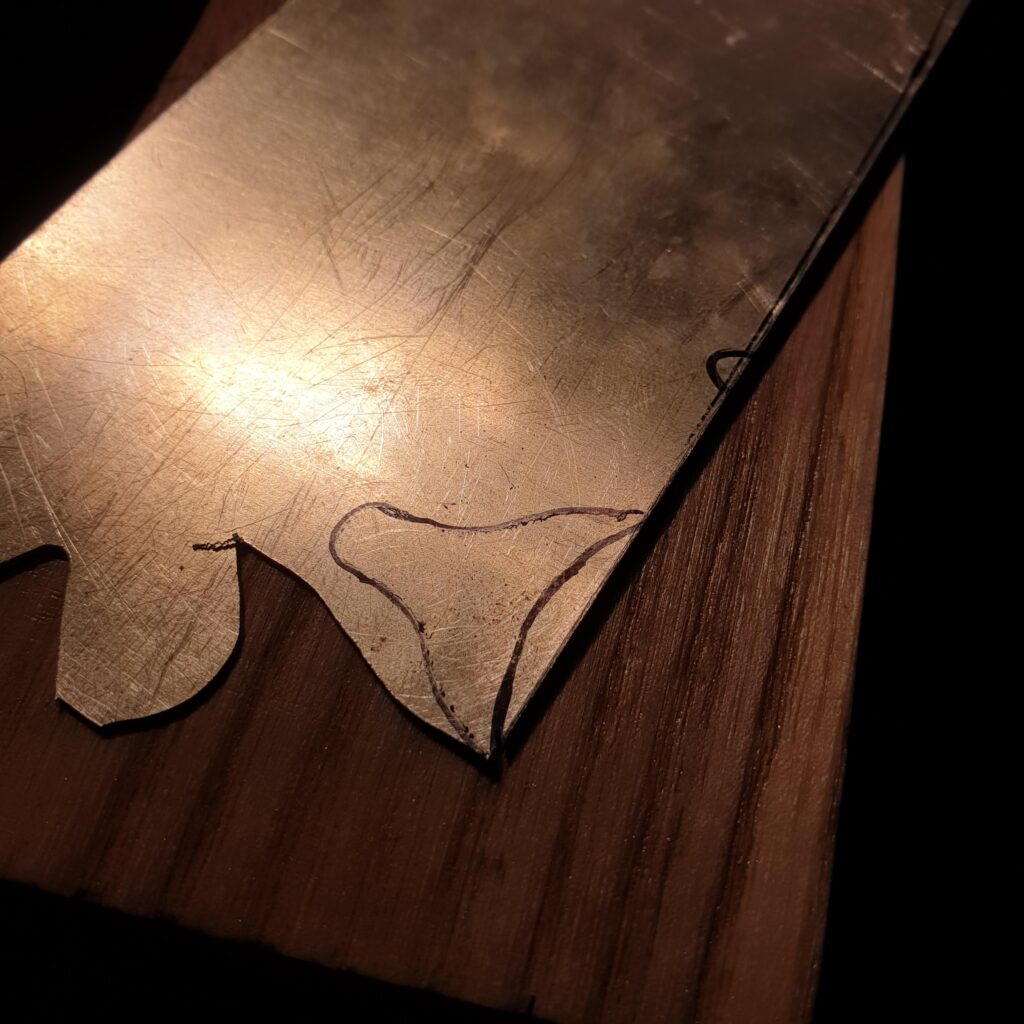
Every silver shoe starts with a sole. Same as previously (like in High Heel Filigree Sandal with Carnelian Stone and Butterfly or Strappy high heeled pendant with garnet cabochon) I cut it out of a 1mm silver sheet. Interestingly enough I couldn’t find any template for a high heel sole so each time I draw it by hand. It would be an issue to craft a specific size shoe, thus it’s a good thing no one will wear those on their feet.
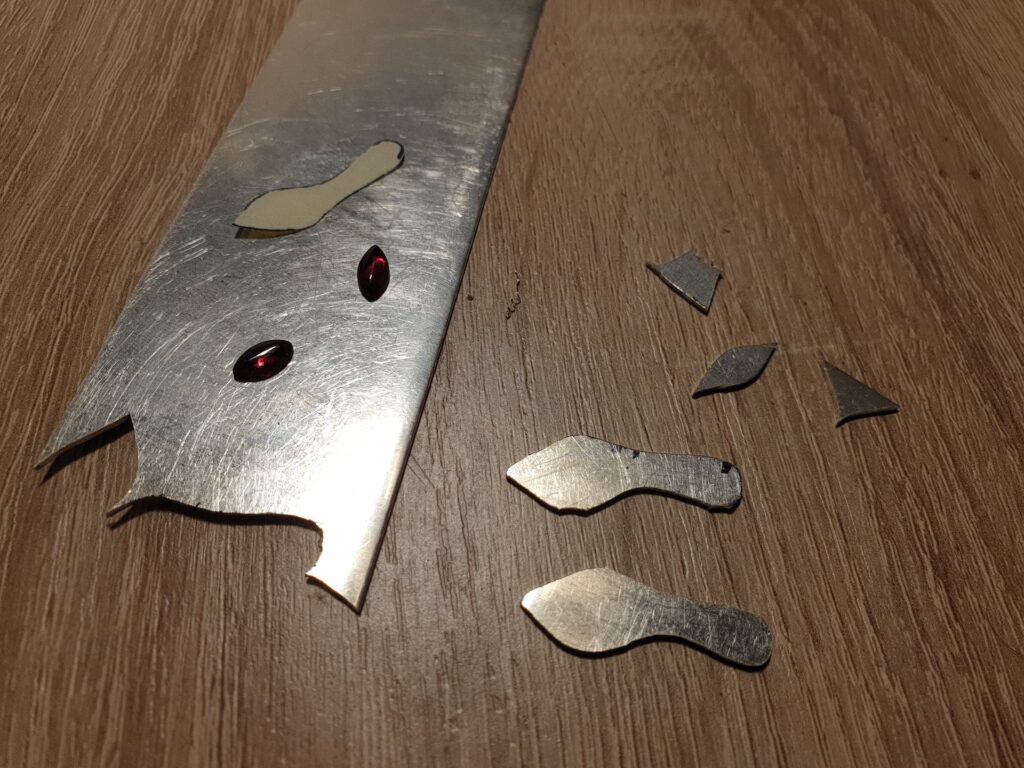
Once the first sole is sawed and rough edges are filed away I use it to make a pair. I draw an outline of the first sole on the sheet to saw a second one. This way it is easier to make pair of soles look very much alike.
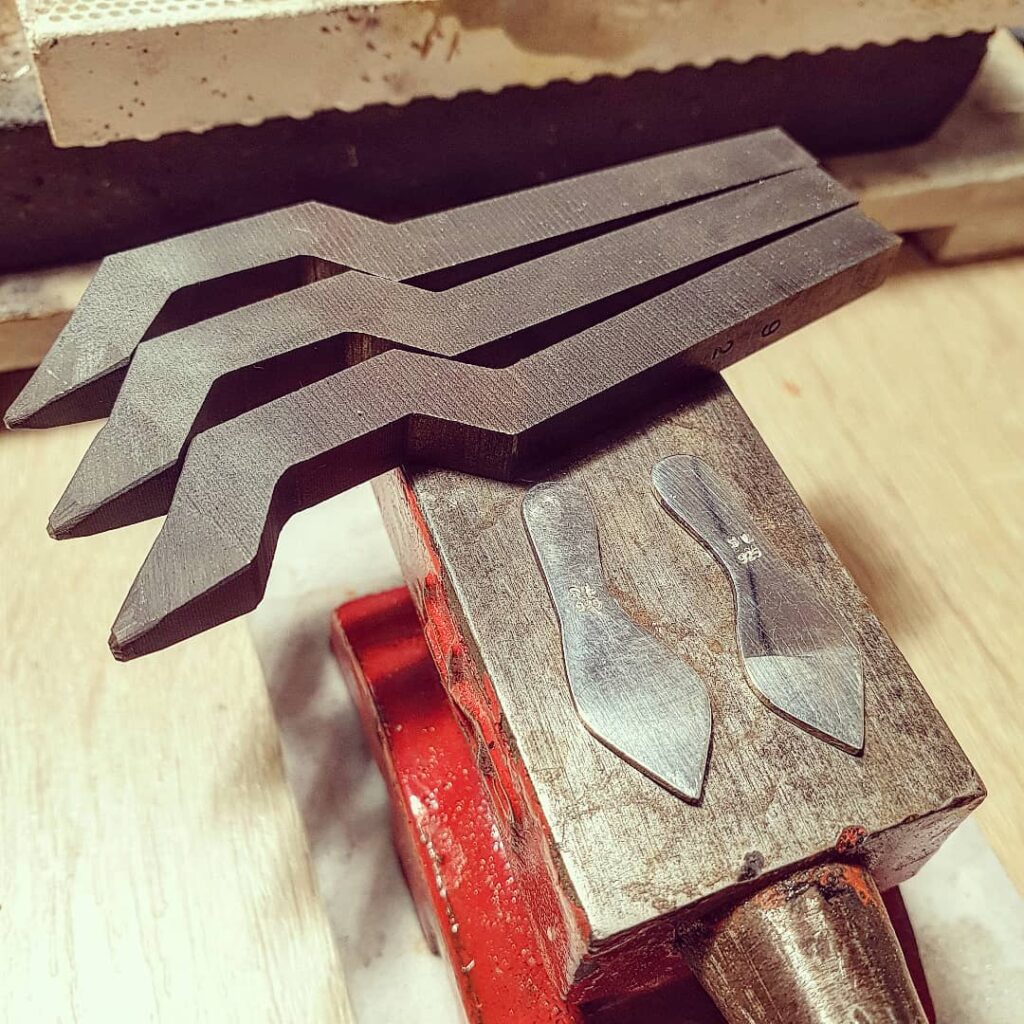
Having both soles cut and polished it is a perfect moment to stamp my brand on them. Mainly because they are still flat. Once you bend them into a shoe shape the stamping task becomes hell of a lot more complicated. Ah, recently I got a new punch with a tiny 925 marking and I love how it presents itself right under the SL stamps.
Next step is to bend the sole into the shoe shape. It can be a bit difficult because you want your shoes to have sexy curves. I mostly do the bending by hand with a little help of nylon pliers not to damage the surface too much.
Heel
Once I’m happy with the soles shape it is time for the most tricky part of the shoe – the high heel itself. The heel is a complex pin with a flat angled surface on one end.
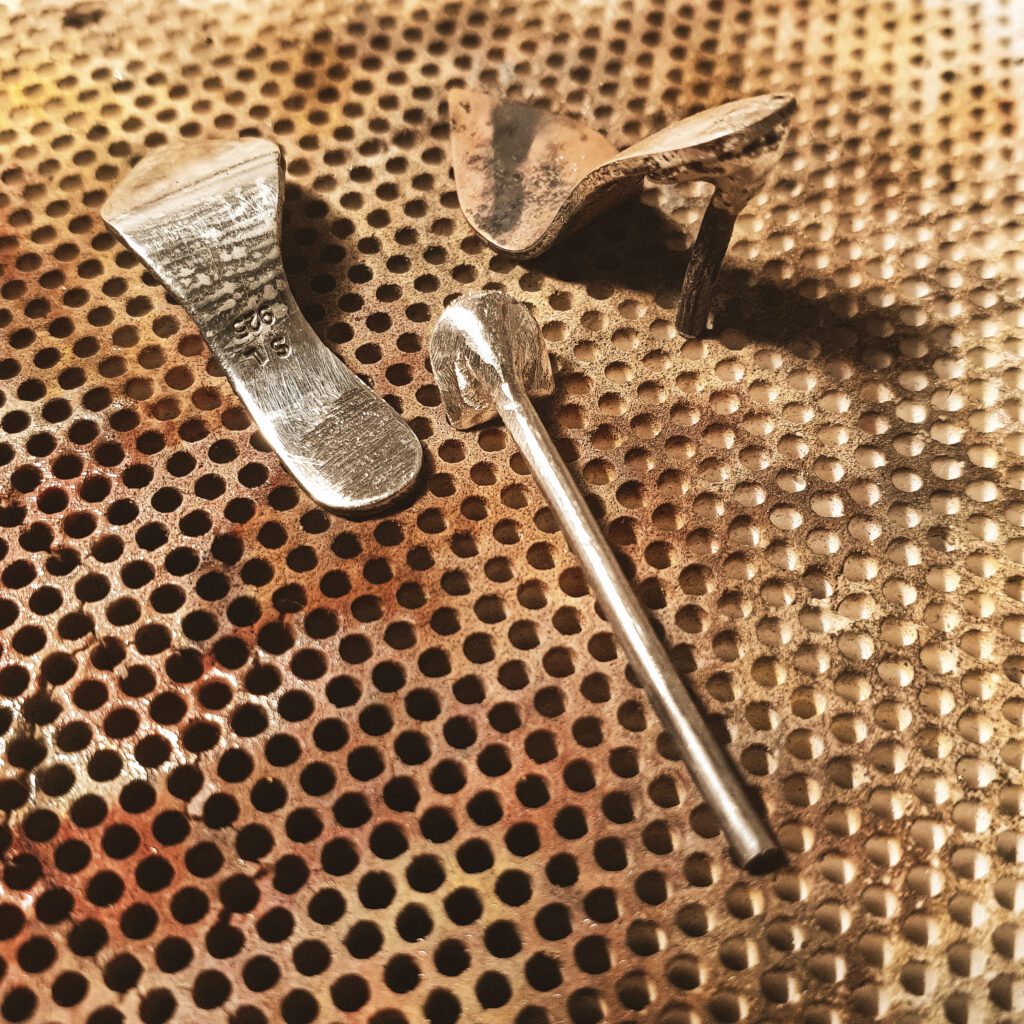
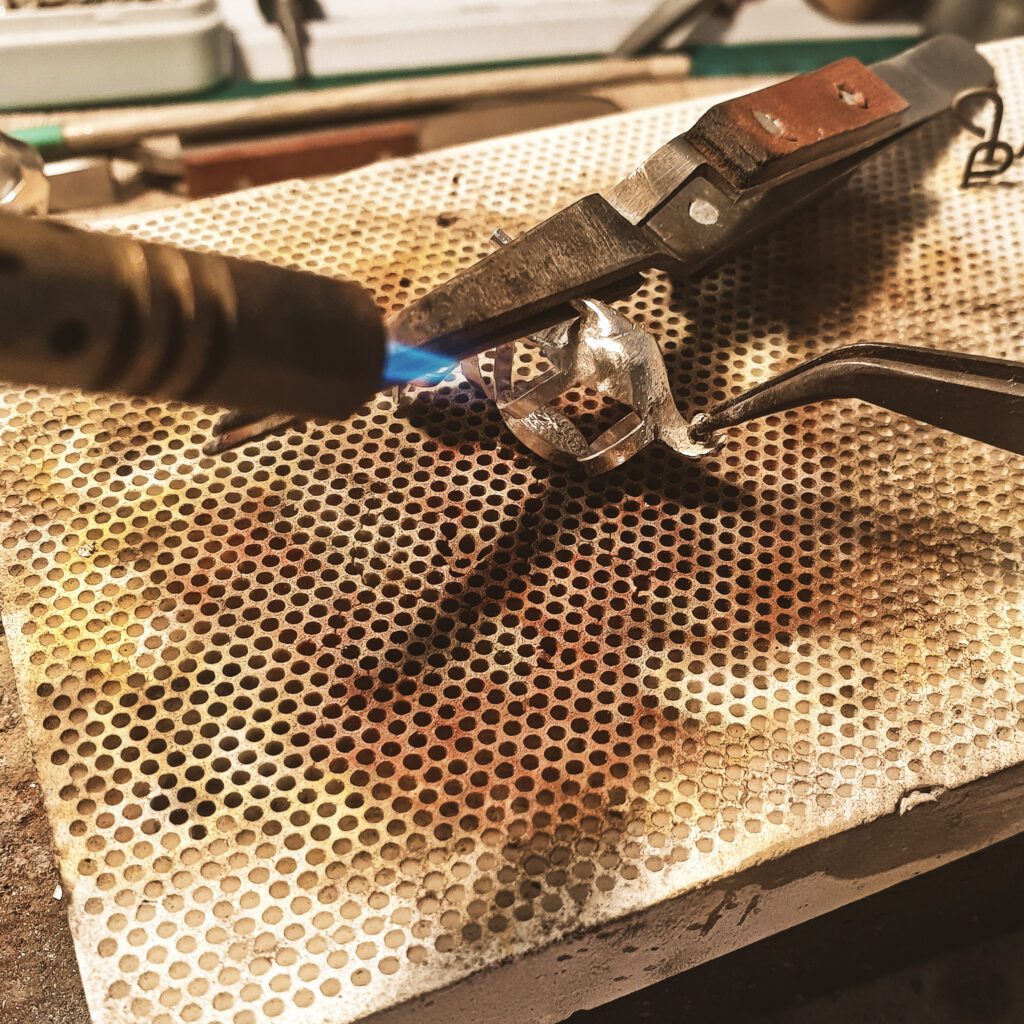
To produce the heel I first heat up and melt one end of a 1mm wire to form a bubble. Then I cut this bubble to fit the angle of the sole and solder it to a little D-shaped 1mm plate. It does look really ugly until it burred, filed and polished to its proper shape.
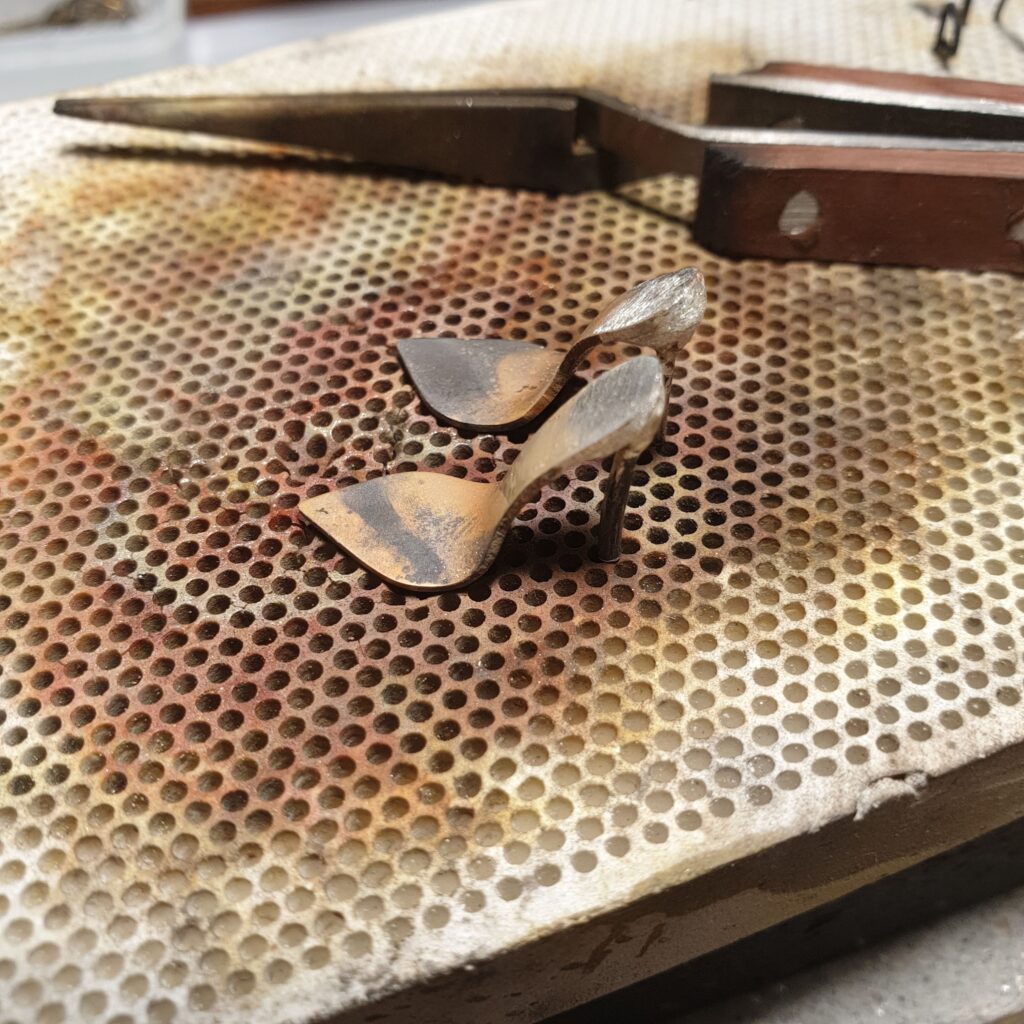
When the heel starts to look okay-ish I solder it to the sole to form a “slipper” which is a base for the future shoe. Based on previous experience I now use a longer piece of wire so I can adjust and equalise the heel hight for both shoes. Having both slippers looking alike is a huge successful milestone in this project.
Back heel holder
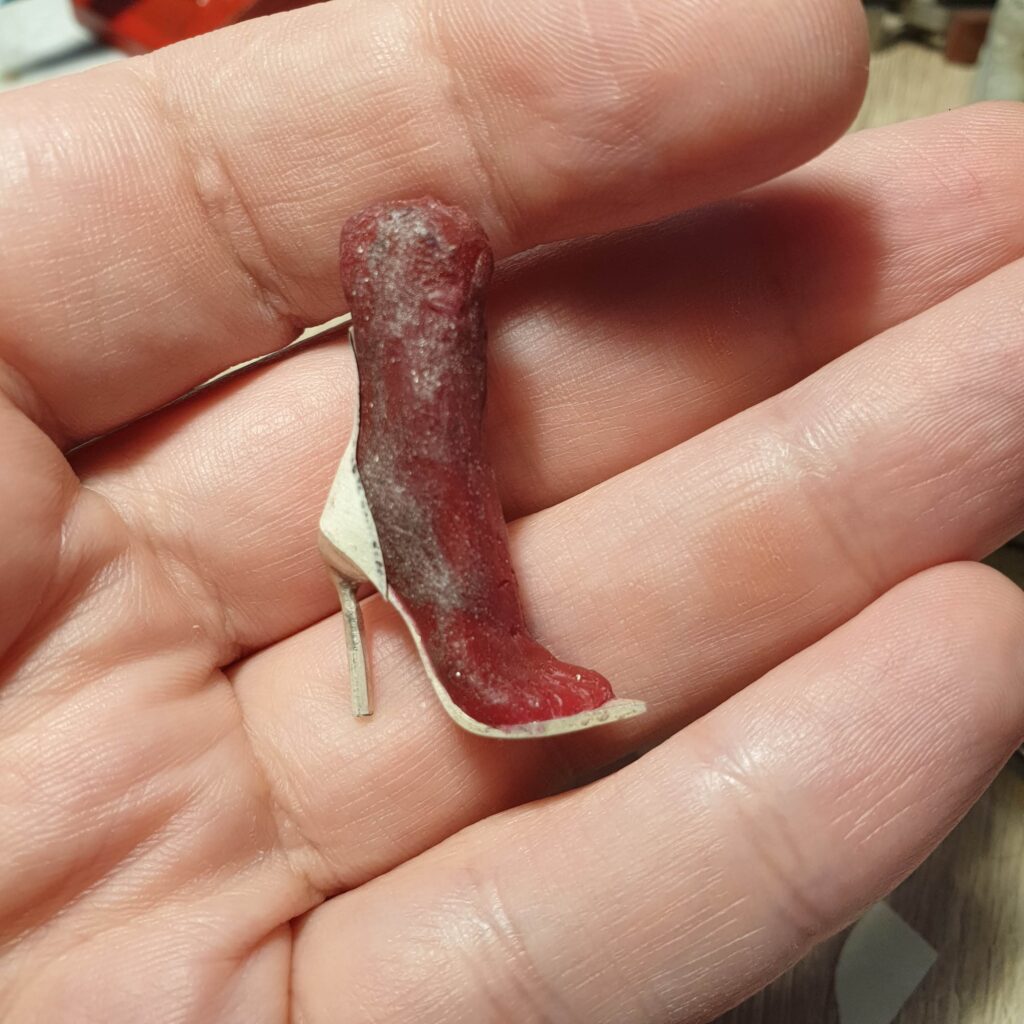
The leading design idea for this particular pair is to have few shoe straps to hold the stones. Pretty much like these gorgeous Cassandra high heel sandals from Saint Laurent. Not being too good at following the sketches I decided to model it out. I sculpted a little leg out of a candle wax and attached it to a slipper.
First decoration (and also structurally crucial) element of the shoe decoration is the back heel holder. I use paper stickies to cut out the shape for the heel holders and stick them onto the wax leg. Based on the paper template I saw them out of 0.8mm silver plate and anneal it to prepare for hammering.
Straps
Back heel holder also has rather complex geometry. I tried before to produce only with and tools and let me tell you – it is not a good idea. I am genuinely happy that I spent profit from selling my High Heel Filigree Sandal with Carnelian Stone and Butterfly on this micro dapping set! It is a perfect tool to form silver into curvy shapes and I was super excited to use it in this project.
With the heel holders soldered to the slippers it finally started to look like a proper pair of heels. Now it is time to add some straps!
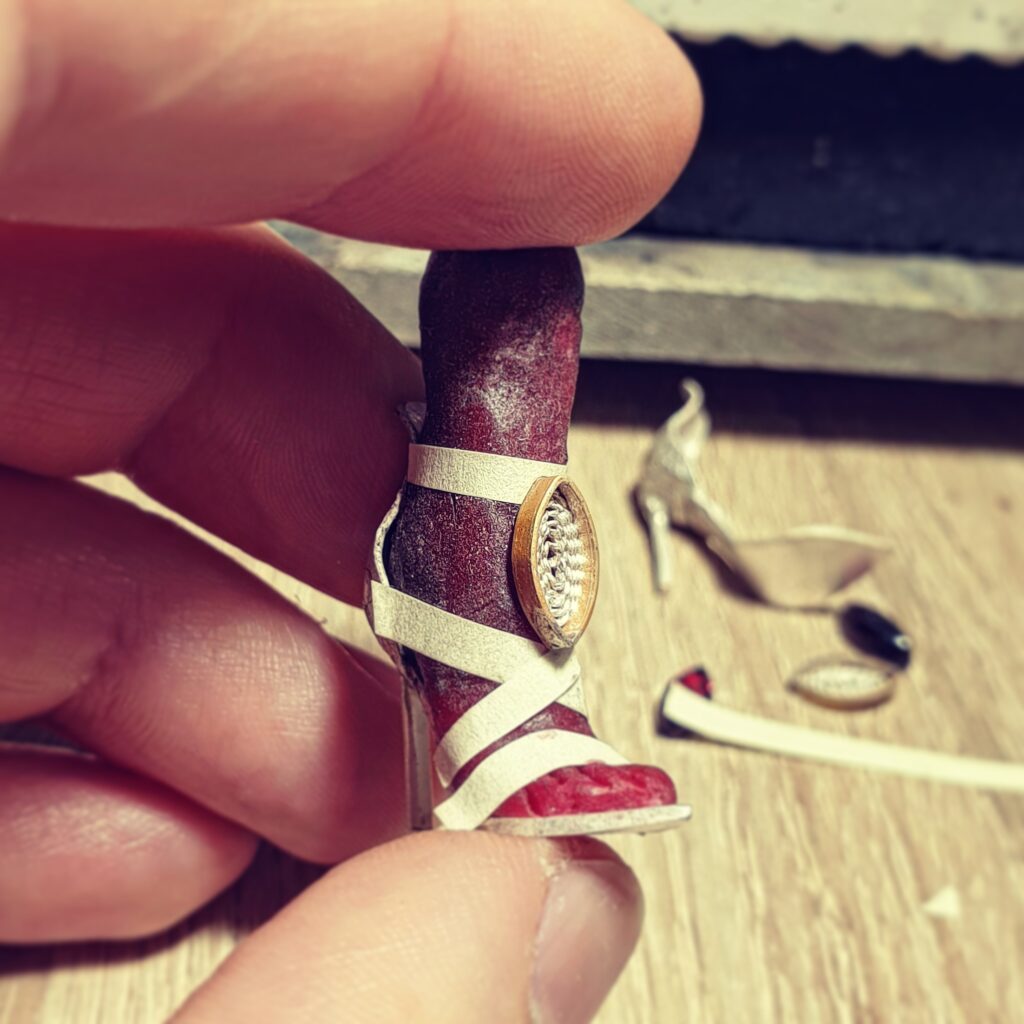
Again the sticky notes came in very handy for modelling straps for my sandal. I just cut out thin stripes of paper and put them onto the wax leg to see how it would look. It also gave me an idea about where the stone saddle will sit and what are the attachment points.
Based on the paper templates I cut my 0.6×1.4mm flat wire into pieces and solder them one by one to each slipper. Once all the straps were in place I filed the attachment points for the stone saddles and soldered them right in. After all the soldering I left both shoes in the acid bath for some time for cleaning. It would be great to put them into the tumbler for a nice polishing, but I ain’t got one unfortunately. But my Dremel Micro with metal brushes and silicone discs also managed to do a good job. The result was actually better than I expected and I got so excited I almost started to set the sones!
Shackles
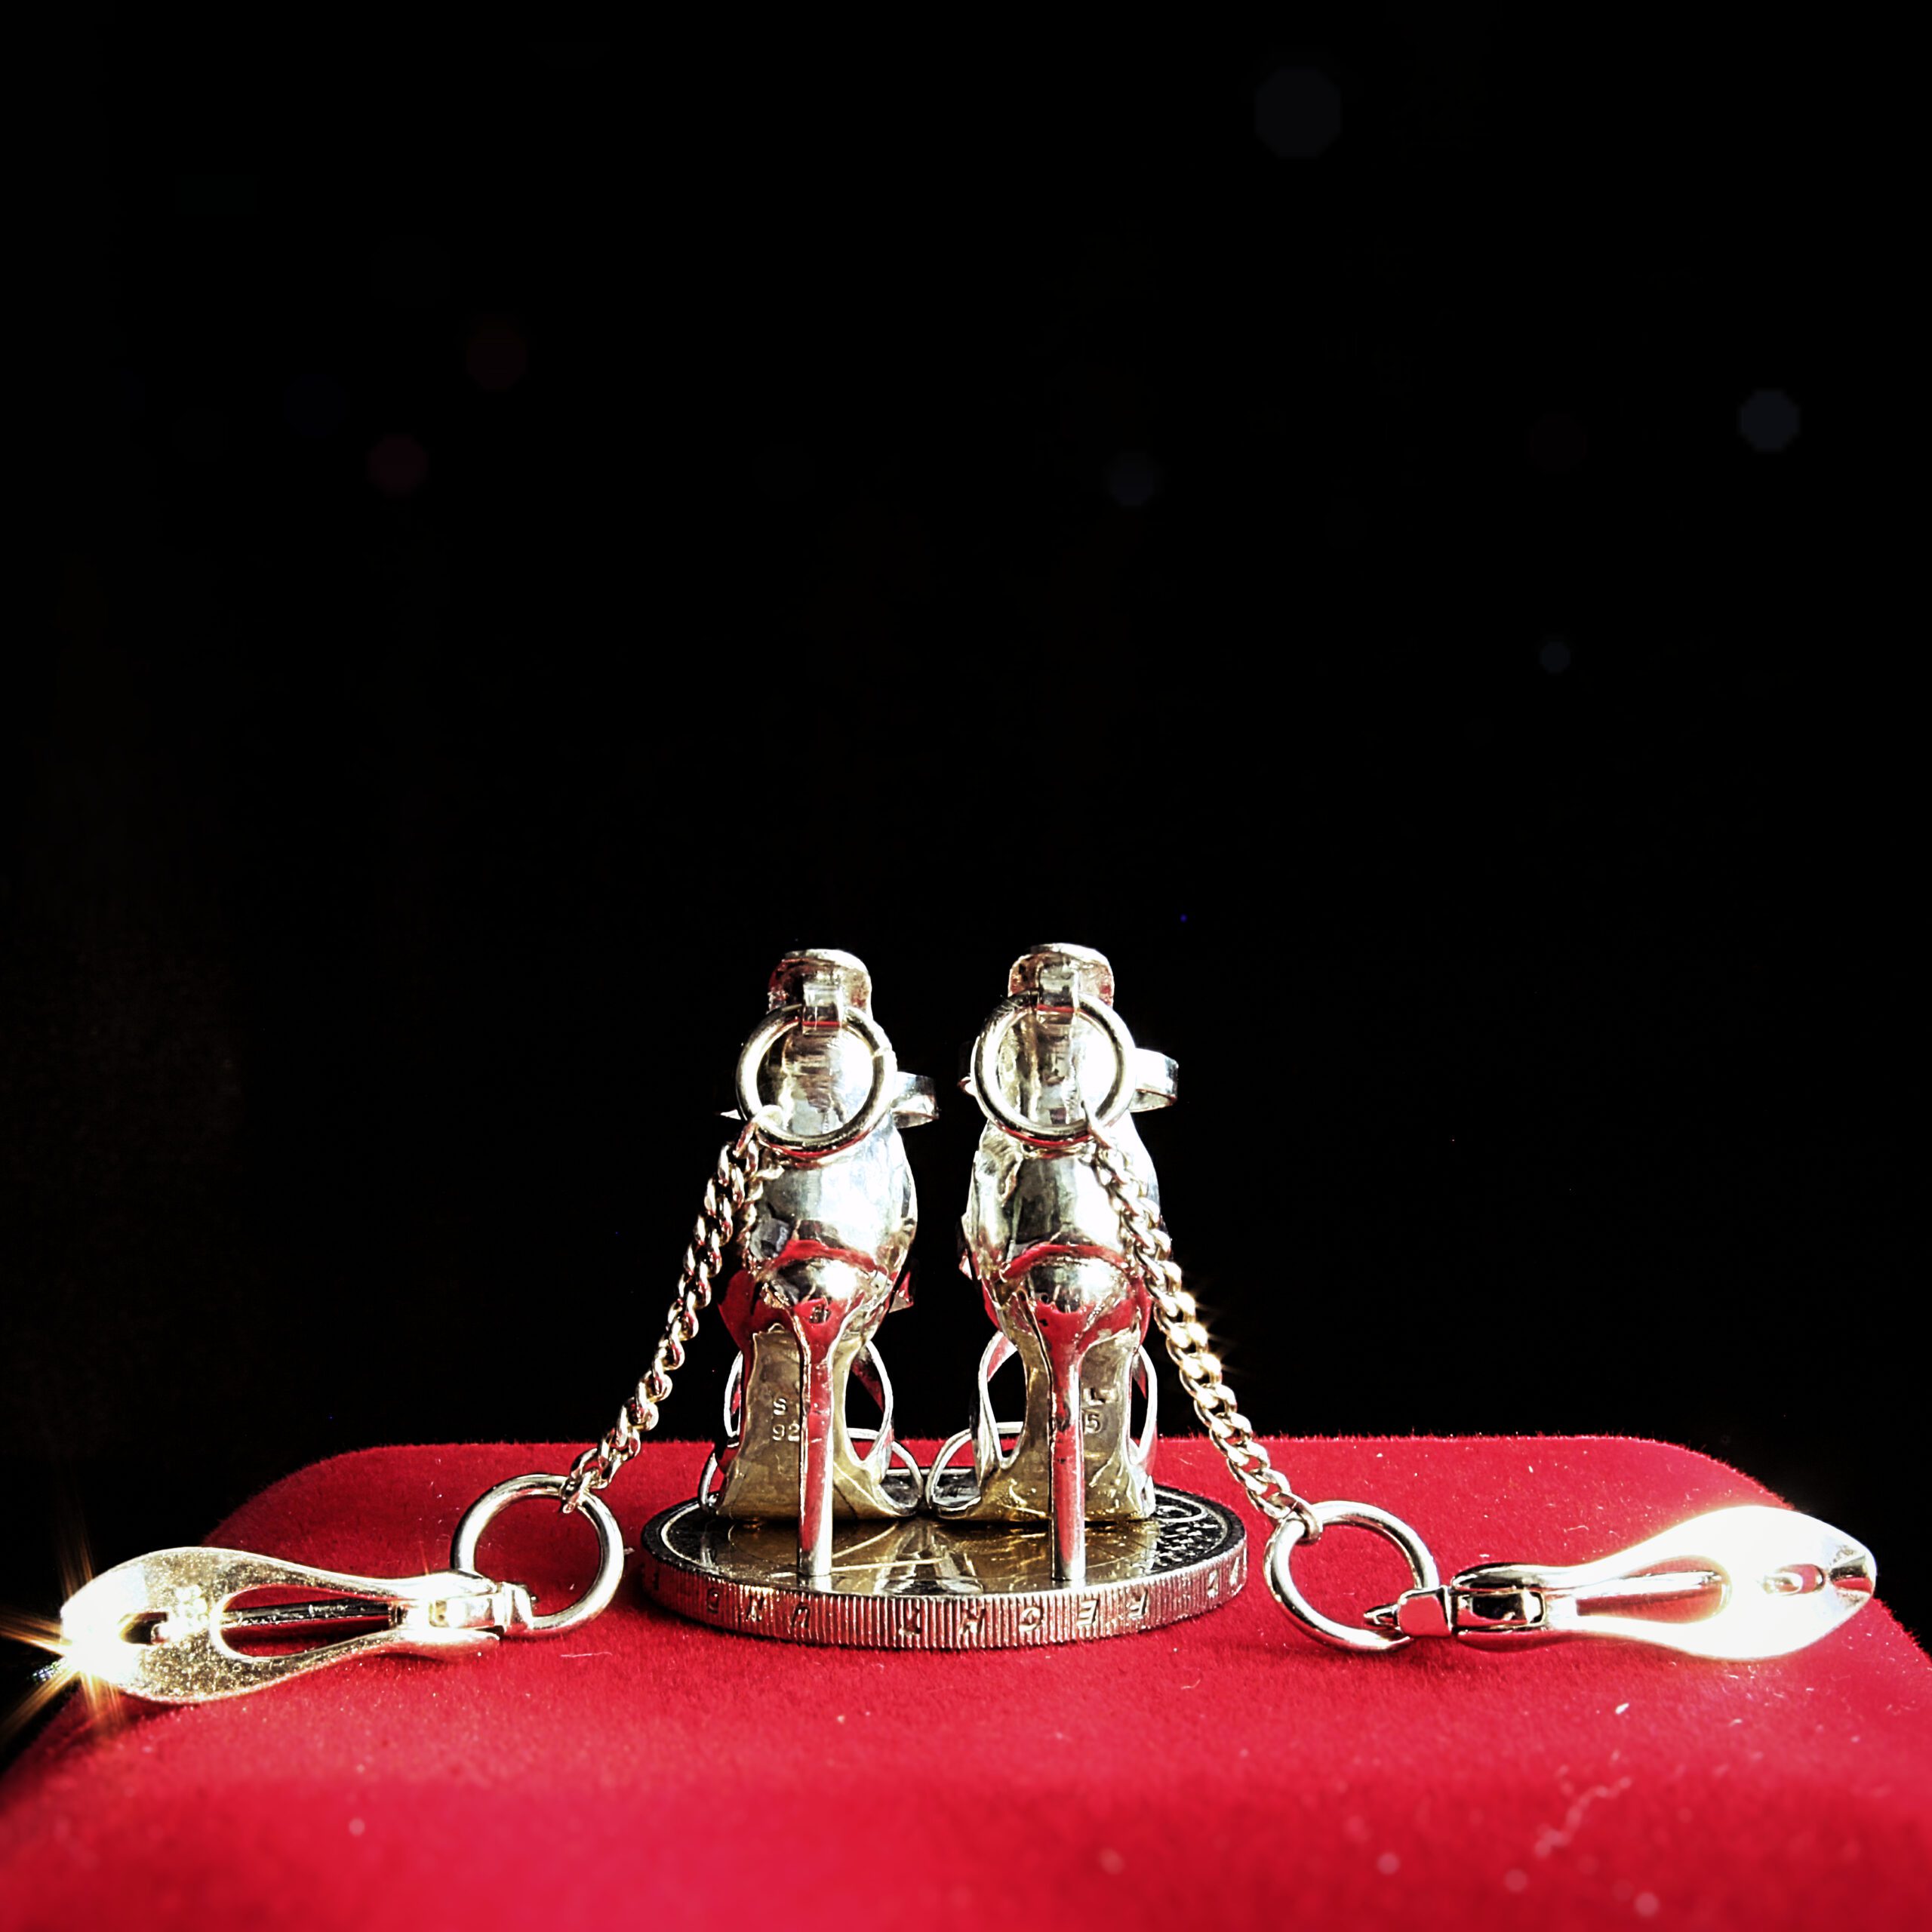
Happily though I managed to calm myself down and noticed that an important element is still missing – a shackle to connect an earring with a hook.
It would still be possible to do after the stones are set, but I prefer not to heat up the stones. This is risky as not all stones take heating positively. Some might change colour or even crack, hence it is a good habit to leave the stone setting as the very last step in making a jewellery masterpiece.
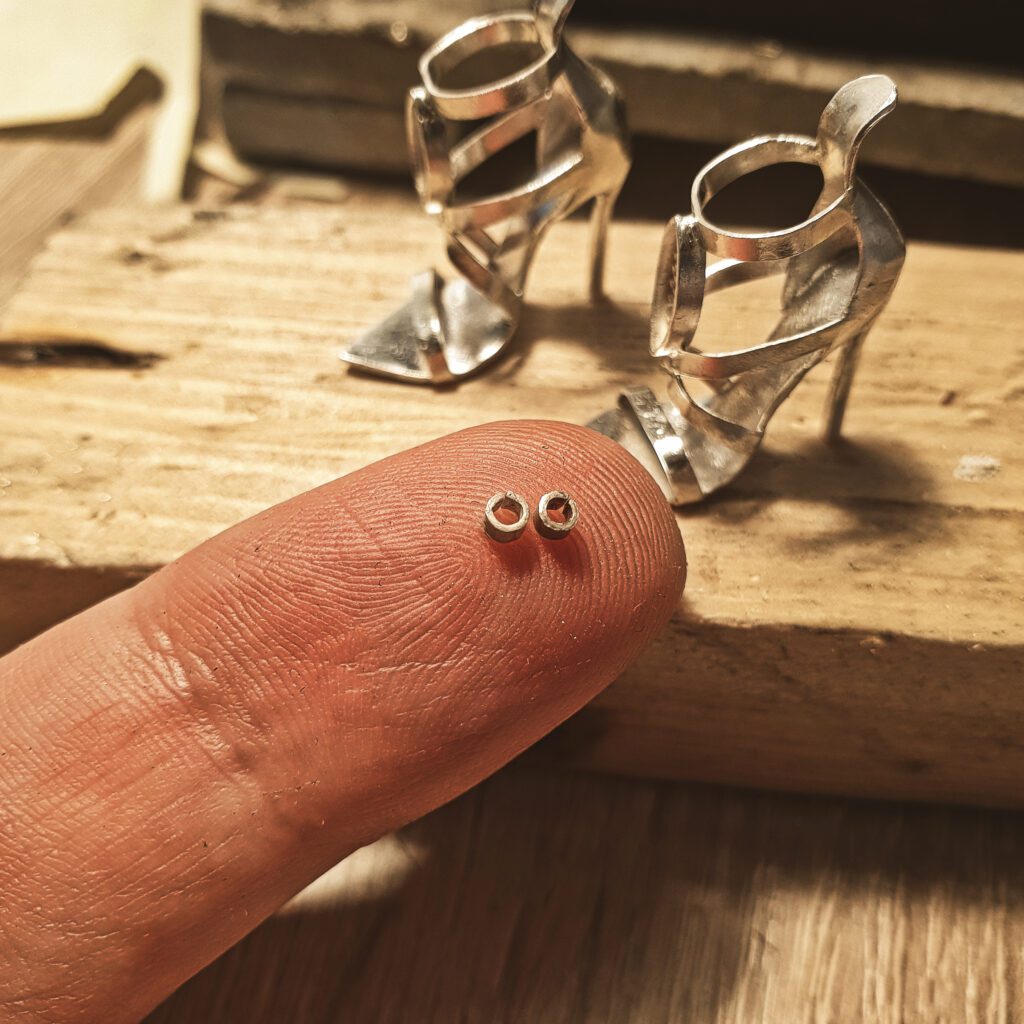
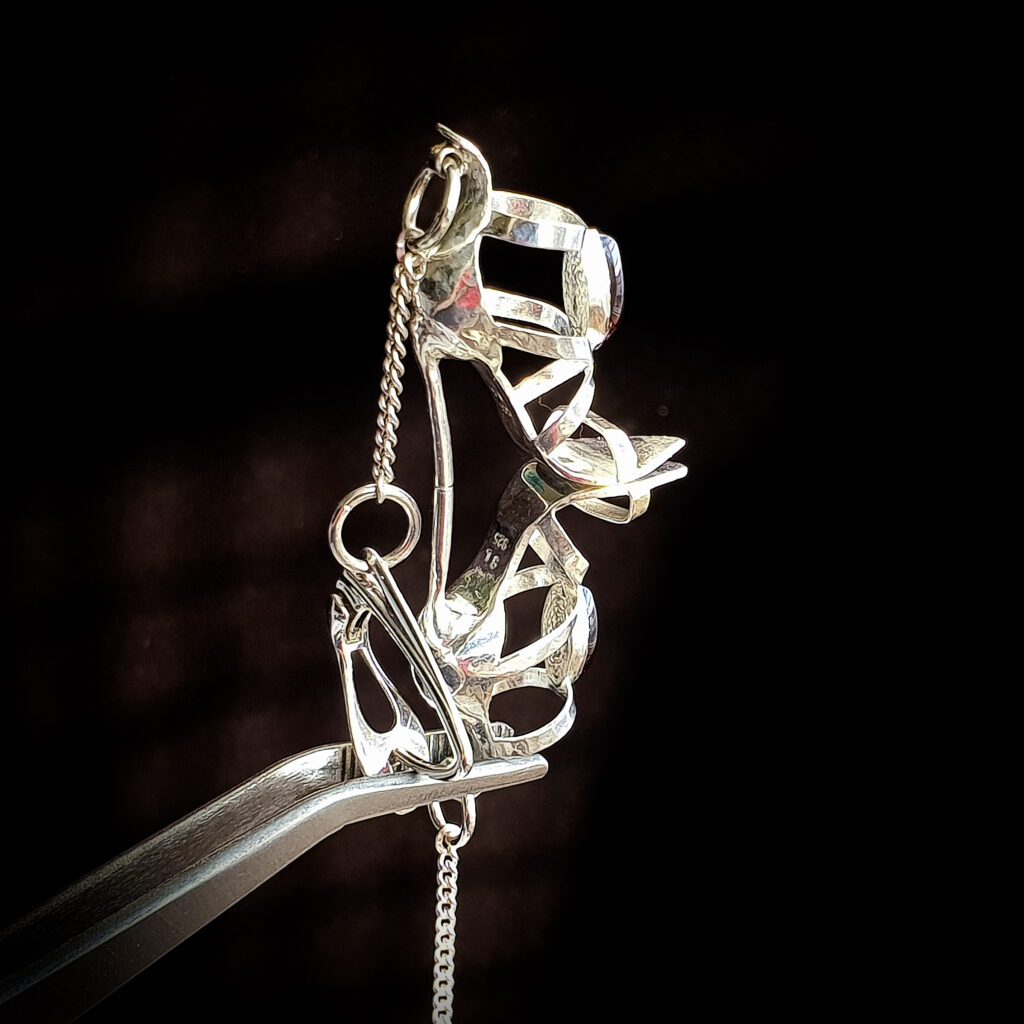
I took two tiny bits of my flat wire and bent them into micro jump rings. As this should be the very last soldering activity I used the super soft solder to preserve already existing solder joints. Also I clamp a shoe heel in a cross tweezer to dissipate the excessive heat while soldering the shackles. With shackles attached I went through another cycle of acid bathing and manual polishing to get ready for stone setting.
Stone setting
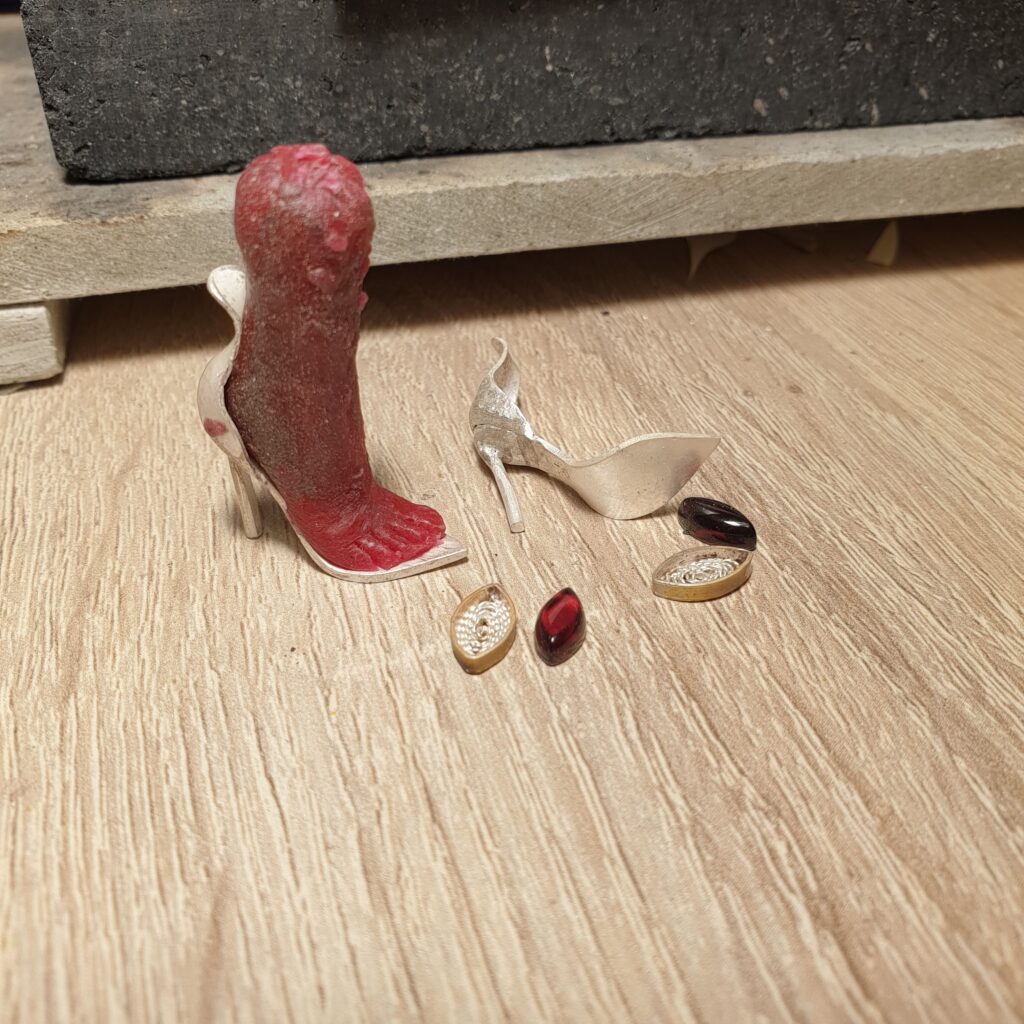
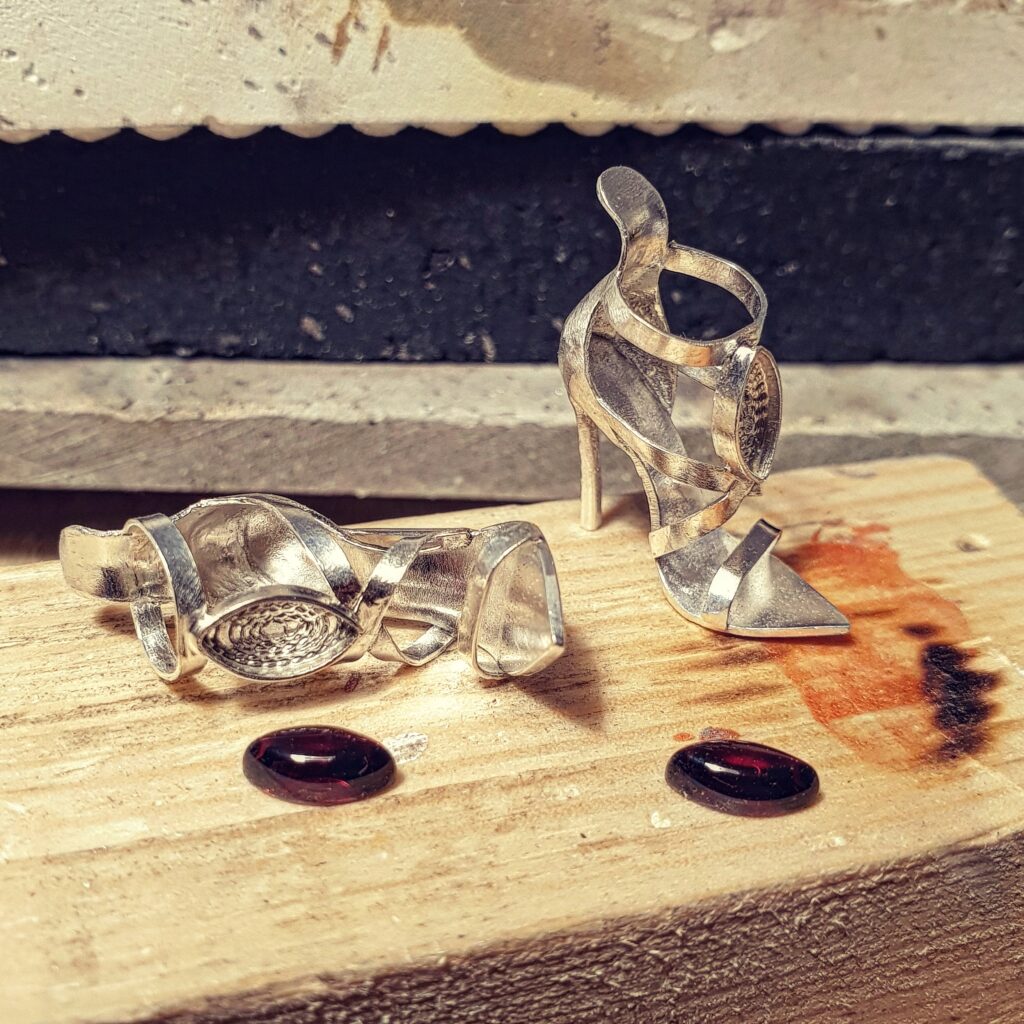
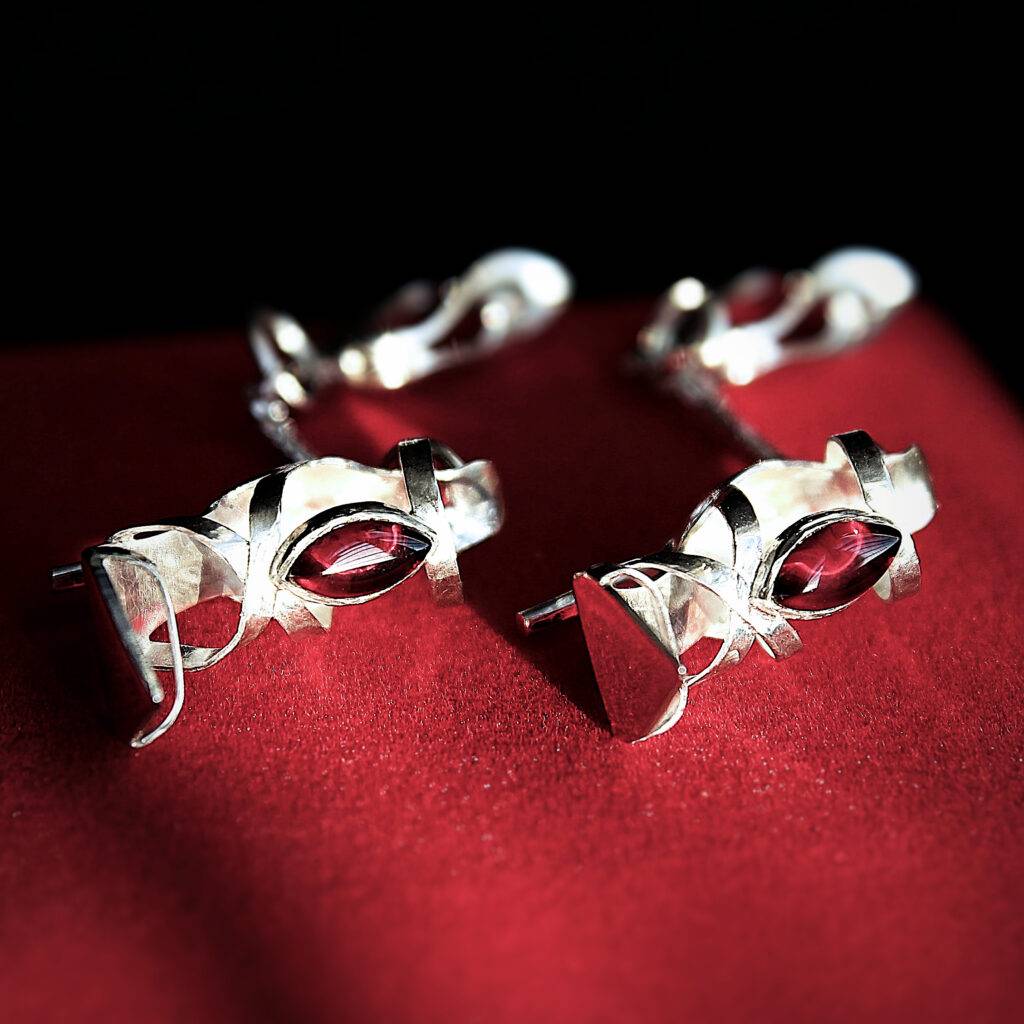
This is my first project I specifically purchased stones for. There is a local shop selling all kinds of precious and semi-precious stones, This is where I found these gorgeous garnet marquise stones and I knew exactly where to put them. Basically I did the entire shoe design around these marvellous garnets.
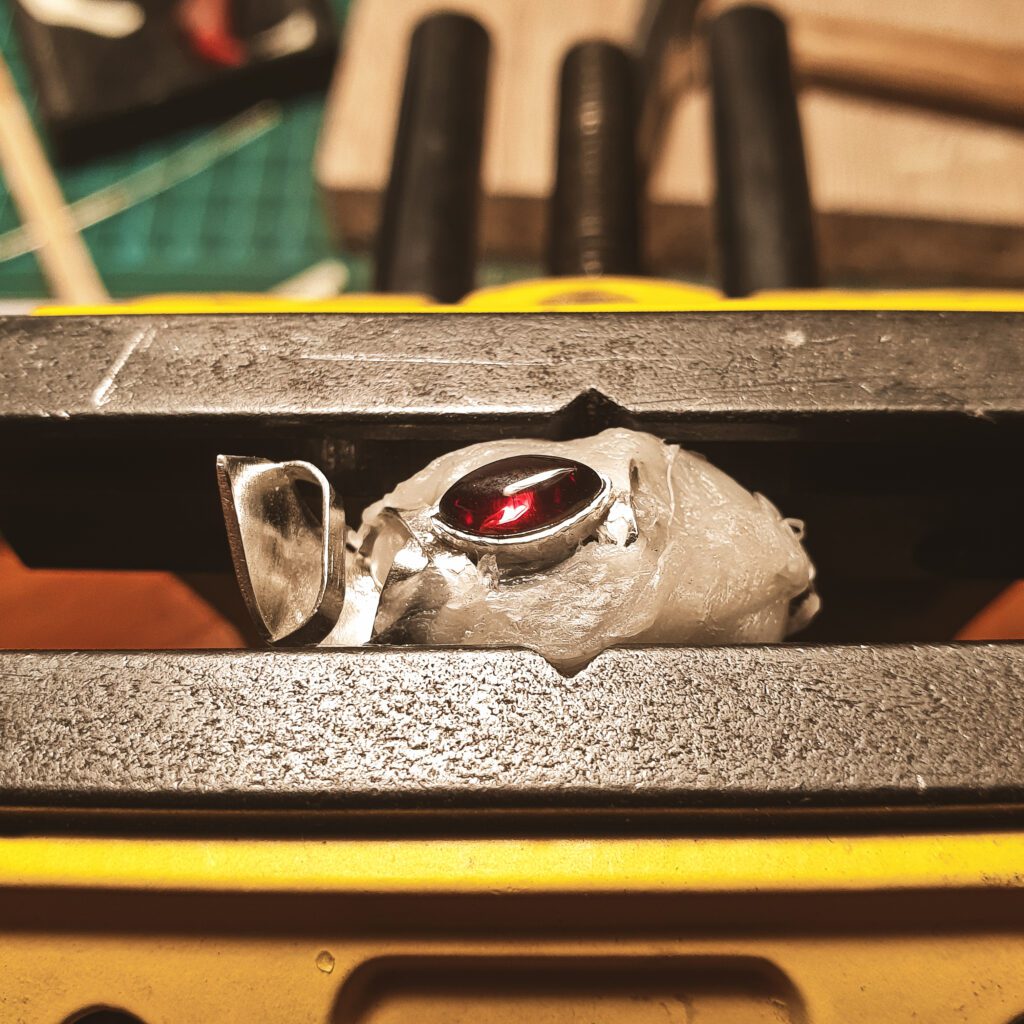
I choose to use bezel setting technique for this project as I find it the most neat and tidy way of exposing a beautiful stone. Prongs can sometime steal away some thunder away from the stone and I definitely didn’t want it here. Given that the high heel sandal is not the easiest shape to set the stone into I needed a smart way to firmly hold it in a vice. Most jewellers advise to use some sort of jewellery putty or sealing wax, but I can tell you that the polymorph plastics works great as well. You just melt it in a hot water, form it around your piece and let it cool down. Once hardened it is surprisingly strong and you can safely clamp it in a vice for bezel setting. After I finished setting stones into their saddles I gave the earrings another round of fine polishing. And let me tell you honestly – they look truly remarkable!
Exhibition
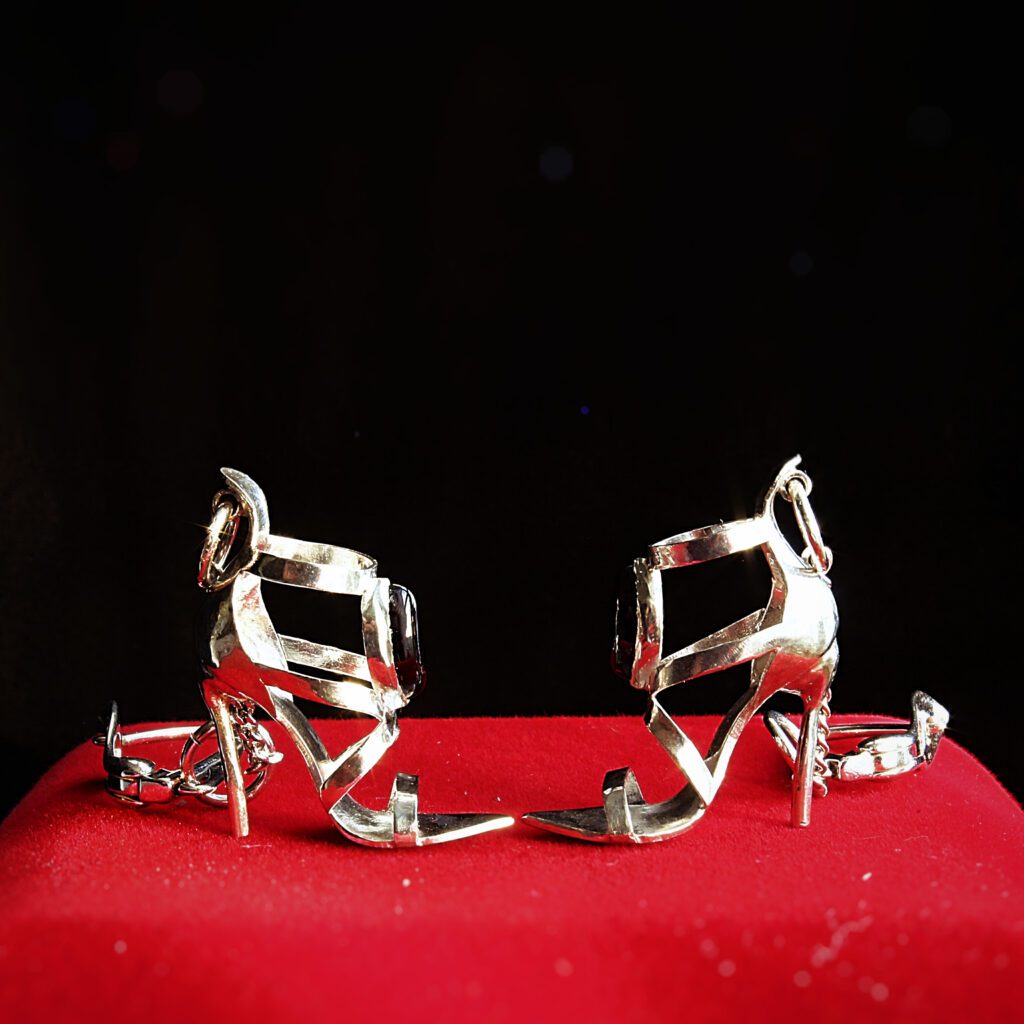
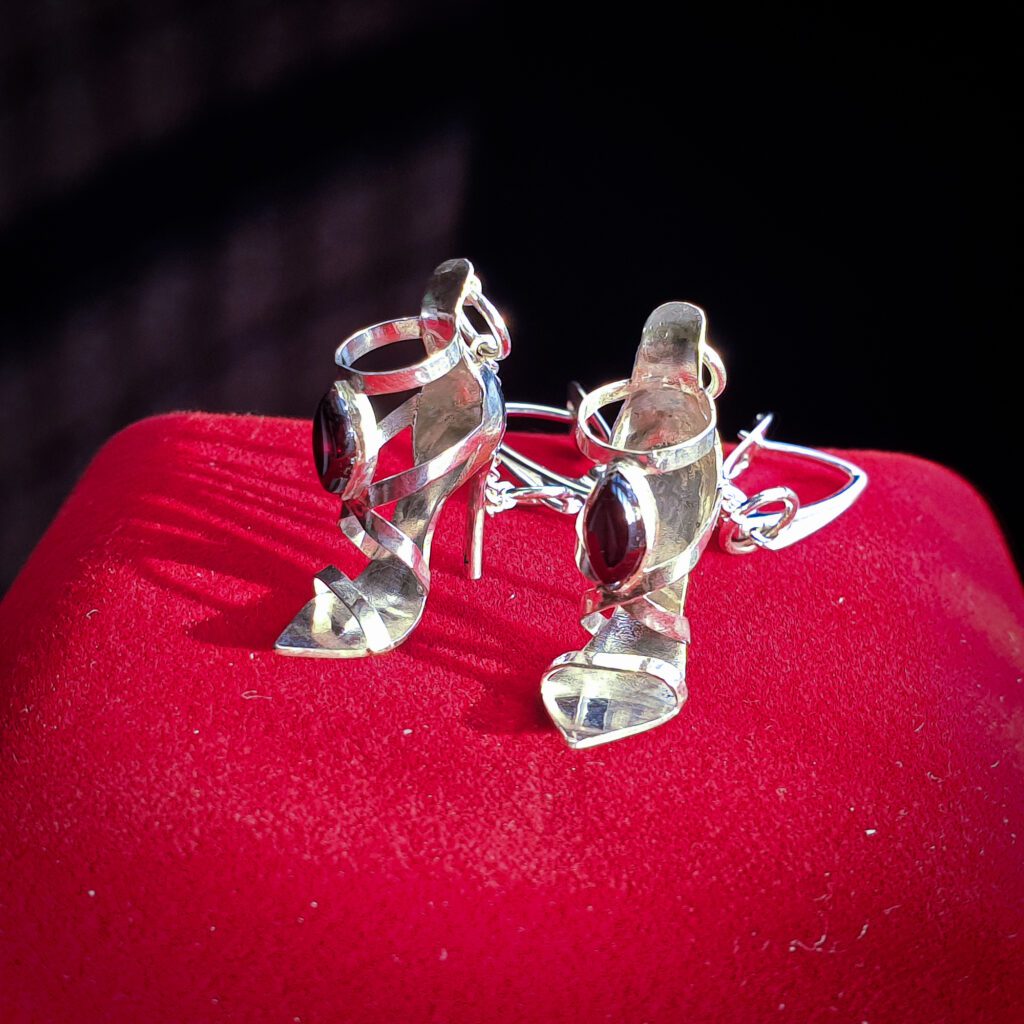
I hope you enjoyed following the manufacturing process and now it is time to check out the final result. This time I tried to spice things up a little and produce some artisan styled photos (at least in my mind they are). Thus I invite you to have a glimpse though the pictures below and enjoy the show!
This piece is still available for purchase. If you are interested please visit my Etsy Store or send me a DM in my Instagram to talk business 🙂
One comment
Comments are closed.