
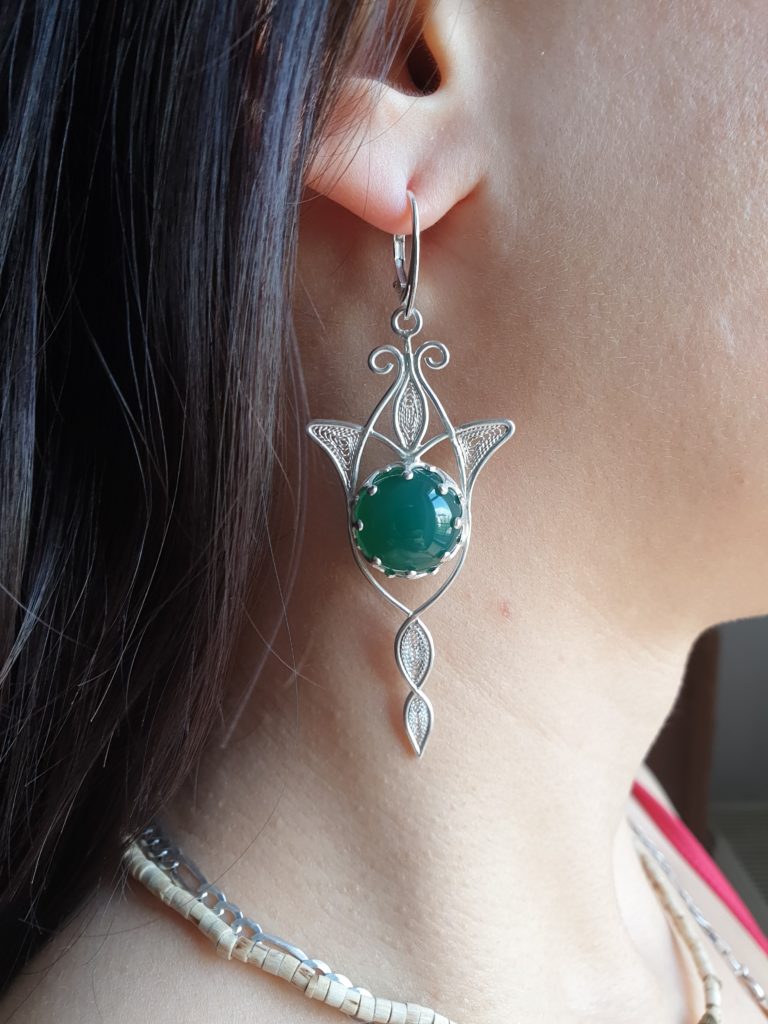
As a big fan of LOTR and fantasy genre in general, the idea of producing elvish looking jewellery was always itching in the back of my head.
For a long time I was reluctant to give it a try as I constantly doubt my craftsmanship skills. And making a decent looking fantasy jewellery piece is a challenge, especially for a self taught silversmith with tons of self-confidence issues.
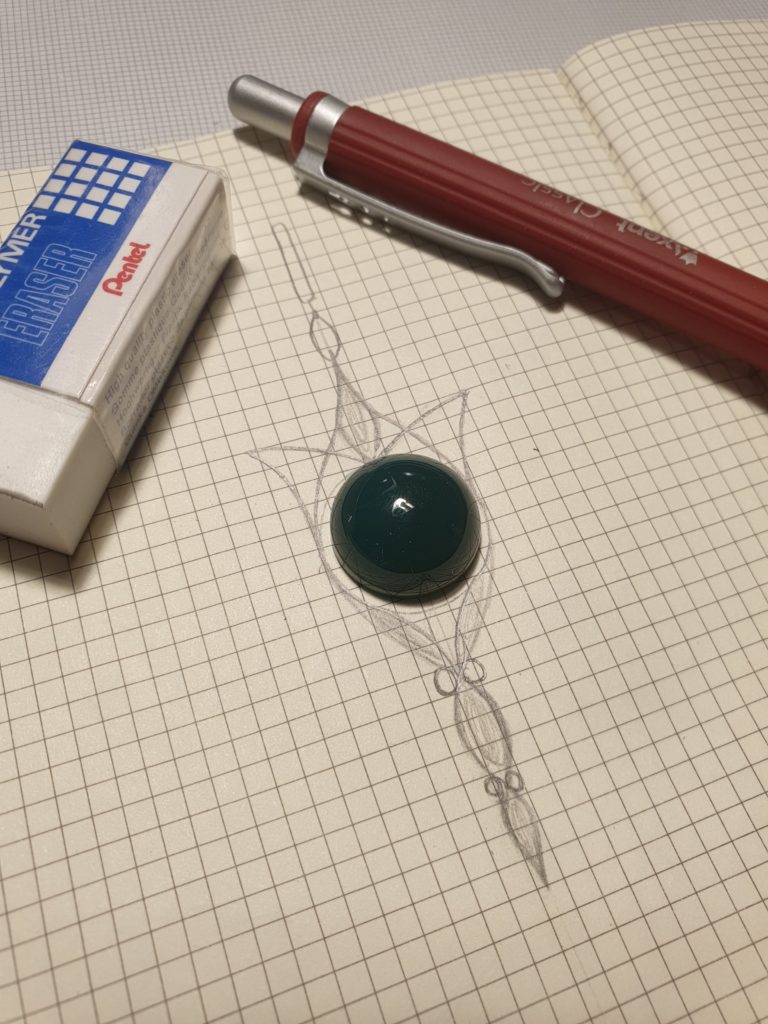
Nevertheless challenge has already been accepted, especially considering a set of marvellous jade cabochons I got on one of the stones and minerals happenings. After dozens of different designs sketched out I was a bit frustrated that I’ll get to a same trap of a too many choices. Hence, pushing myself forward one of the sketched was semi-randomly selected as a starting point – I knew that changes are inevitable anyway.
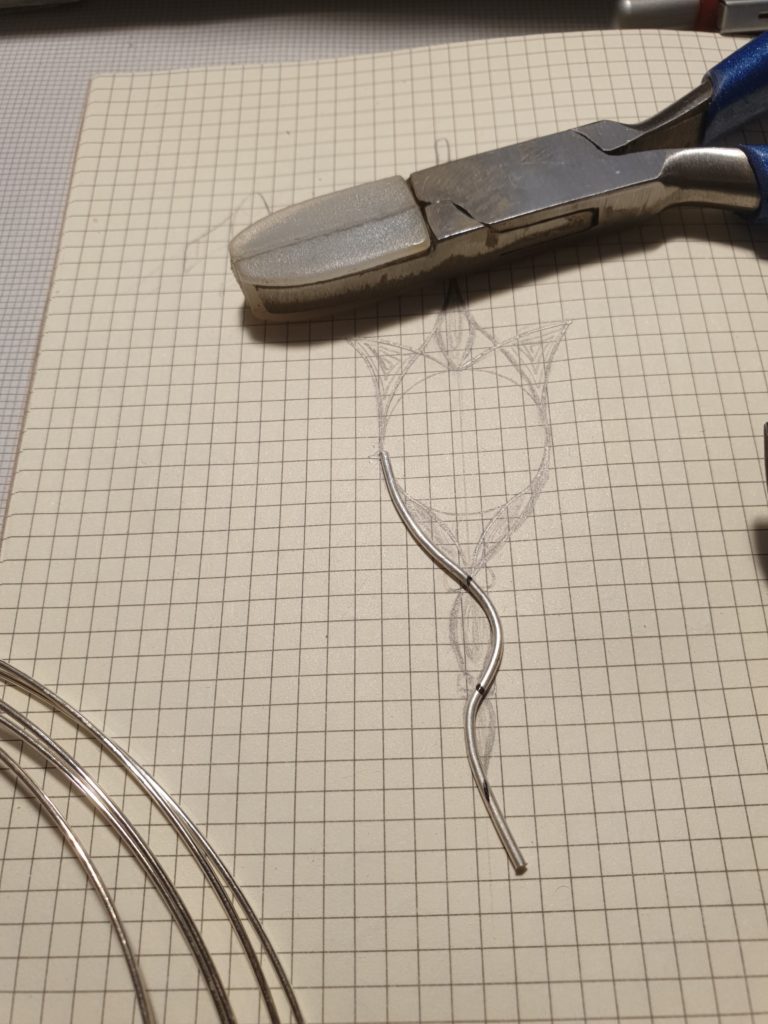
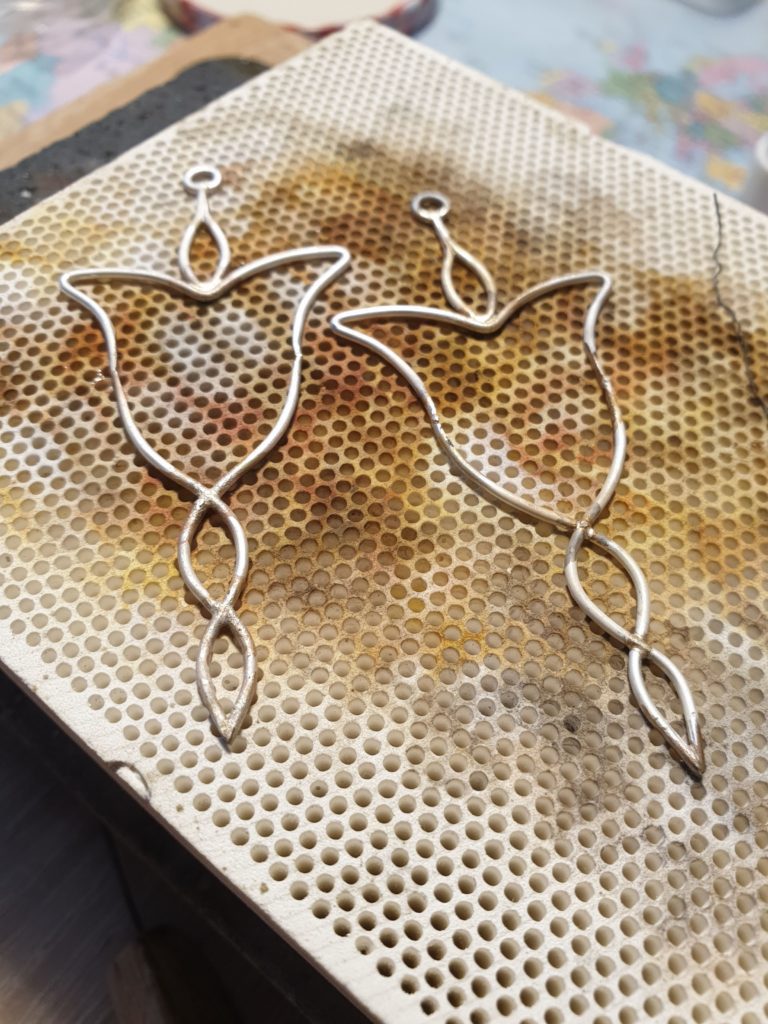
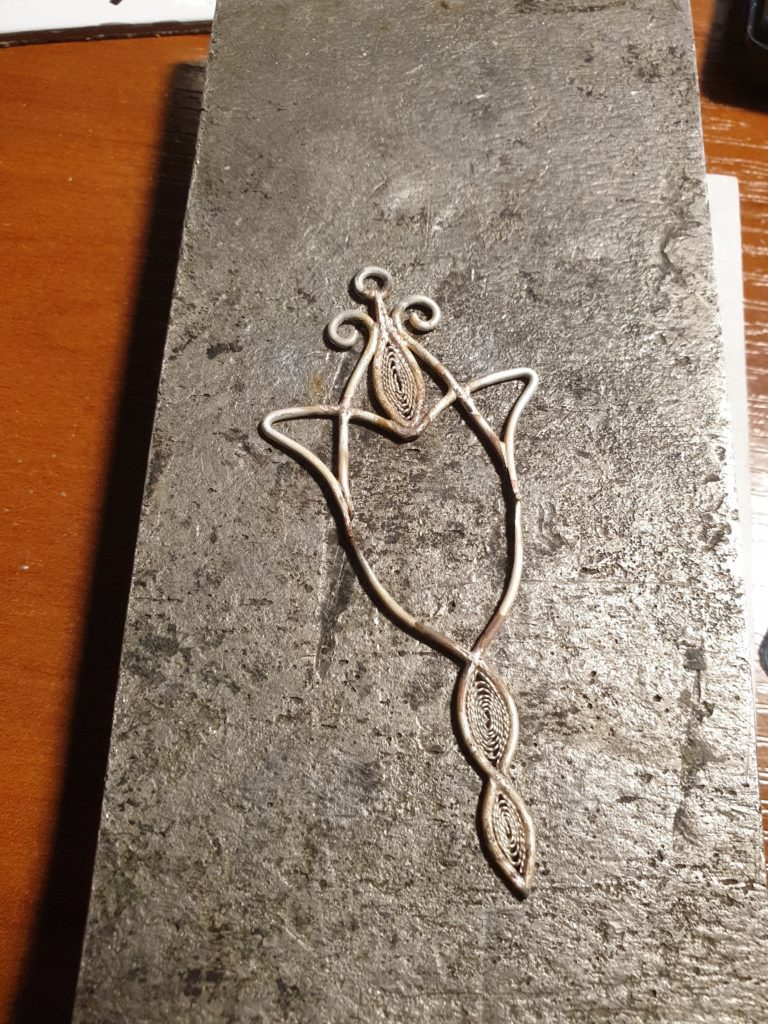
Wire bending has started with the lower part of the frame, the rough plan was to created 3 frames and connect them all together in the end. With the lower frame I decided to try modular approach, which turned out to be a mistake in terms of complexity of operations and time spent. However, the result was better than I expected so all the efforts payed off.
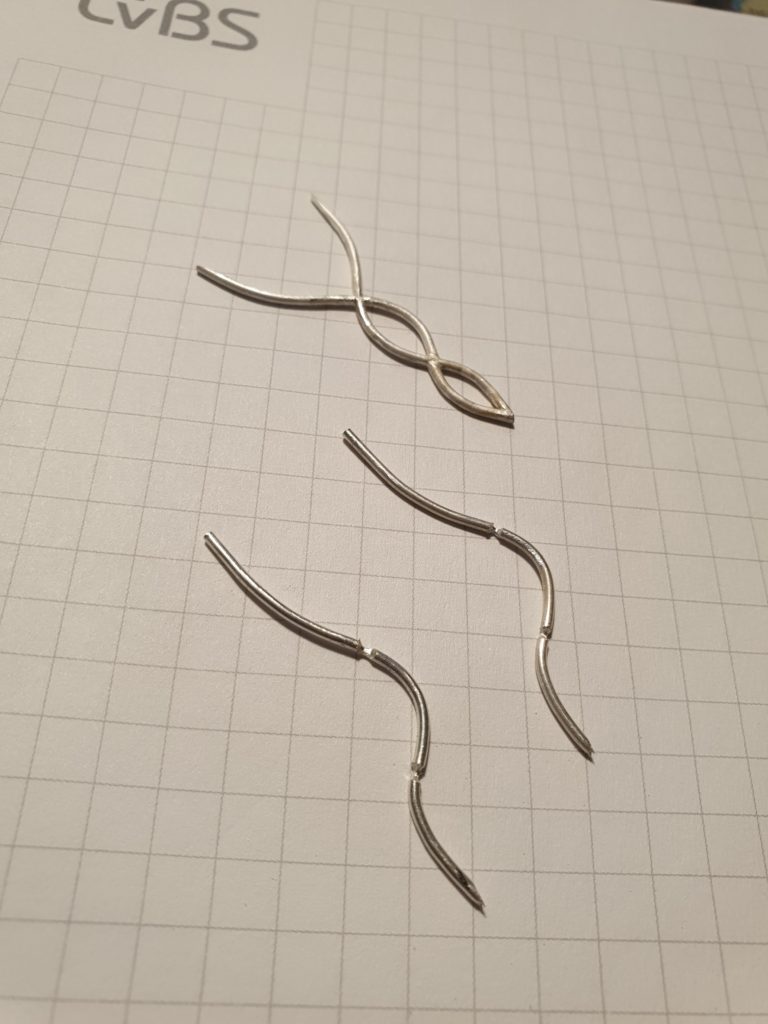
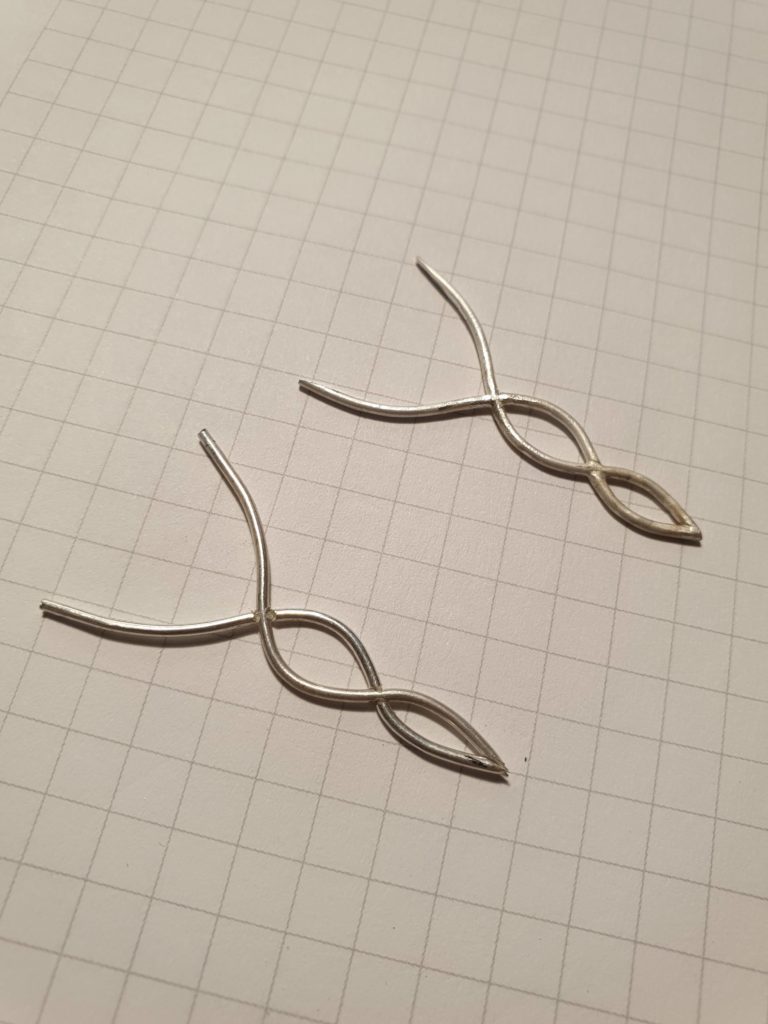
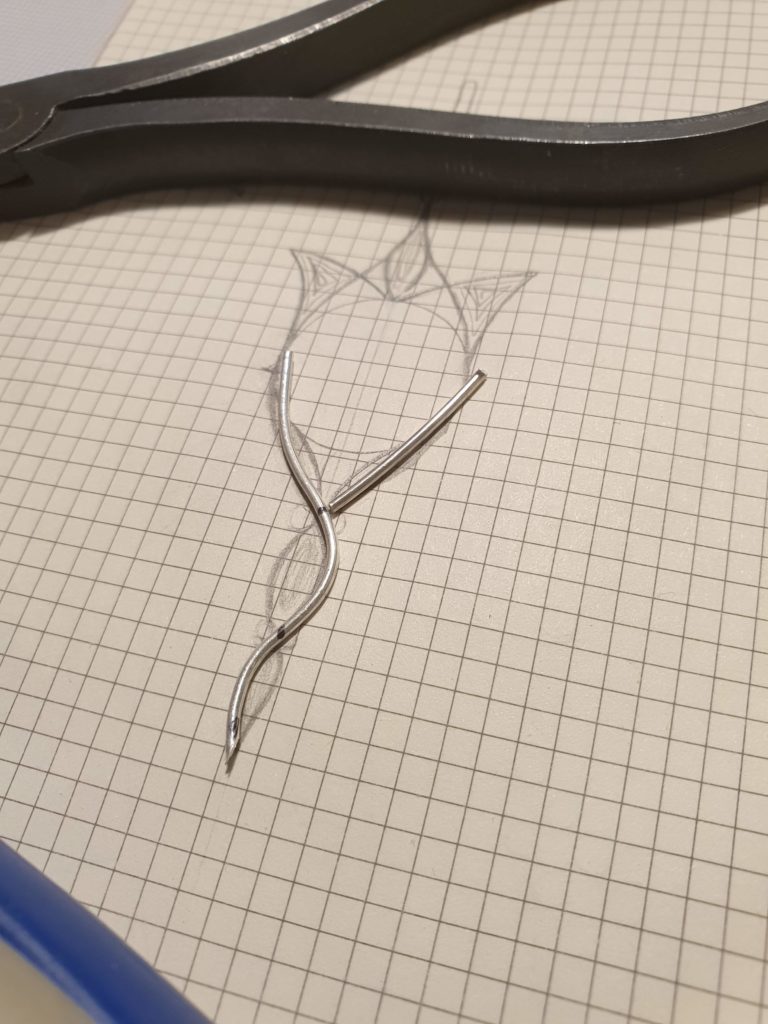
To keep up with the second piece (this is an earrings set after all), natural next step would be to make the same lower frame. And this time lesson is learnt: instead of modular clunky approach I bent two curves and filed down the points where curves are going to be connected. This way wires fit way better and soldering was done in a single round.
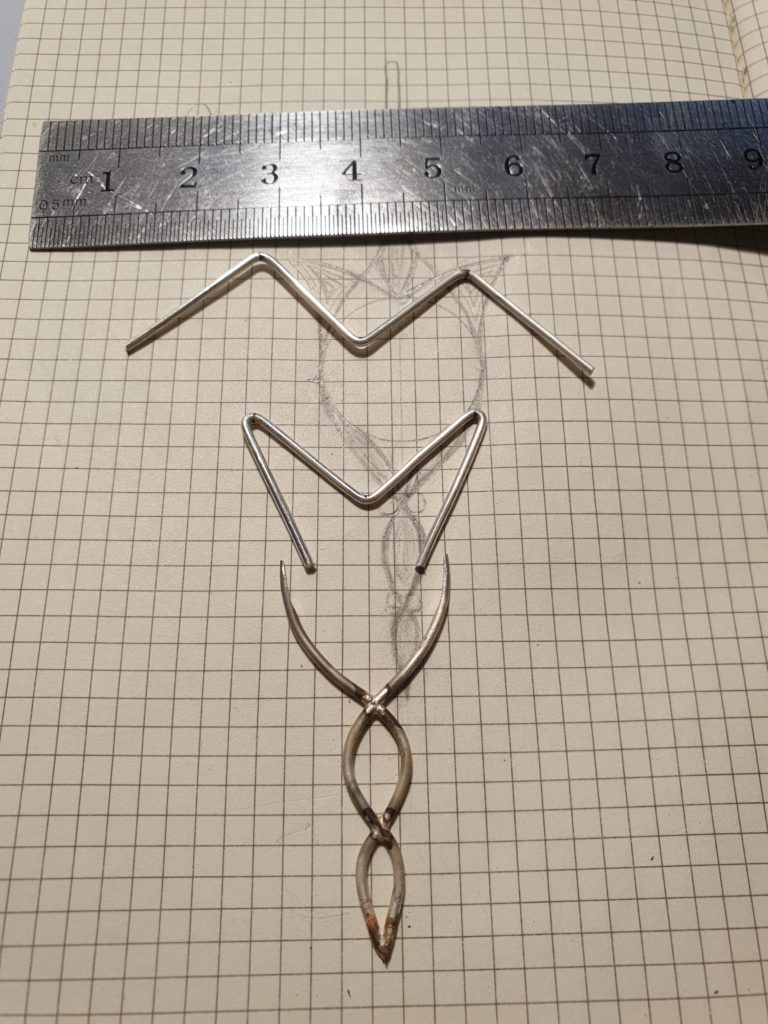

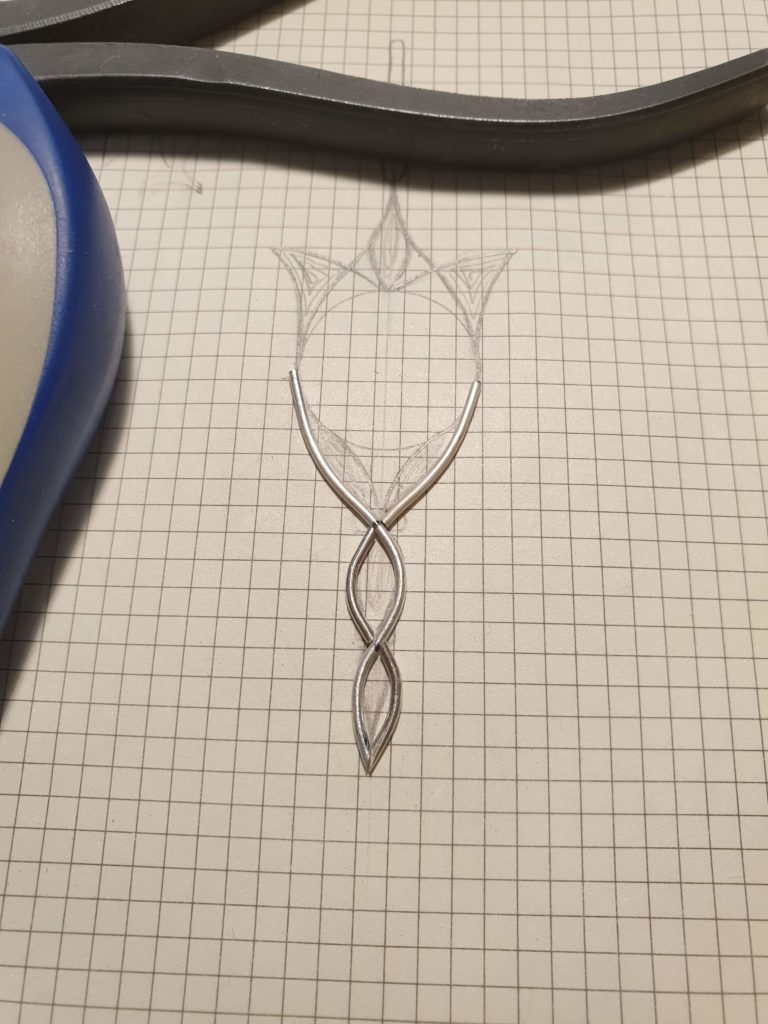
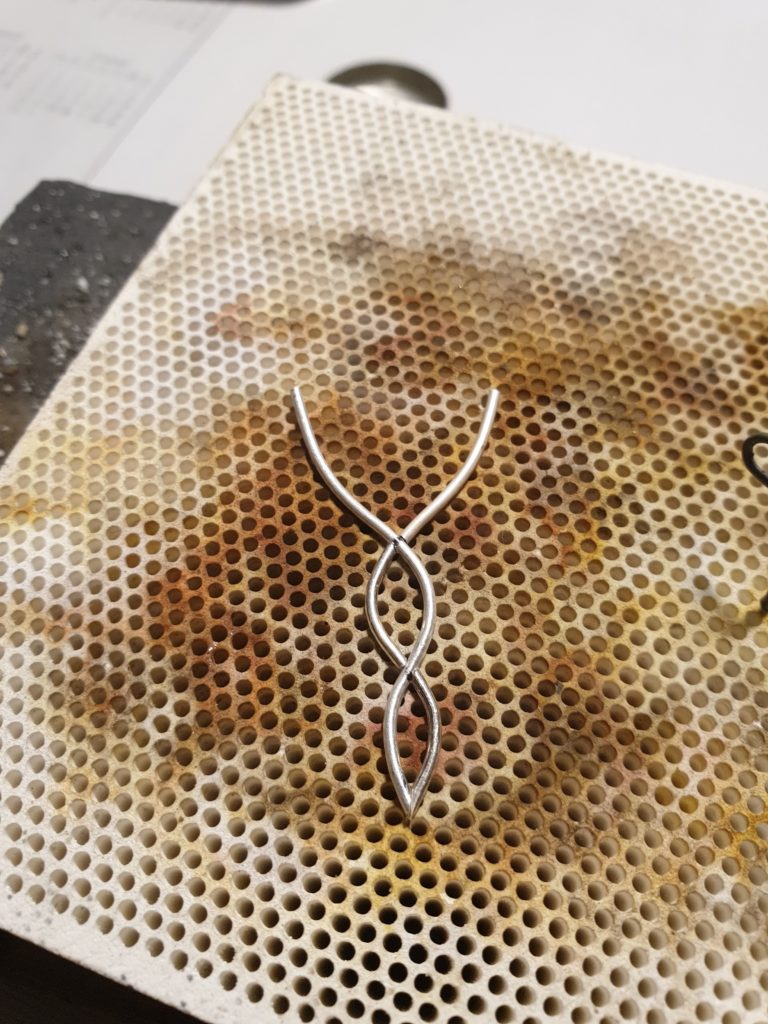
After that comes wirework for the top part, which was fairly easy mostly because there is not much intertwining going on. I started with a straight M-shaped frame and curved it to fit the sketch. Then it was just a matter of soldering together top and bottom parts of the main frame, while the stone cast I left for the final stage.
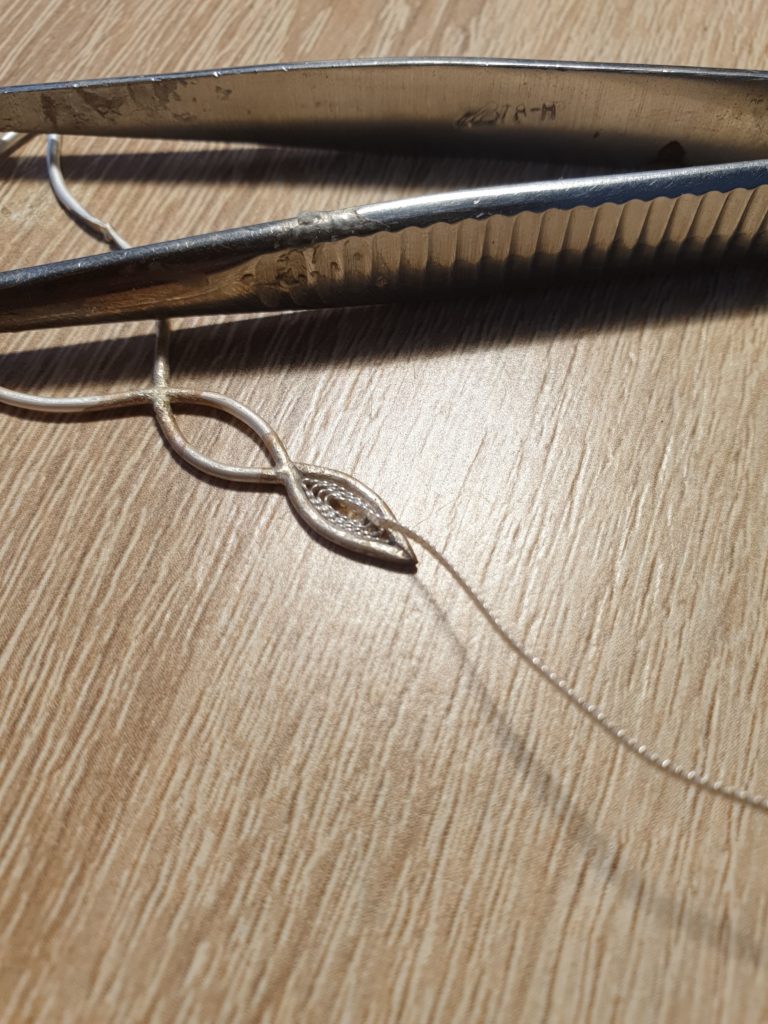
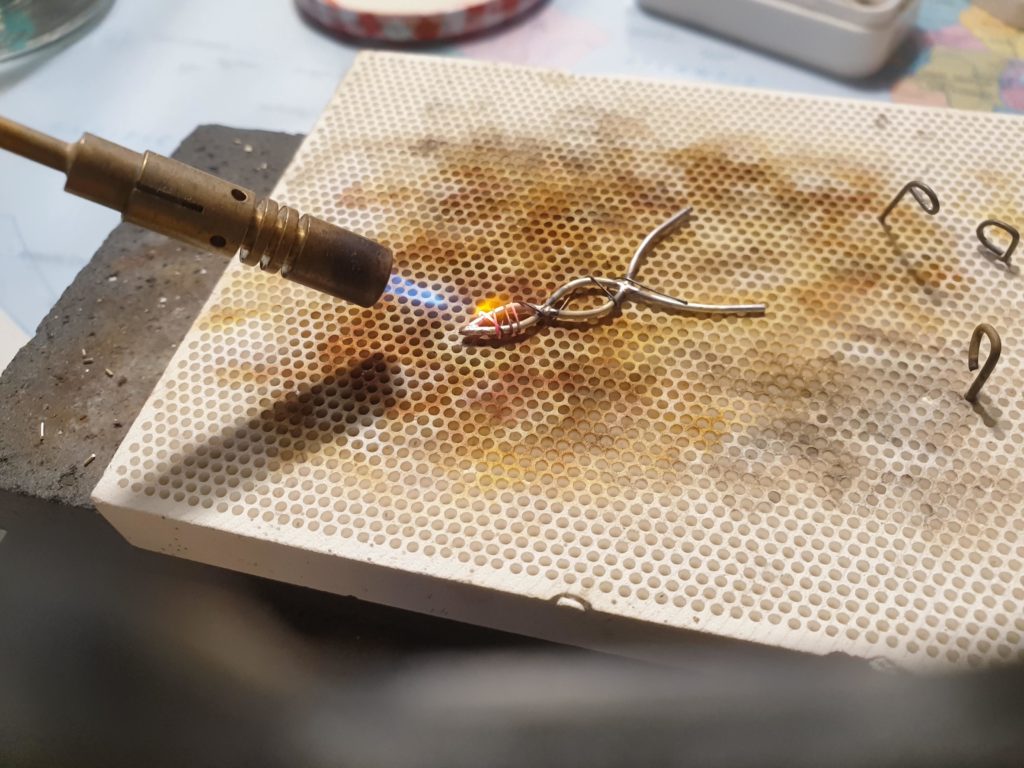
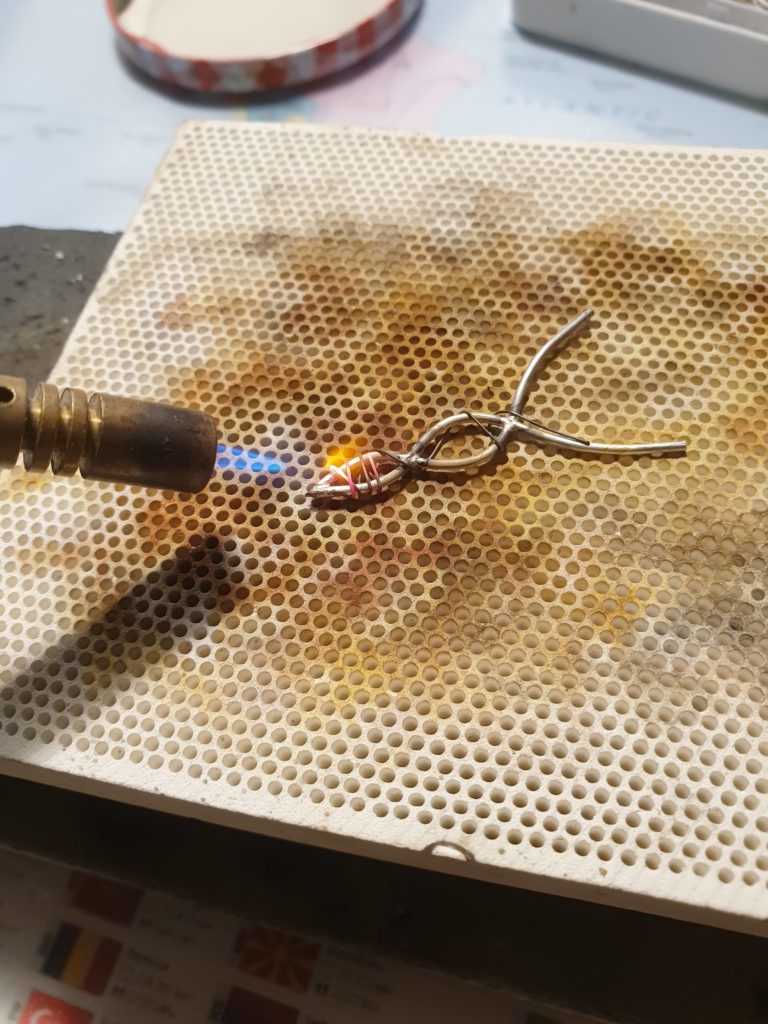
Curved twisted wires formed several small closed loops, which I immediately felt like filling in with the filigree wire. It always gives me an odd satisfying feeling and magical tough to almost any jewellery piece.
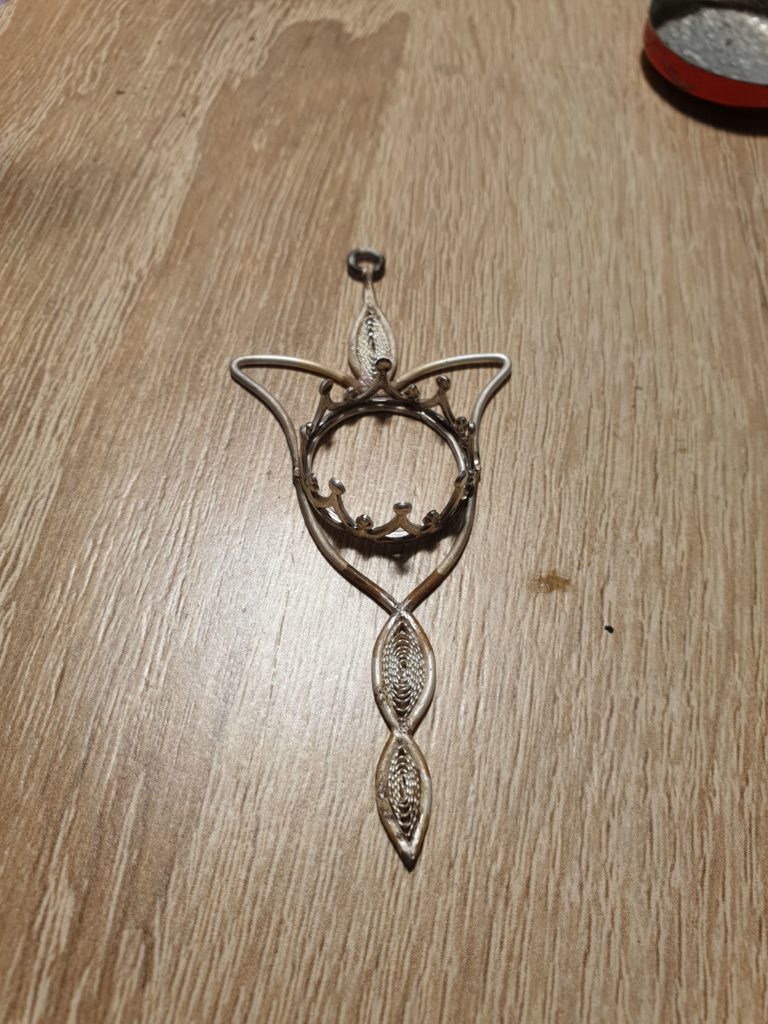
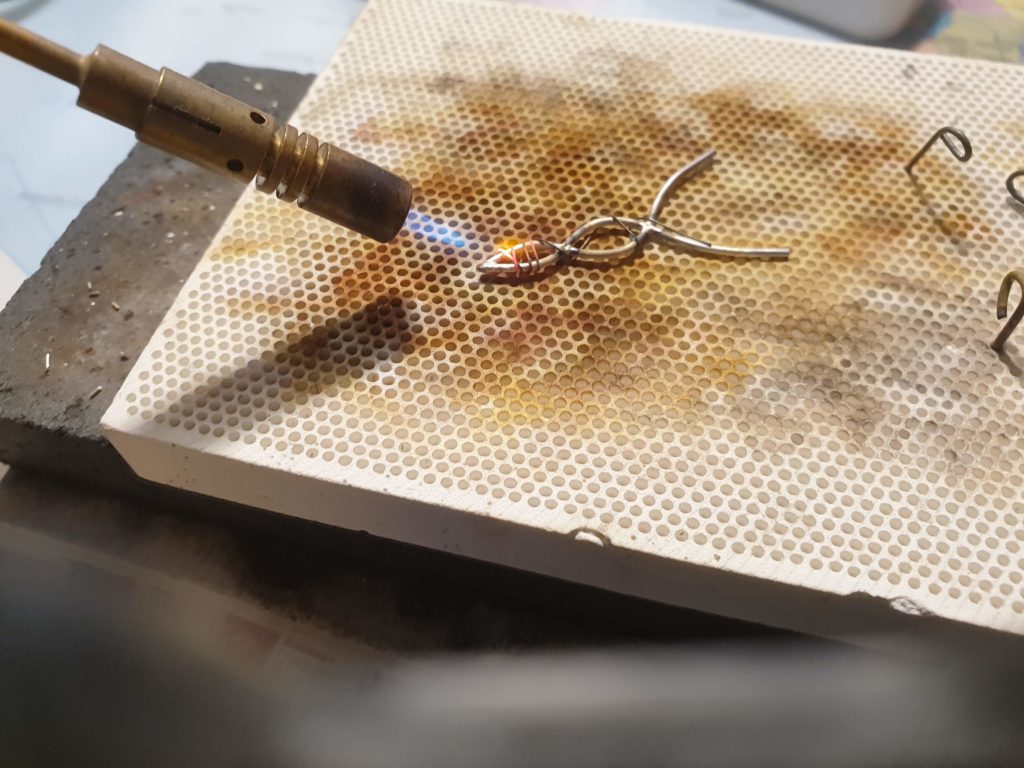
Filigree magic was done and for the first time I tried to marry the main frame and the stone cast. By the way, the stone cast was made long before I started this project when I purchased a sample of a prefabricated wire strip and was keen on trying to do something with it. The problem with such strip is that you cannot just produce a cast of any size and expect its pattern to fit it.
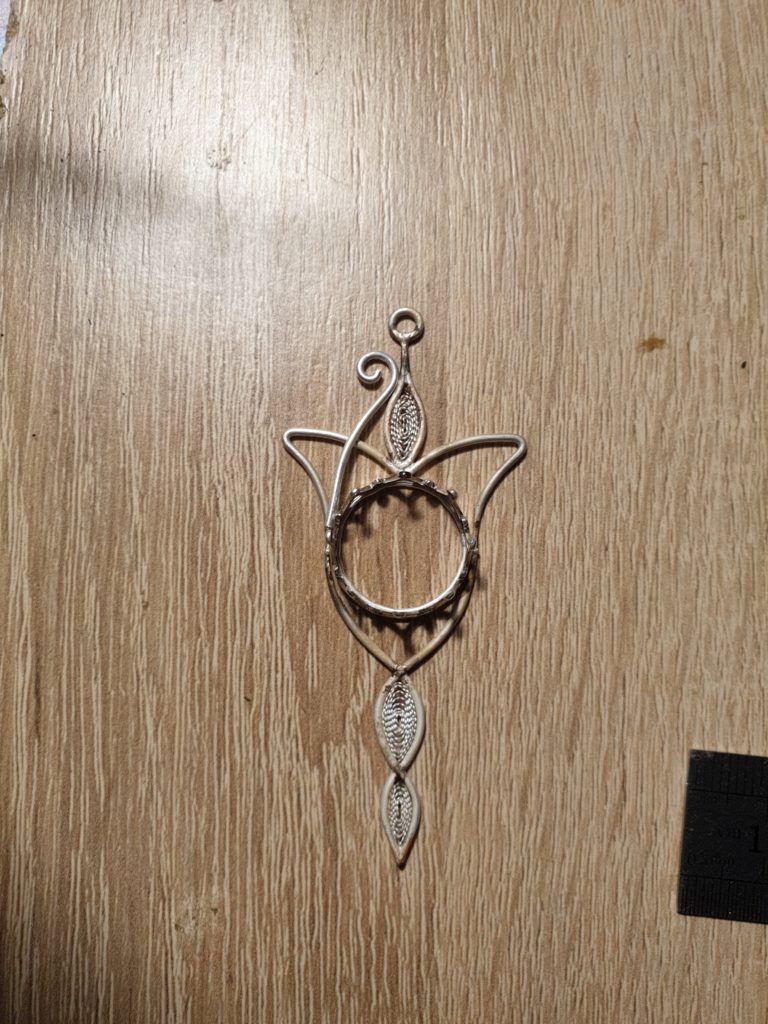
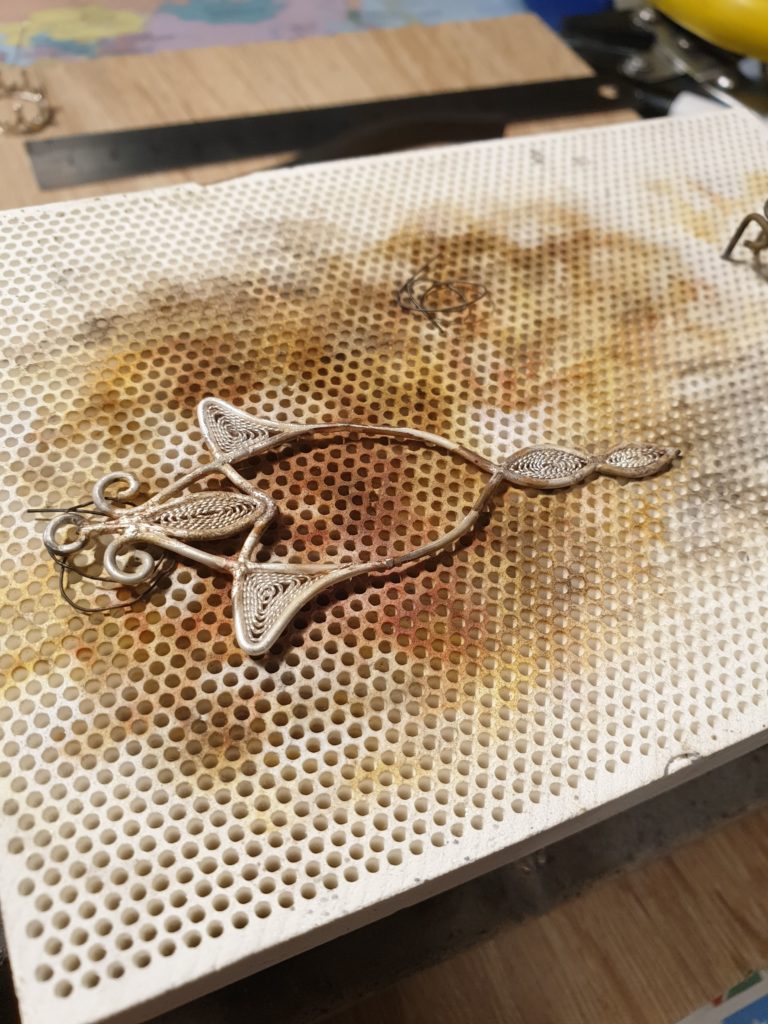
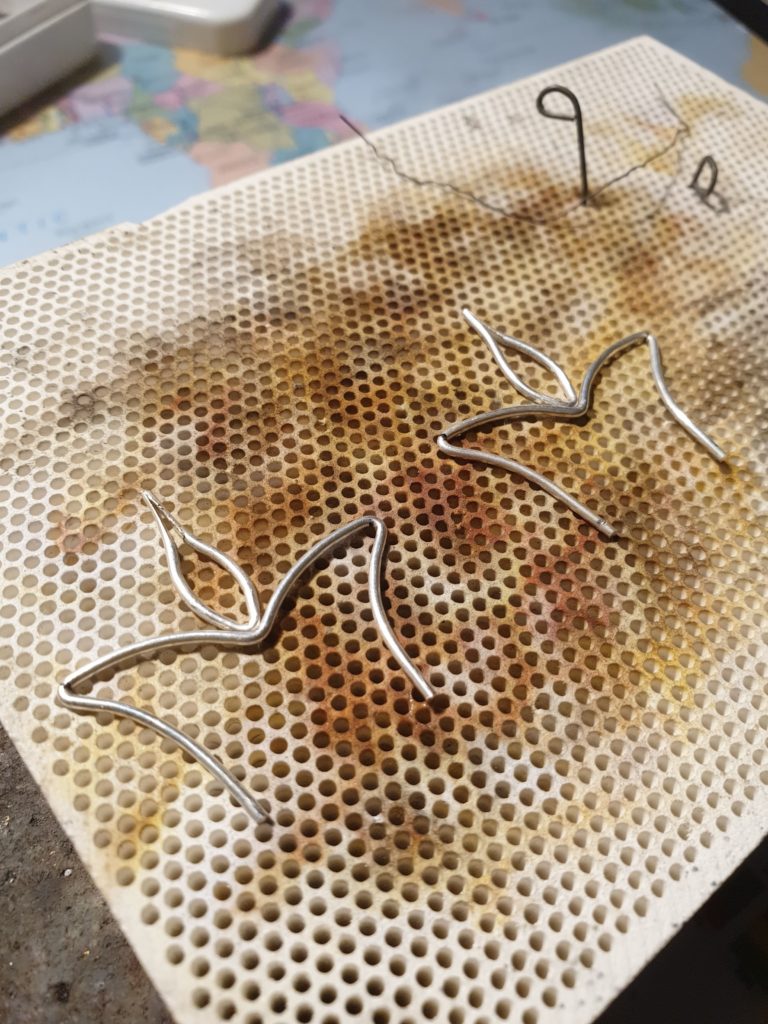
Looking at all the piece together there was a feeling that something is missing. So as anticipated at the beginning some design changes were going in. I realised that cross bars in the top frame (as designed initially) would look a bit clunky, thus it was only natural to add some more intertwined wires with a spiral ends at the tip. Quick trial with a piece of wire convinced me that it looks great and the final soldering began.
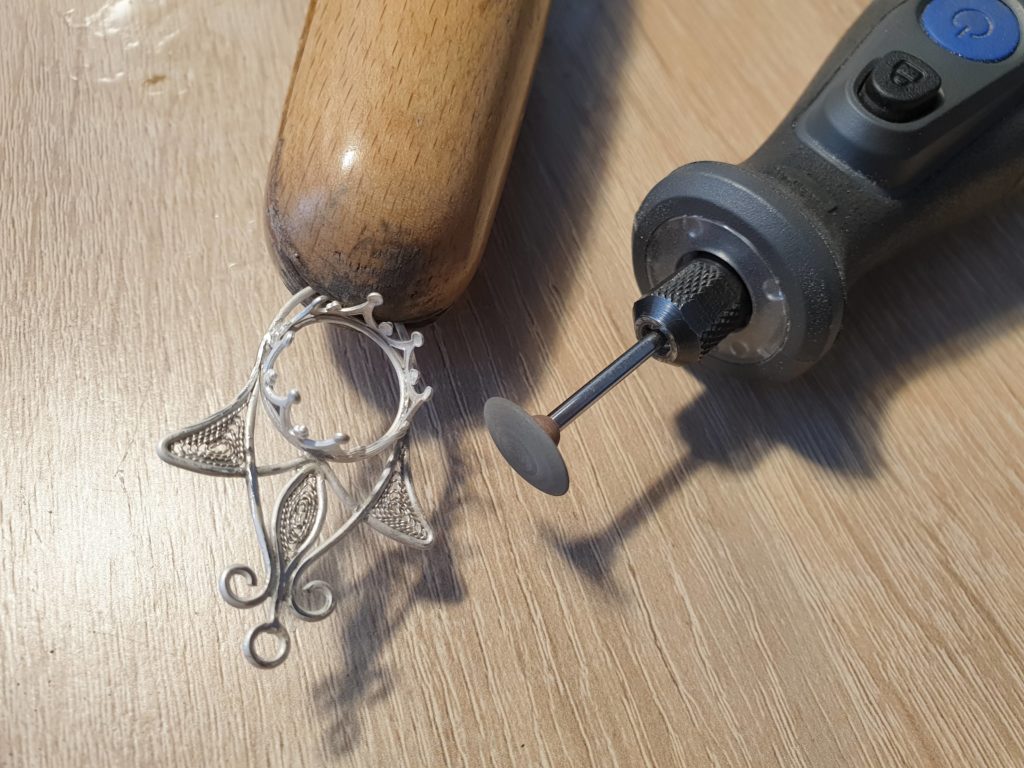
Few hours of soldering and pickling in the acid and I got to enjoy a nice stiff earring frame, still with imperfections here and there. Which means the beginning of one of the most satisfying chapter of the whole production process – polishing. For this stage I’ve got myself a fancy Dremel Micro engraver and I have never been happier with such tool.
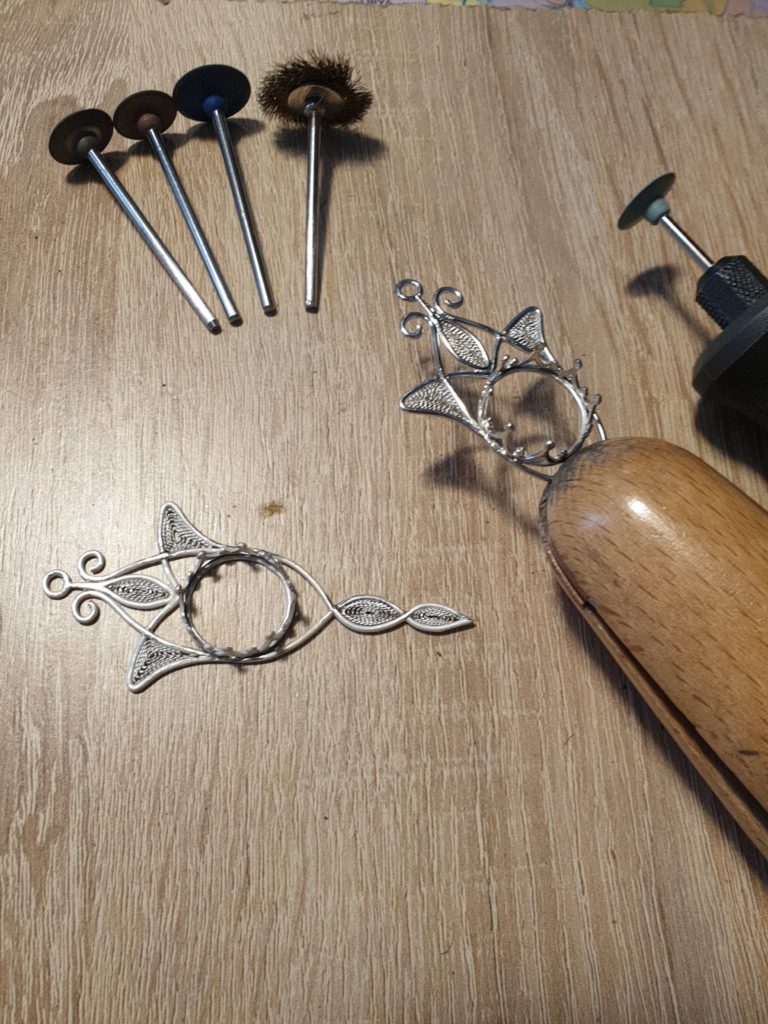
It takes few hours to properly sand off all the excessive solder and smooth out connection points to get a result I seek. Then I use few different metal wire brushes to make silver shine. So far I didn’t have a chance to get my hands on a proper polishing paste and a right buff, but I find that a final shiny touch you can also get by using a nail polishing buff.
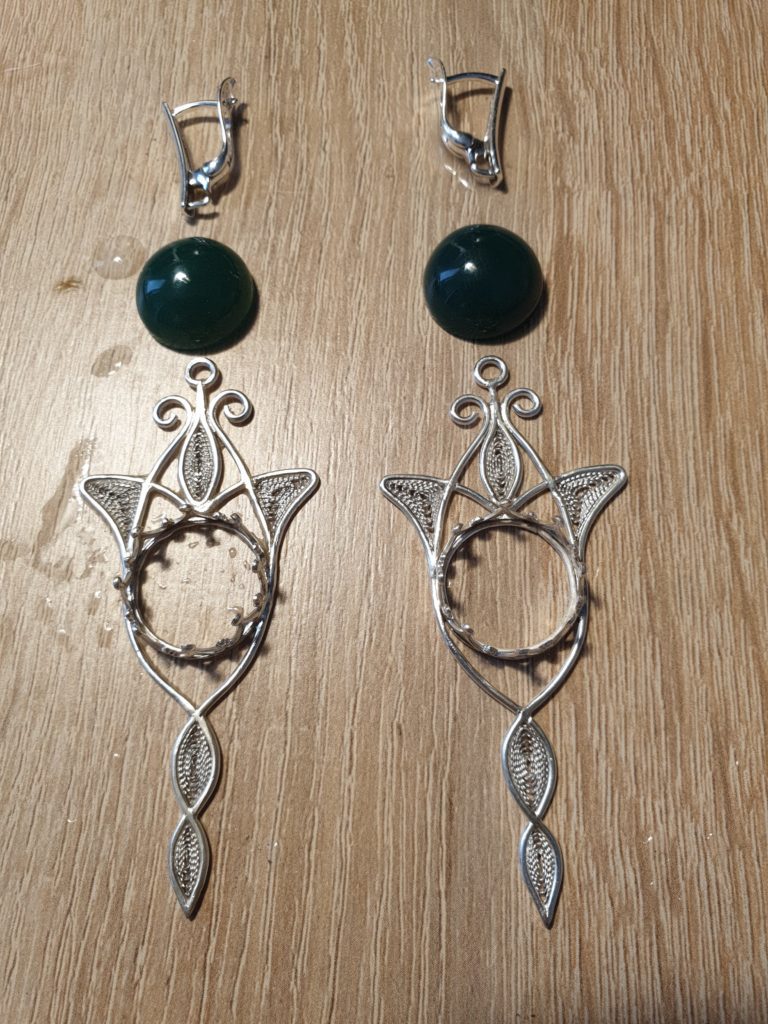
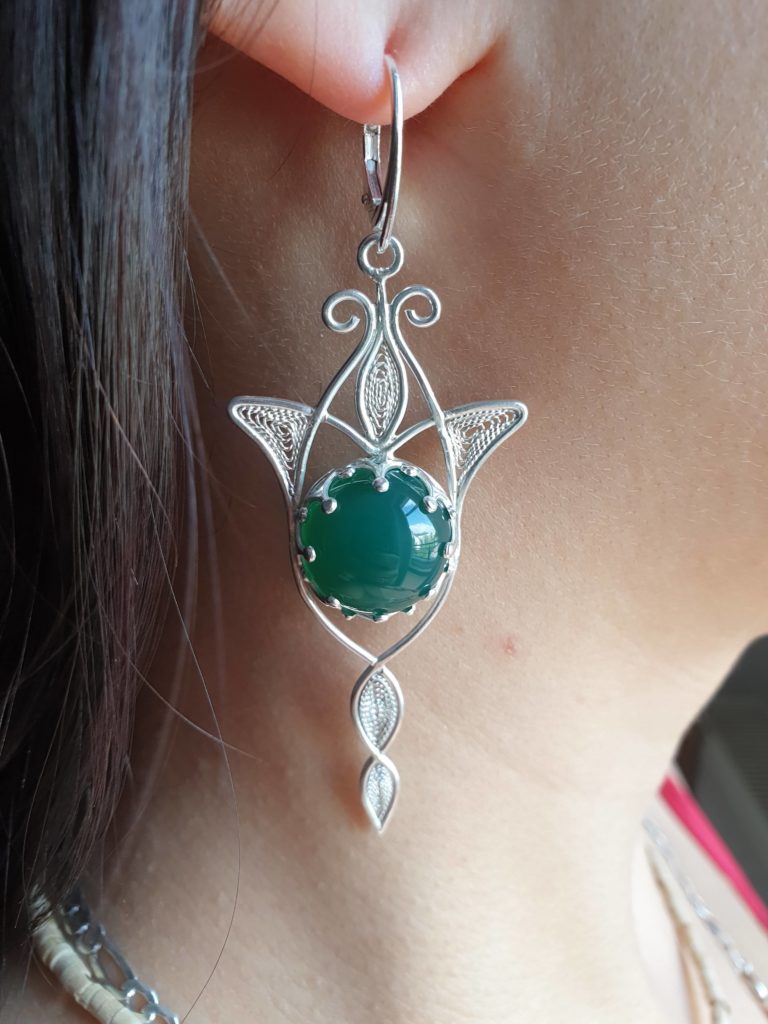
Now, when all parts are nicely polished and properly cleaned it is time to set our cabochons. With the crown cast it doesn’t take a genius skillset to set the stones as long as the cast fits correctly. For this operation I don’t even have to use any patty to hold my pieces firmly to the table – fingers do the job all right. For bending the crown tips I prefer to use a wooden stick, there is no need for chisel here.
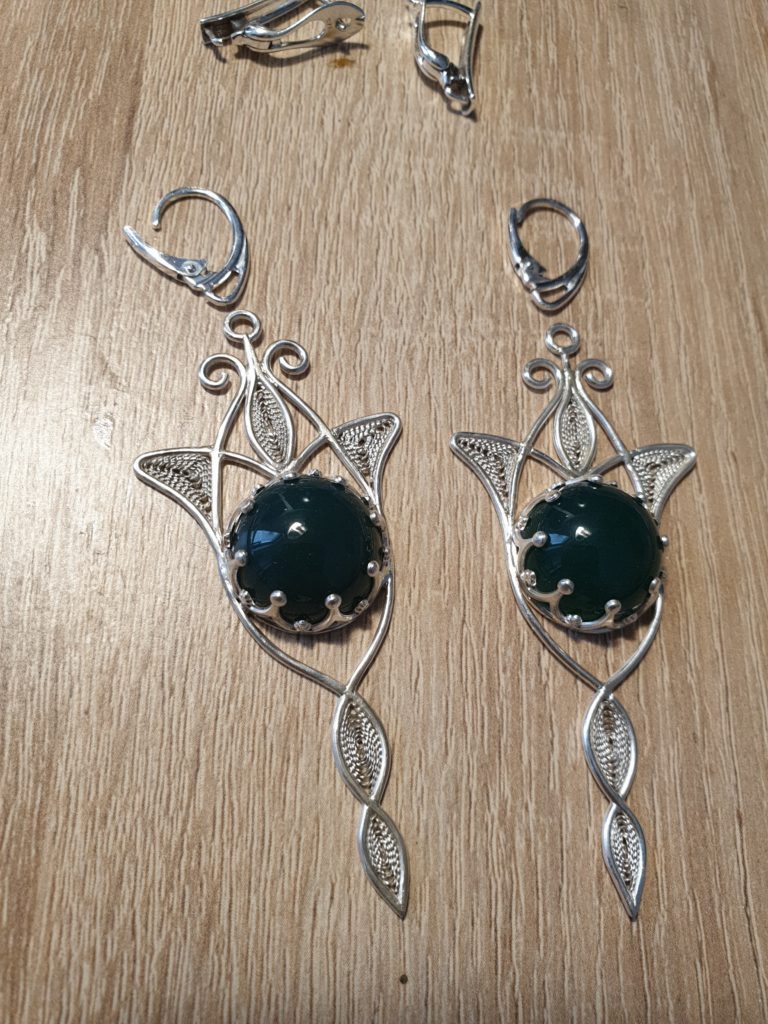
Earring hooks I bought specifically for this project turned out to be a bit too massive and I clearly needed something more lightweight for these fragile looking earrings. Gladly I spared a pair of a slick curvy earring hooks from one my first projects which fit perfectly into the elvish looking jewellery.
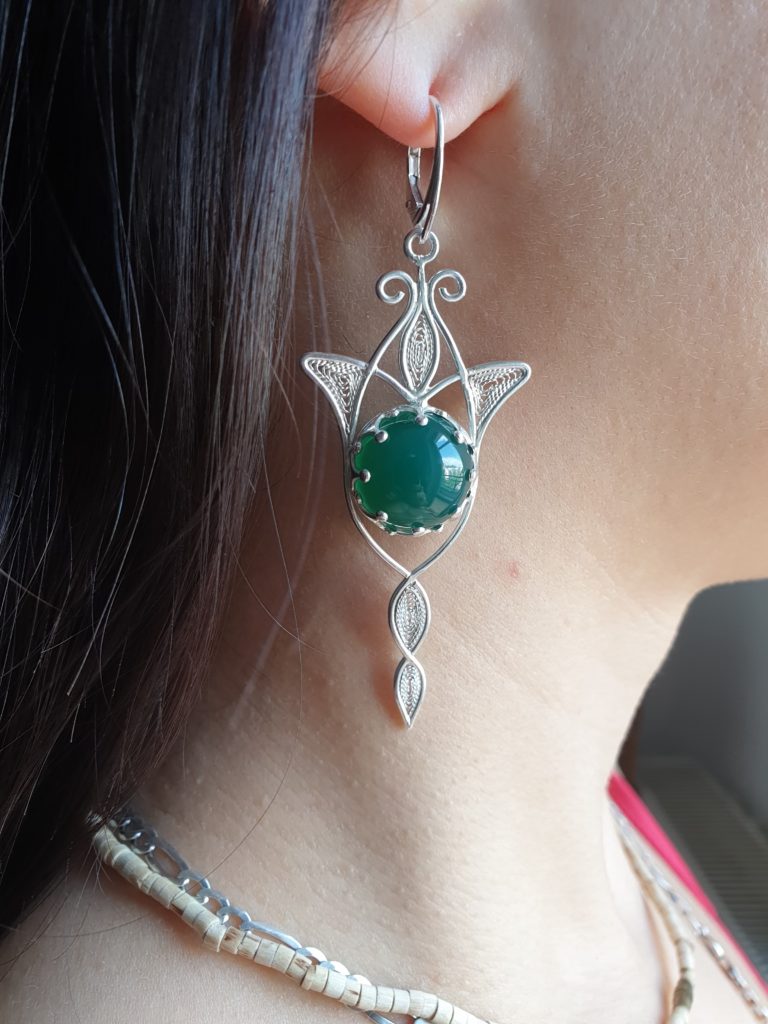
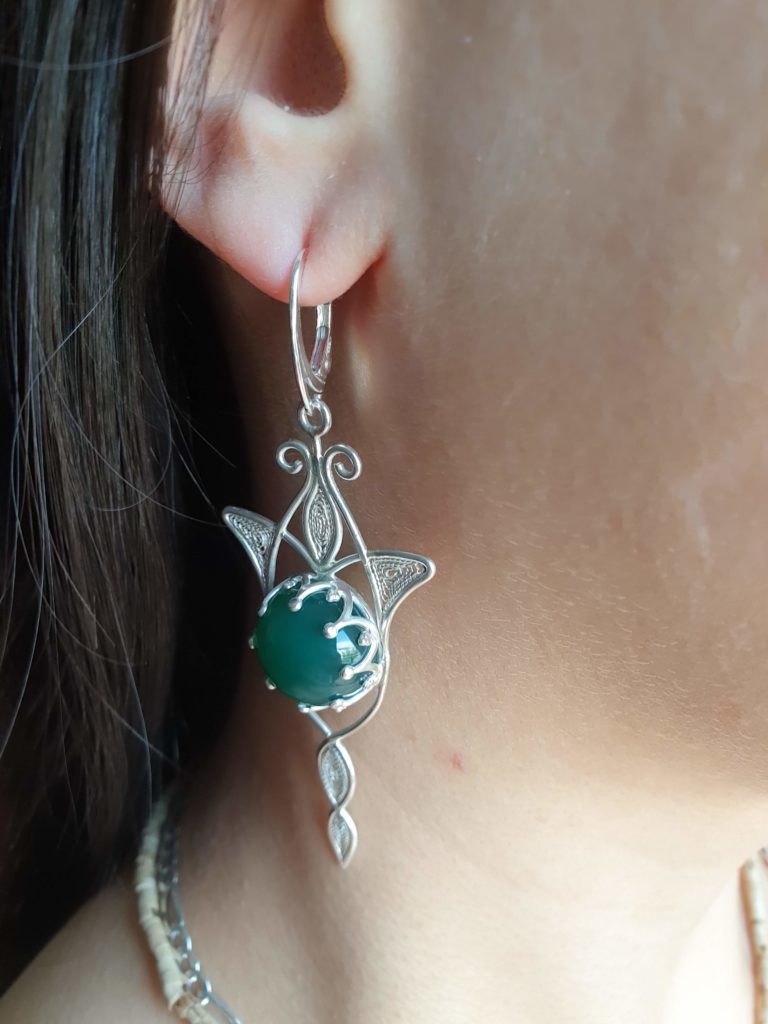
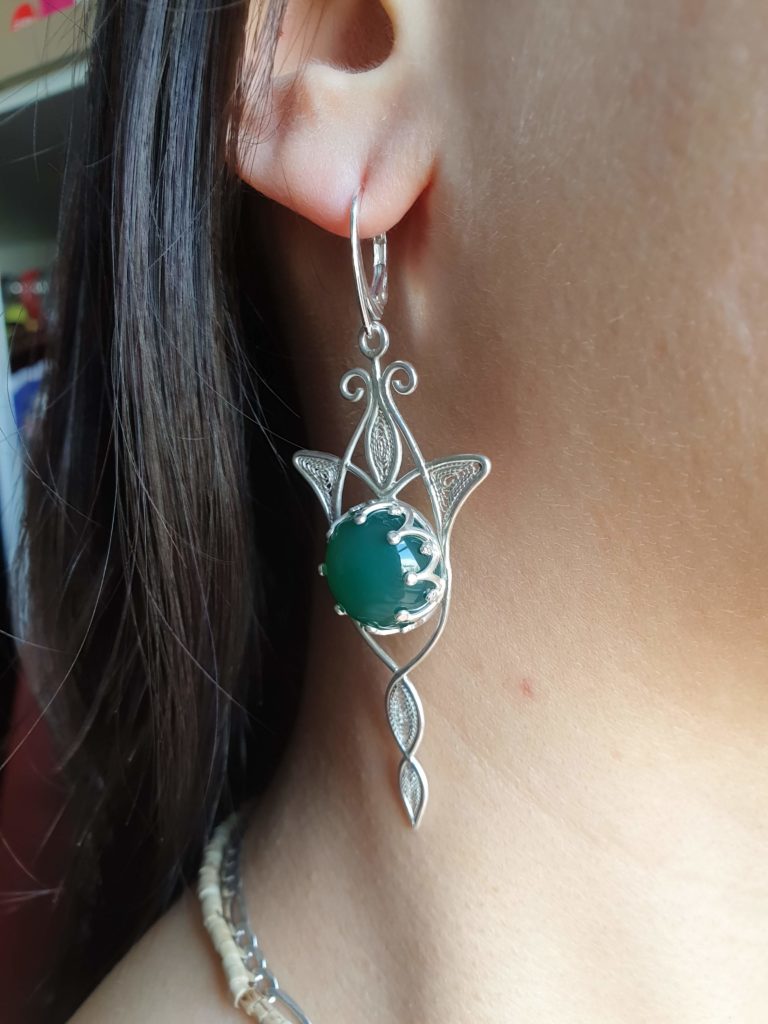
This piece is still available for purchase. If you are interested please visit my Etsy Store or send me a DM in my Instagram to talk business 🙂