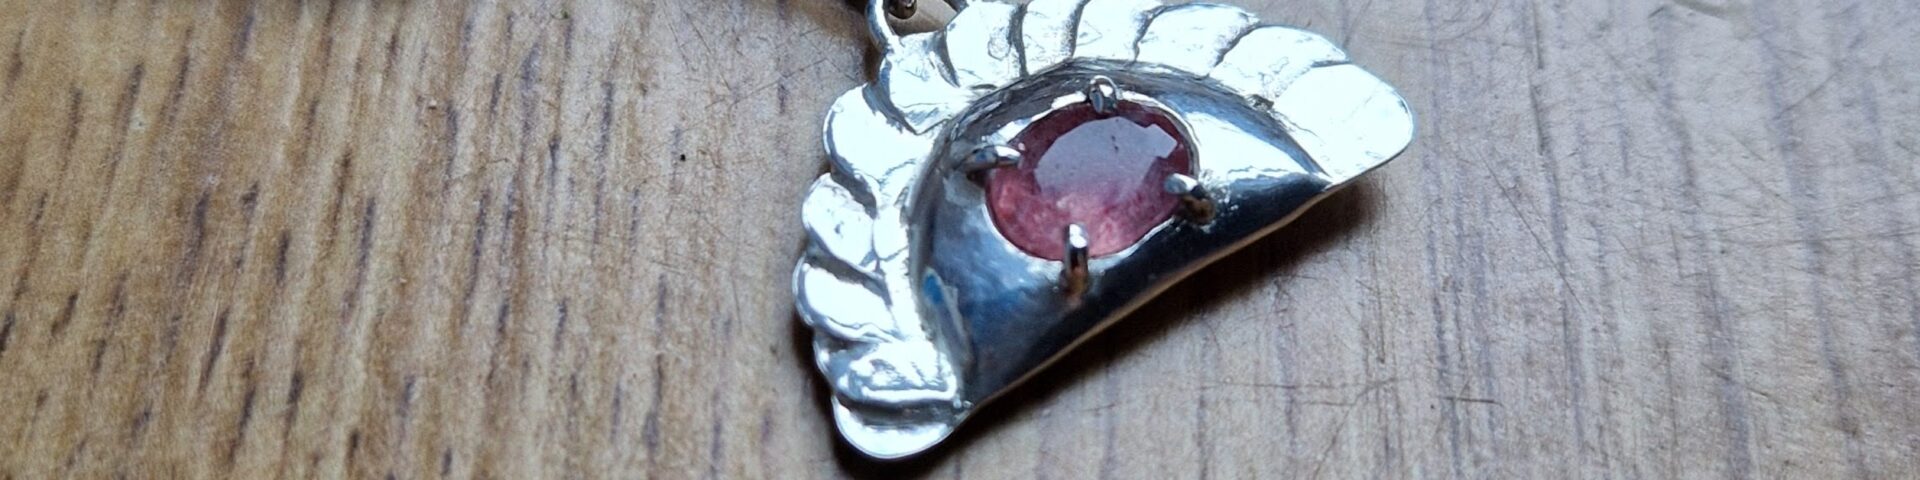
A colleague of mine was looking for a gift idea for his partner’s birthday. “It has to be something special”, he said, but there was no specific item in mind yet. At the same time I was looking for some exciting jewellery challenge for myself, hence the collaboration sparked naturally. After a couple of brainstorming sessions the ideas we came up with were still not quite right – a flower, a cat or a bicycle charm for a pandora bracelet. Well, the bicycle charm might have been interesting, but it also felt like it is missing a deeper, more personal meaning known only to them both.
“Dumpling!”, he yelled one day making me totally startled. “Making dumpling with strawberries – this is how I met my partner!”. This is how it started to make sense and the meaningful birthday gift idea began to take shape.
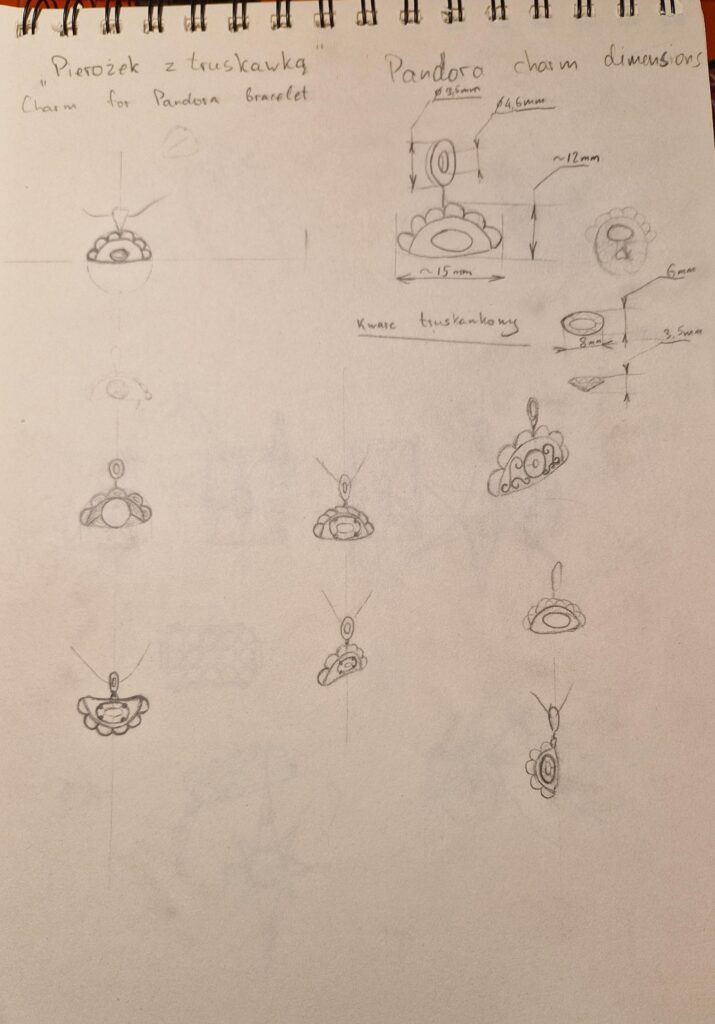
Sketching the dumling
The idea of this piece of jewellery was to be looking on a Pandora bracelet like it belongs. I means that it should be rather small to get along nicely with other charms. On the other hand it should be large enough to hold a faceted strawberry quartz I found for this project. This was enough to start sketching options of how the dumpling would look like with the bail on its top, bottom or a side of the piece.
Dumpling’s body
At first I considered making the body out of silver wires and fill the gaps with filigree. However, such small elements being curved into a convex shape might not provide enough structural integrity to properly hold the stone. Although it would look cool it would also be a nightmare to clean dirt from the inside. Thus I cut the two halves of the dumpling out of a solid 0,5mm silver sheet and hammered them to a sort of spoon shape.
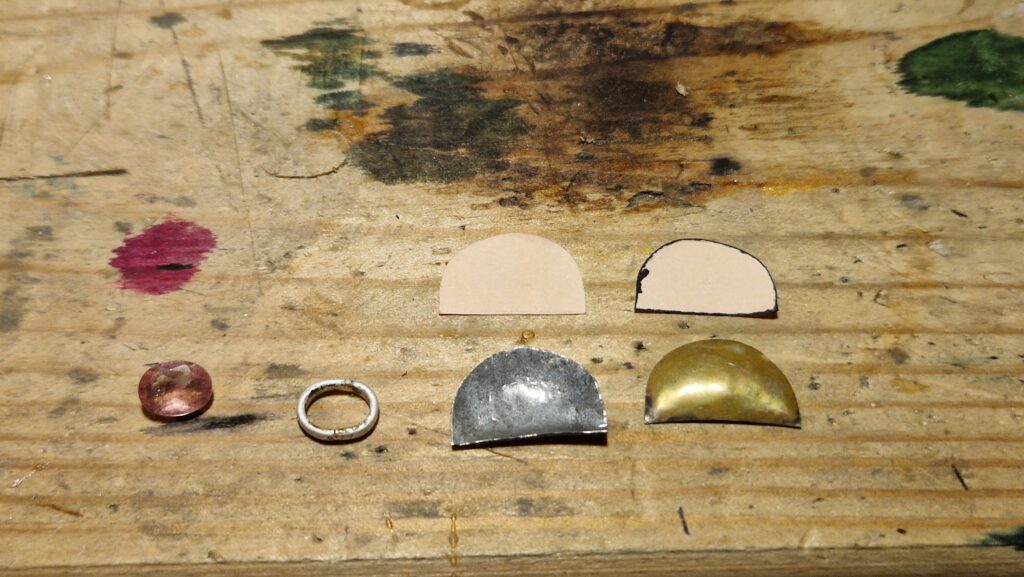
According to the design the front side of the dumpling will hold a magnificent strawberry quartz so it requires a fitting opening to let the stone it. Since the body is cut from a 0.5mm silver sheet it requires a reinforcement to securely set the stone.
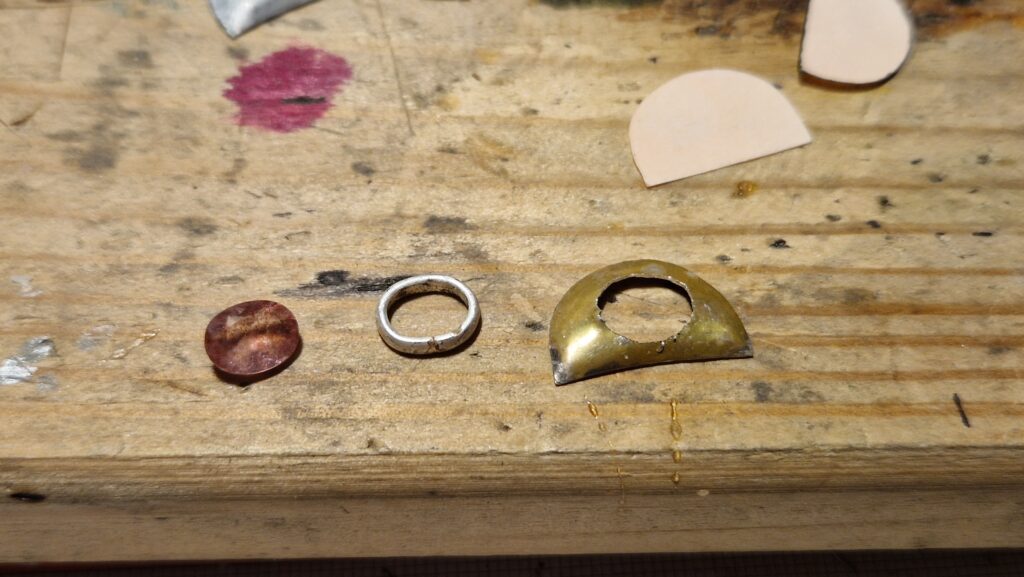
The reinforcement is made out of a 2mm wire round jumpring stretched into an oval shape to fit the quartz approximately (I will do the final fitting at a later stage – right before setting the stone). I soldered the jumpring from the inside of the front half so it doesn’t stick out too much and ruin the dumpling’s aesthetics.
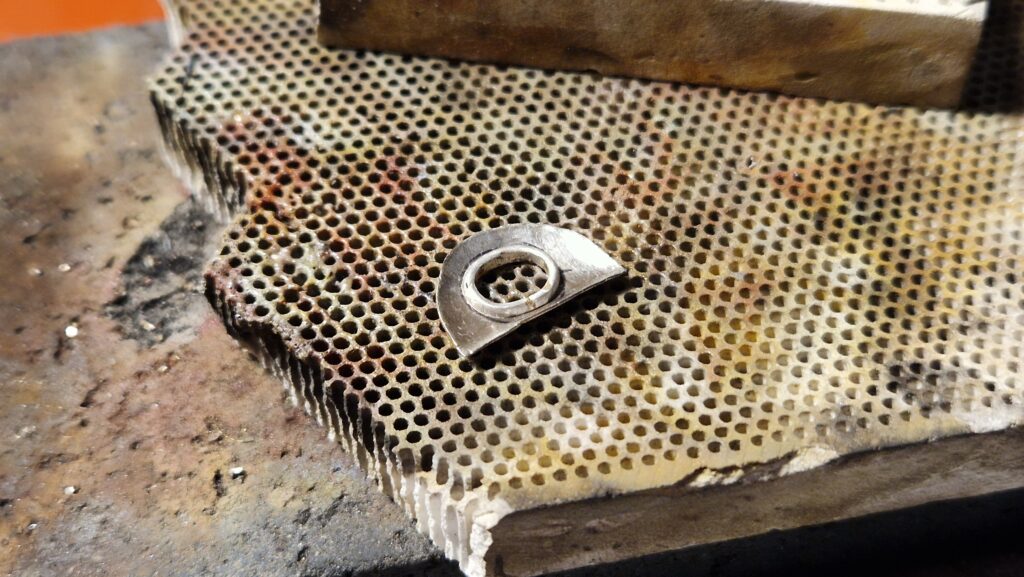
Once the reinforcement is in place I soldered two halves together using a piece of steel wire to keep everything aligned nicely.
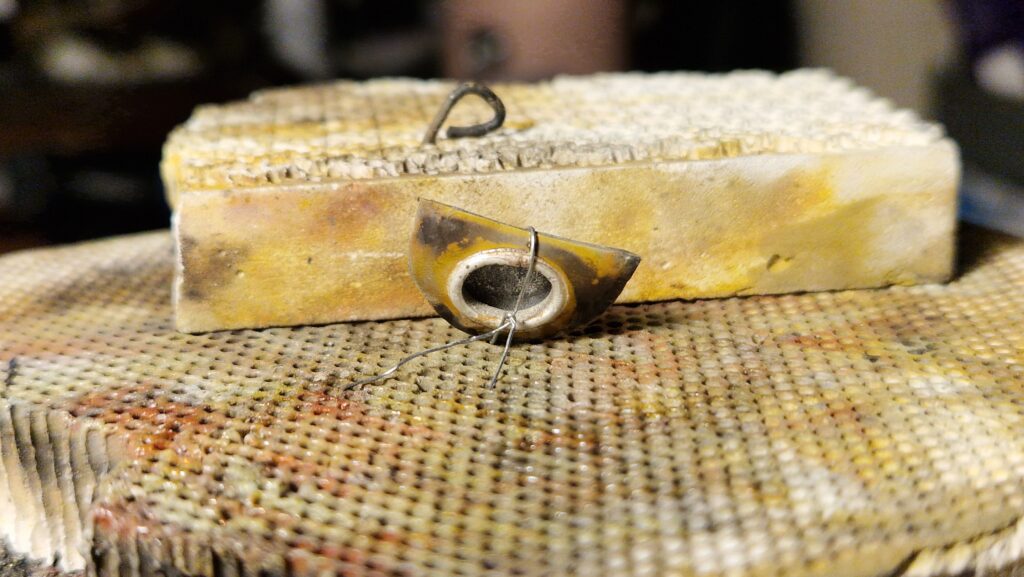
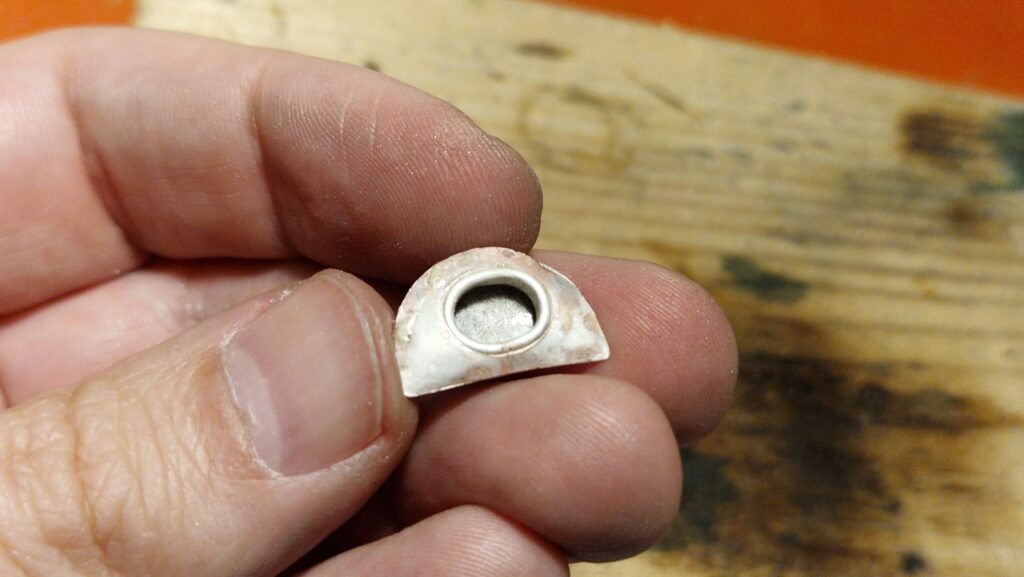
After soldering and quick acid bath the dumpling’s body started to take shape. It already looks a lot like a traditional polish meal, but it misses a distinguished outer ring of dough.
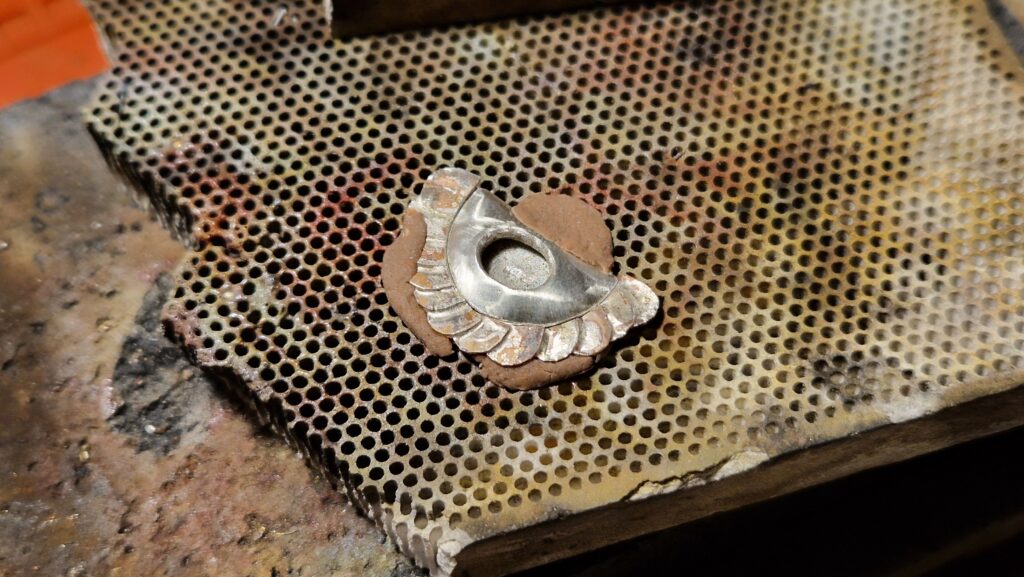
I am not much of a cook, hence I made the dumpling outer ring out of small pieces of 0.3mm silver plate. It was a challenge to keep all those flakes together during the soldering when the flux is boiling and rearrange the whole setup.
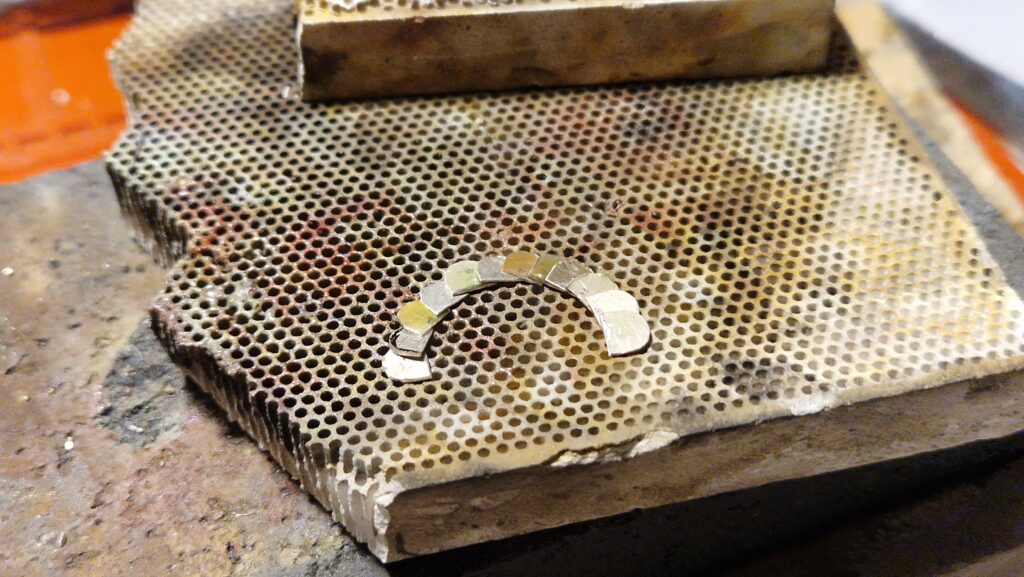
Once the outer ring is soldered together I did some grinding to make sure it fits snuggly the dumpling body. Fitness of these elements at this stage is crucial, because otherwise the joints would be weak and there is a risk of unwanted disassemble while wearing.
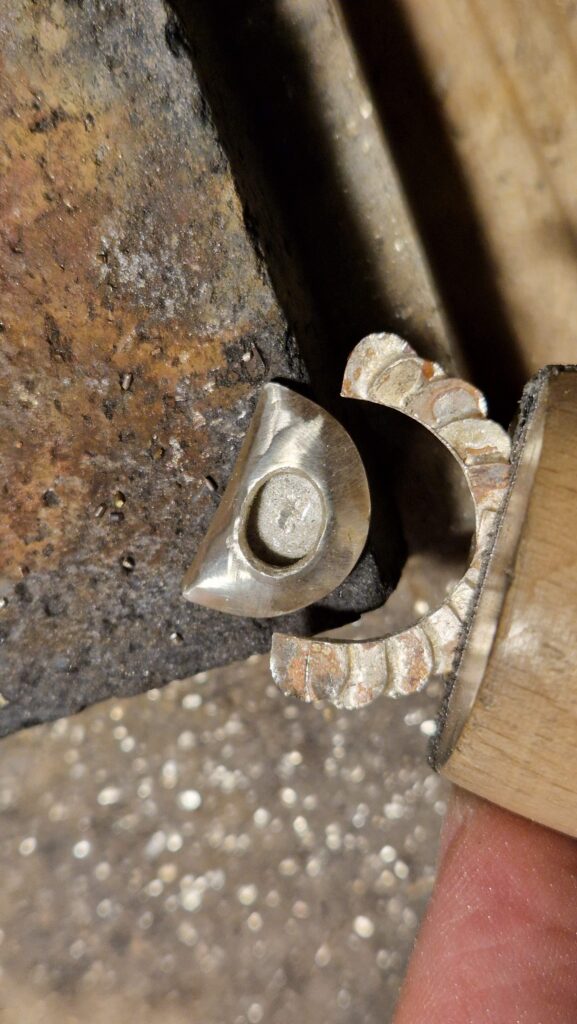
I tried tie these elements together with some steel wire but gave up quickly – there is no way I could get them aligned. THankfully I have some genuine Hold-IT mouldable third hand from USA. This is a sort of clay that can nicely hold parts together during the soldering.
Setting the quartz
When the dumpling is mainly done with its reinforced body, outer ring and a tiny bail ring on top it is time to decorate it with the gemstone. Since the clue of the backstory is the dumpling with strawberry, this particular quartz couldn’t be more perfect here.
I decided to set the gem in four prongs instead of close in a bezel becuase in my opinion it would better reveal the dumpling’s strawberriness. Plus I wanted the gem to be flush and the bezel setting could stick out too much. The first step was to drill four 1mm holes in the dumpling front part around the opening for the gem.
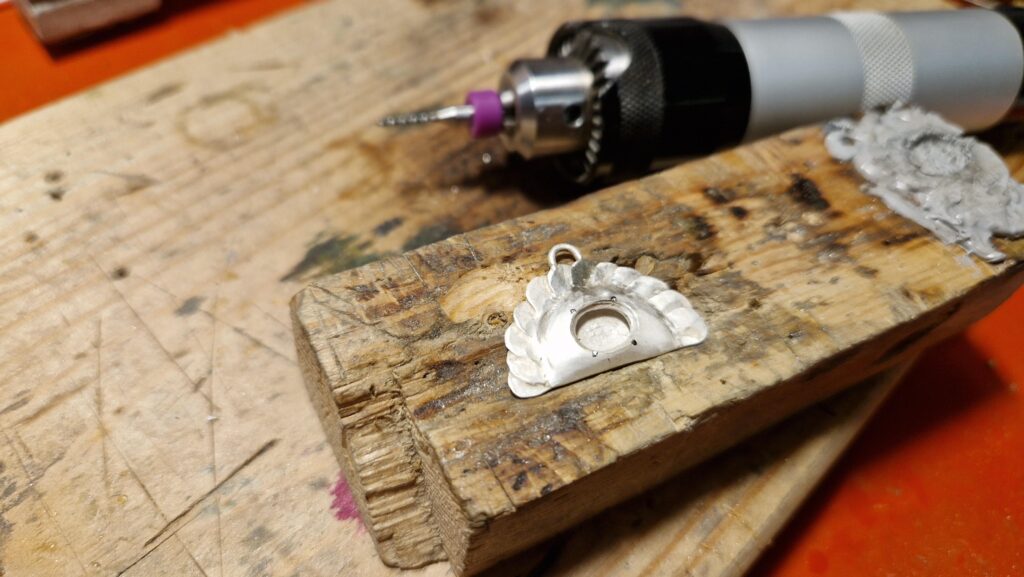
These holes aren’t necessary, but this way the prongs will be attached much more secure than if I just soldered them to the surface. To make four prongs I bent a 1mm wire into two staples and inserted them into the drilled holes. This way is much better for soldering delicate elements to a larger piece because of the greater heat dissipation. Otherwise already attached standalone prongs could move around while soldering next ones.
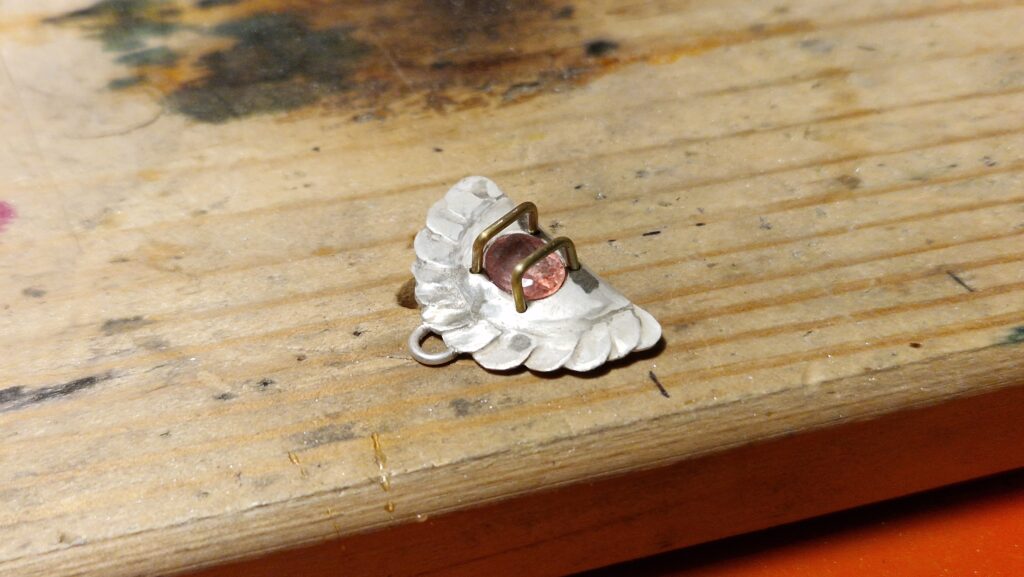
Soldering prongs was the last fiery step of the dumpling making. After all elements are on their places I did a lot of grinding, filing, polishing and two final stages of tumbling – magnetic with tiny steel pins and usual rotational with steel balls. Only after I’m happy with the surface of the dumpling, the process of gemstone setting begins.
I heated up a blob of thermolock and squish onto a small wooden block. Then I heat it a bit more and squish the dumpling into it making sure the stone area is clear. Once the thermolock is fully hardened I cut the prongs to a desirable length and prepared the reinforced stone saddle for a tight fit. When the gem sits firmly in its place I bent the prongs toward the stone so it doesn’t escape this claw grip. A pneumatic hammerpiece would be perfect for this job, but I’m not there yet and therefore I used a manual prong tool.
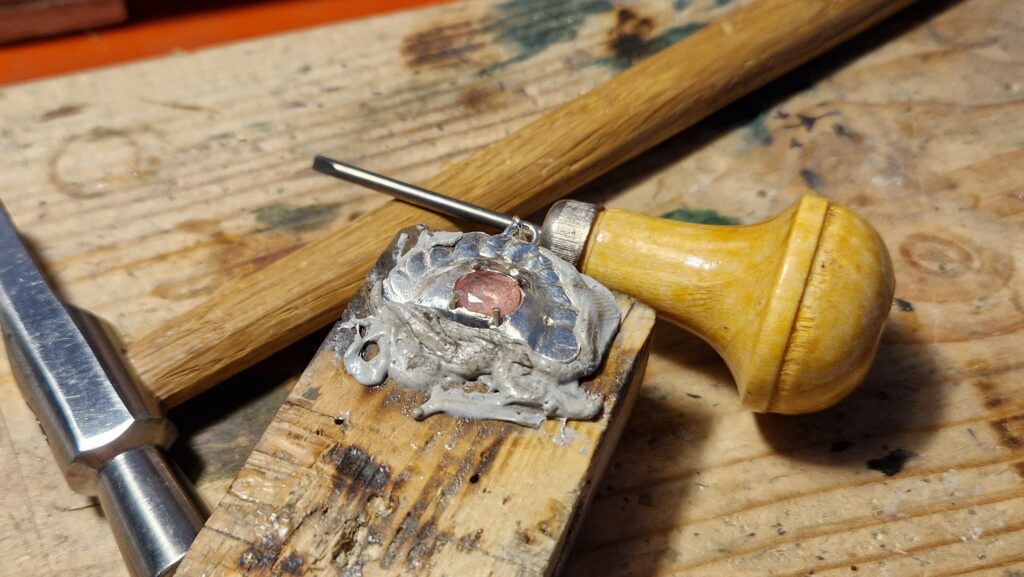
Finally the prongs are bent and the strawberry quartz is securely set inside the dumpling. The only missing elemen is bail to attach the dumpling to a chain or bracelet. In my initial design I was going to use filigree for the dumpling’s body, but decided to go with a solid silver instead. However, since I like this technique so much I made a bail with some filigree loops and widen it to fit the Pandora dimensions.
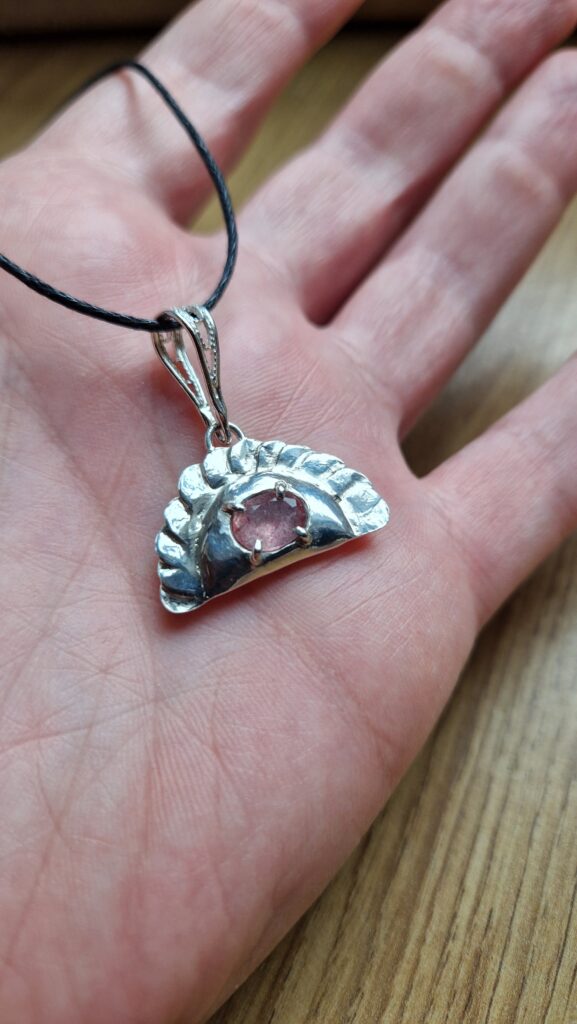
A few final rounds of polishing with my brass brushes, silicone discs and a wool wheel and voila – a new unusual masterpiece is ready to capture everyone’s attention! Either as a bracelet charm or an independent pendant!
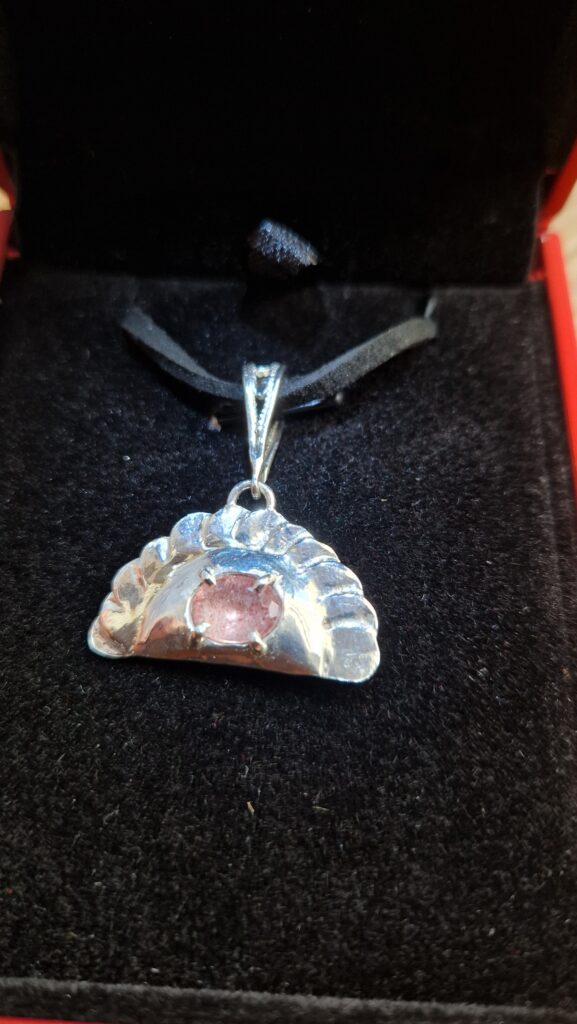
I love crafting things that hold a deeper meaning to people wearing them. This way it it turn from being an ordinary thing to an artifact that triggers emotions and memories. This way I can proudly consider my pieces aform of true art.
If you like this kind of things go ahead and check other articles on my blog.
You are also welcome at my Etsy store where you can purchase available pieces or commission a custom one.