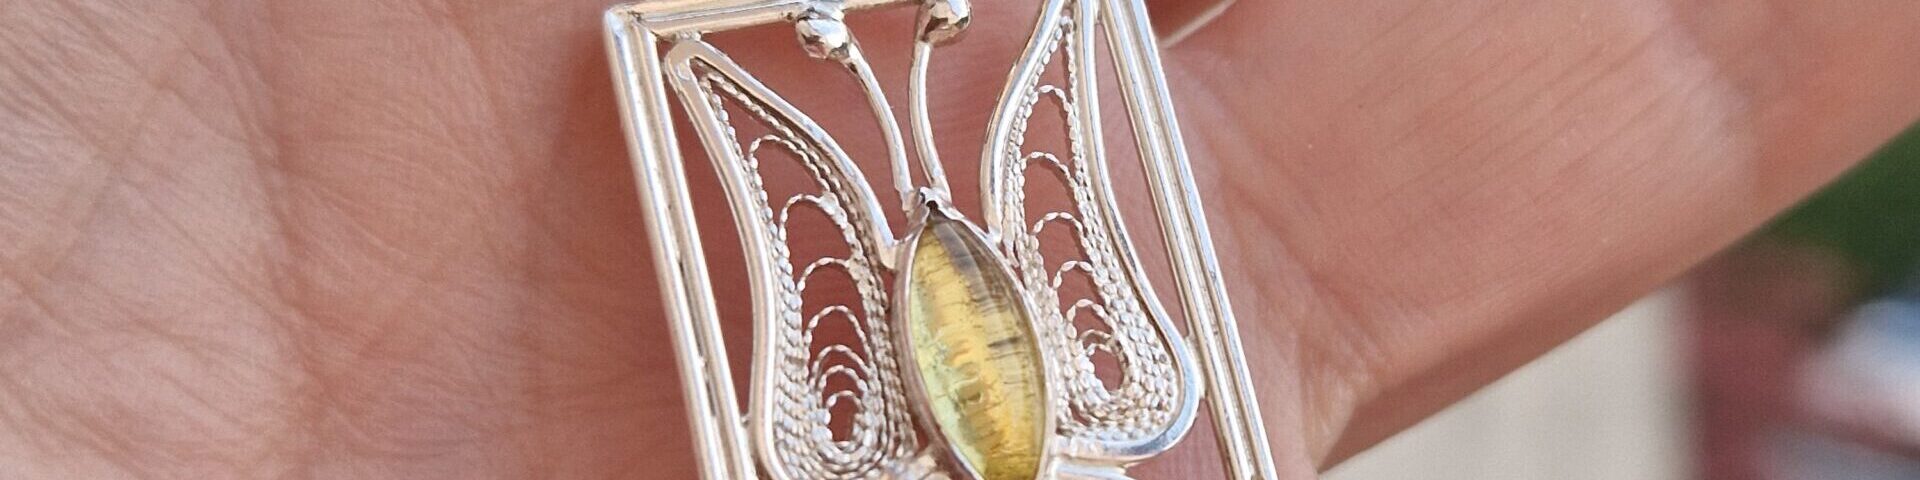
You never know where the inspiration might hit from. This time it was an unexpected interview I got invited to by the DzikiMotyl YouTube channel. The unexpected bit is related to the fact that this channel is about books and has nothing to do with the metalsmithing. Anyway after the lovely chat I wanted to express my gratitude and make something cute for these people.
The name Dziki Motyl literaly means a “wild butterfly”, which gave me a strong push towards the whole concept of the piece of jewelry to craft. The very first idea was to make a book locket with a butterfly on its front, but it appeared I needed some extra preparation. Armed with experience of simlar projects (Amber Book Silver Locket and The Book of Unelma) I realised that I need more firepower. Quite literally. Vast majority of my projects are small delicate things and I use my favourite Dremel VersaTip torch most of the times. Book locket usually requires a lot more thermal power for soldering due its increased heat dissipation and my precise torch just ain’t gonna cut it.
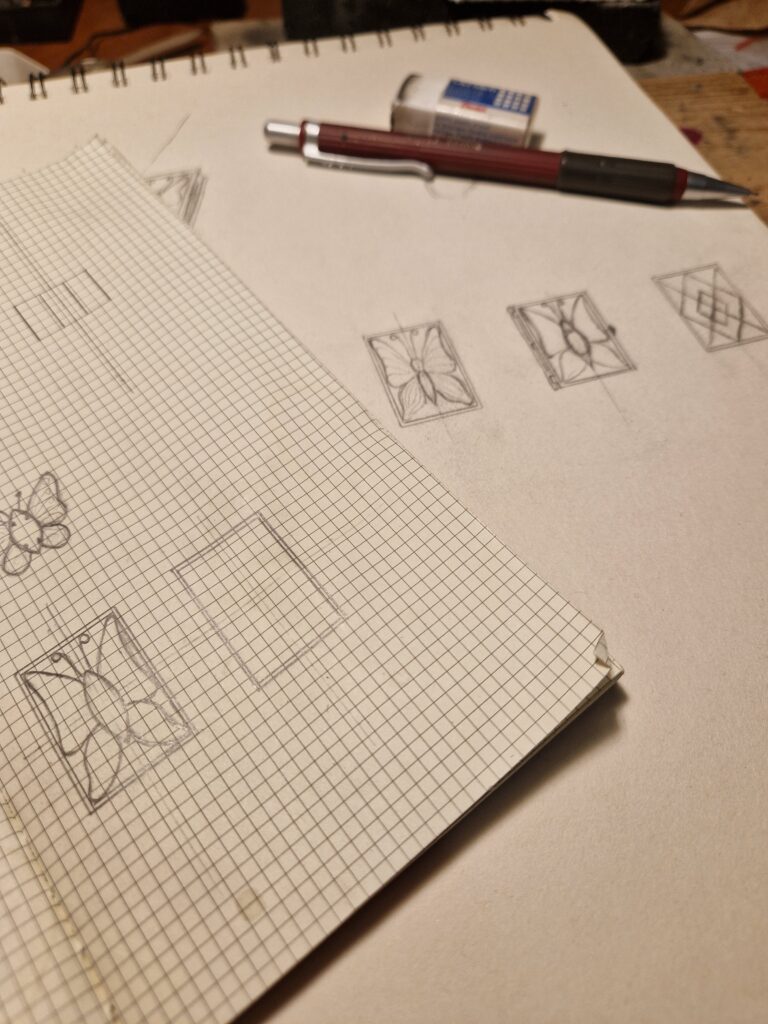
Hence, the concept quickly pivoted to a smaller 2D structure representing a butterfly captured in a frame. Couple of sketches done and I am ready to go with the building proces. It all starts with the double frame with the 4×3 ratio made with a 1mm and 0.8mm thick sterling silver wires soldered together. Doubling the wires gives the piece its mechanical strength and also an aesthetics of a beuatiful paiting framing.
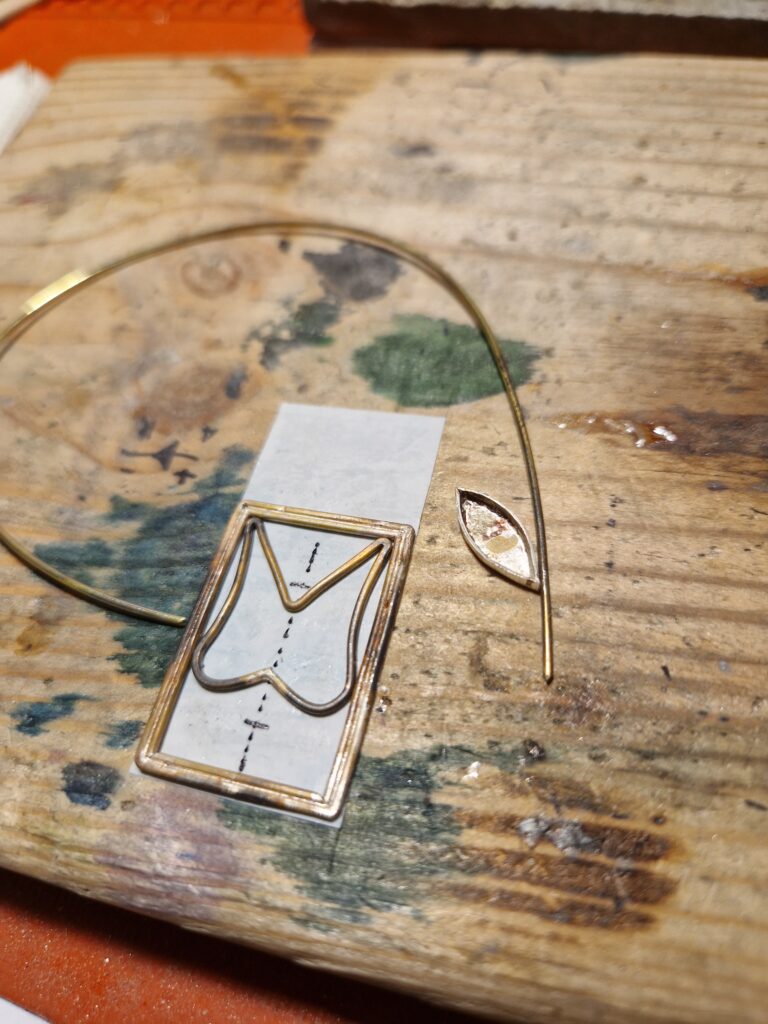
I used a piece of doube sided sticky tape to attach the frame to a piece of wood on my bench. This way it is easier to keep all the elements from lying all ofver the place. Next I bend a butterfly shape out of 1mm wire and fit it tightly inside the frame.
The centerpiece of the frame will take a marquise amber cabochone. I used some 0.5mm thick silver sheet to make a bezel for it that look like a cute tiny boat. After the butterfly wires are soldered to the frame I cut the openning to fit the bezel right in the middle of this piece.
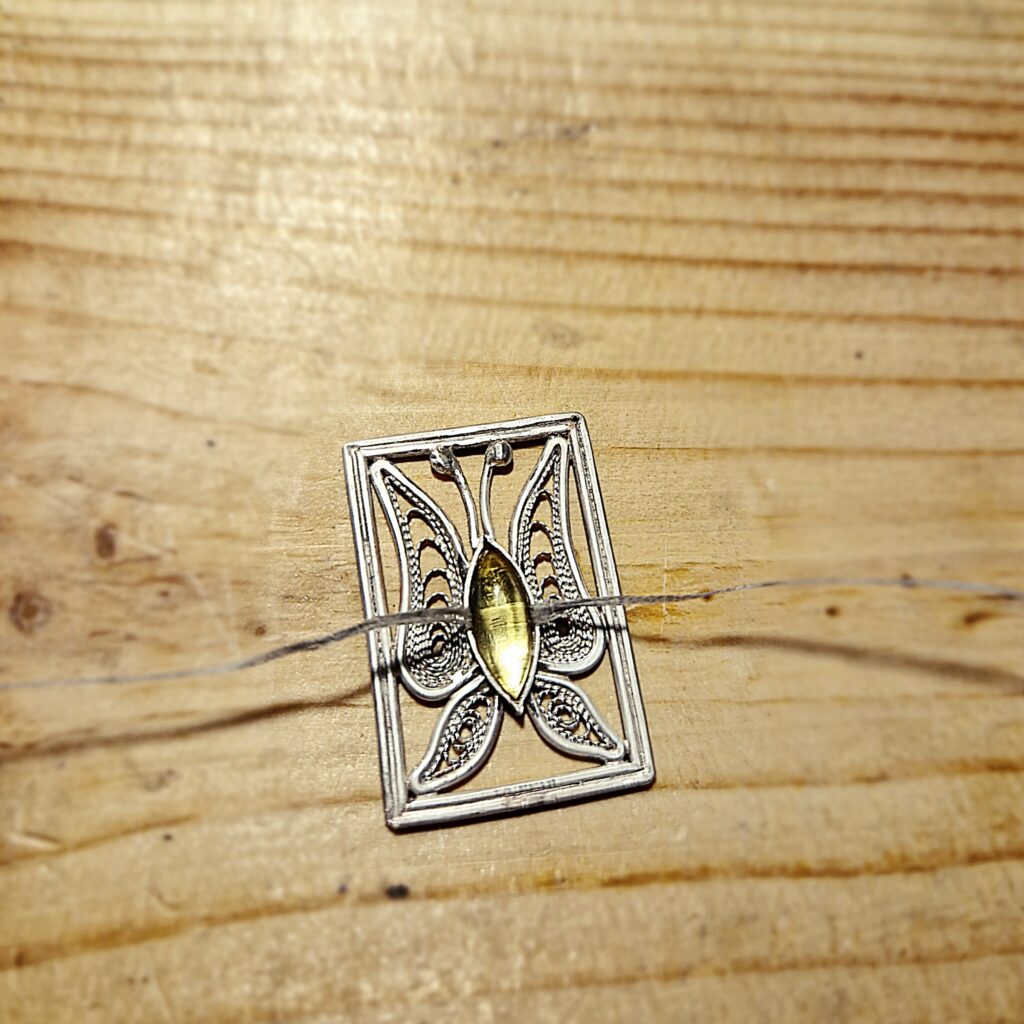
As I stil believe that everything is prettier with filigree it was an easy choice on what to fill the butterfly wings with. The twisted and flattened silver wire creates a magical look when coiled within a wire shape. On top of the bezel I also soldered 2 pieces of wire with blops on one side to imitate the butterfly eyes (or perhaps these are antennas?).
The tip I learned from the Inspiring Metalsmiths Facebook community is when you try your gem in a closed bezel always use a piece of dental floss. There were too many times I just wanted to try if the stone fits in the bezel only to realise that it fits too nice to get out on its own without some demolition activities.
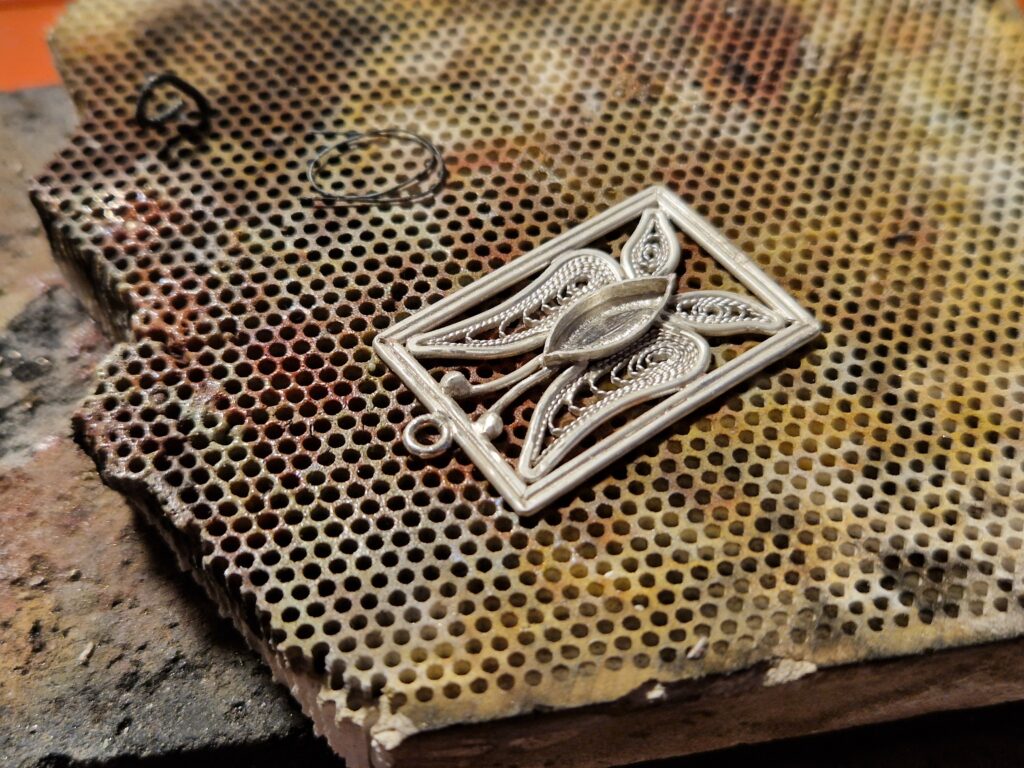
Almost forgot a crucial element of the project. Since this is supposed to be a pendant it needs a bail to be hanging on the necklace. To ensure its stability I used my Dremel burr to grind a little groove of the top of the frame so the tine jump ring would fit right in. This way the soldering is easier and I don’t loose any sleep worrying it will come off at some point. Then another jump ring soldered shut and the piece is ready for prettyfication – a bath in my new magnetic tumbler wiht steel pins and after that a round of polishing in the traditional tumbler with tine steel balls.
Once all sodering and heavy polishing is done it is time to set the amber. If it was a harder stone like garnet or citrine I would give the piece another round of polishing routine in the tumblers. But the amber is scary soft and you got to be extra careful not to ruin it while pushing the bezel. Another fun fact about genuine amber – it glows like crazy under the UV light!
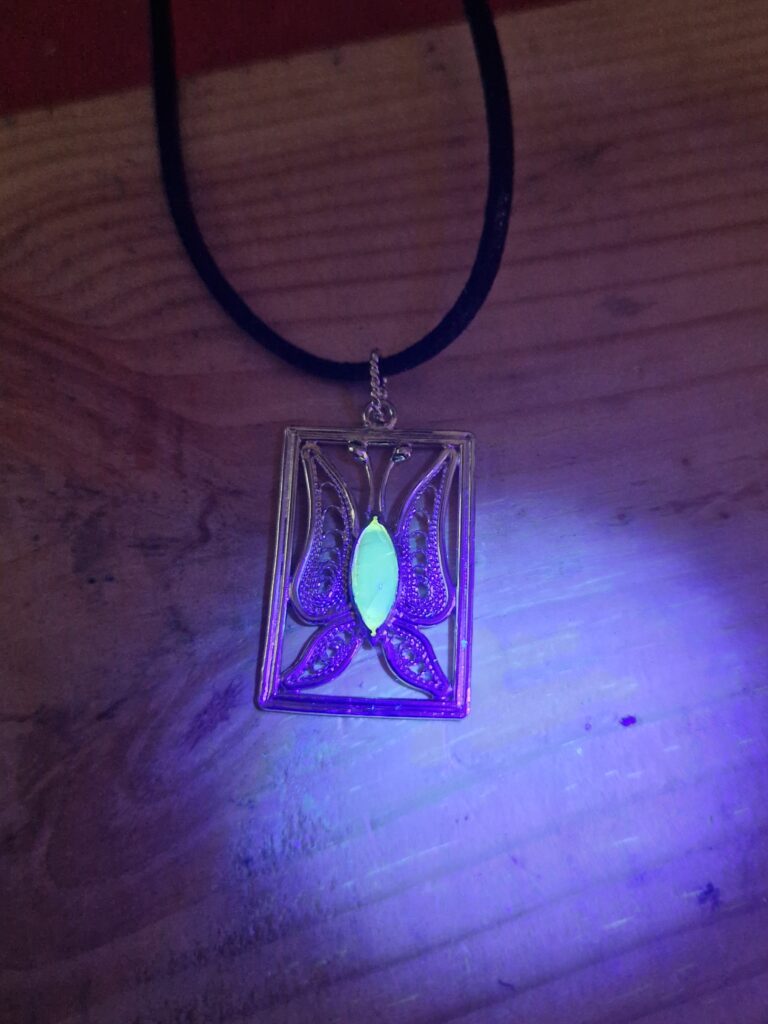
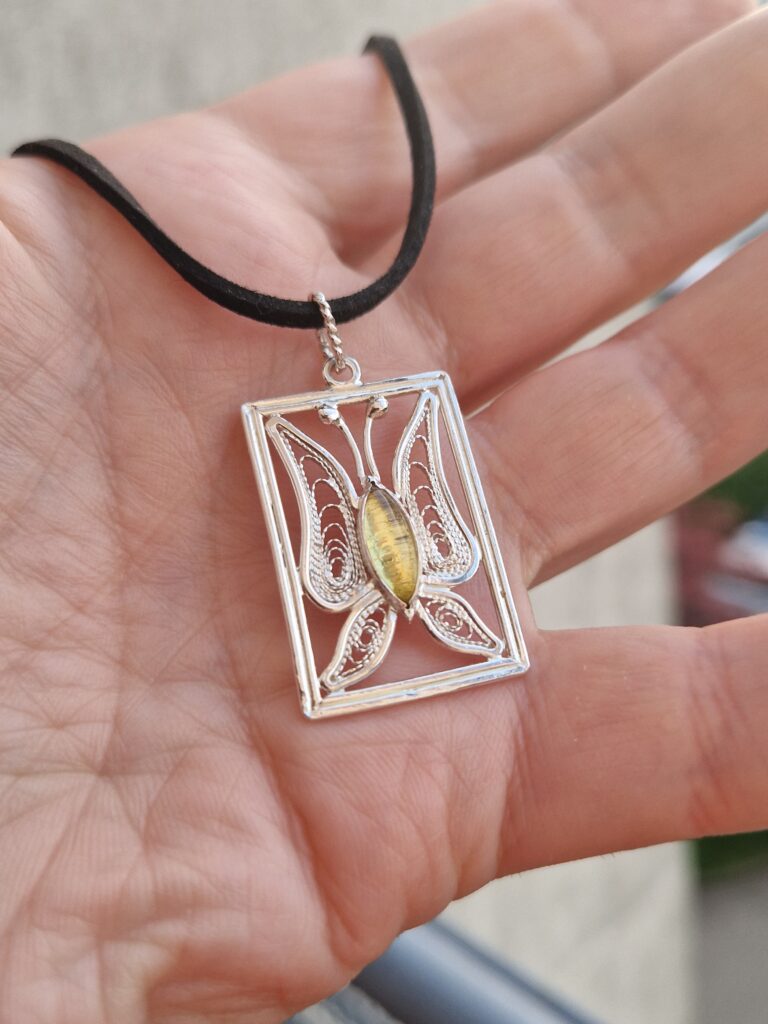
The stone setting procedure often leaves some marks and scratches here and there, so it is a good idea to inspect the entire piece closely and buff out the imperfections as much as possible. After that I can proudly clain that the butterfly is in the frame!
If you like this kind of things go ahead and check other articles on this blog and also have a look at my Etsy store.