Intro
There was a lute on my colleague’s desk. You don’t see this kind of artifact on a common Thursday in the tech company office. Rather in a video game or a fantasy movie. Fighting my introverted nature I managed to use the lute to kick off a conversation. It turned out to be a great one: I learned about the lute, a shooting range for longbows in the nearby park, a massive fantasy convention in Poland called Pyrkon and that his wife has recently published an original fantasy book about Evi’Deth.
Driven by curiosity as well as willing to support a fantasy world I ordered a copy of this book as a gift for my wife (who also happened to be a writer and a fantasy genre enthusiast). It was only after I learned that there is also an audio version of this book available. To be honest I’m not a huge fan of audiobooks, but this one is not at all an ordinary one. This book is narrated by an incredible voice actor well known for the polish voice of Yennefer in The Witcher 3: Wild Hunt video game!

Inspiration
It was mindblowing to listen about the adventures of Evi’Deth in the incredible voice of Yennefer of Vengerberg. There was an episode where the main character buys an unusual looking silver pendant shaped as a longbow with a marvelous labradorite gem. In that instant a thought rushed through my mind: “That would be an excellent project for me to try!”.
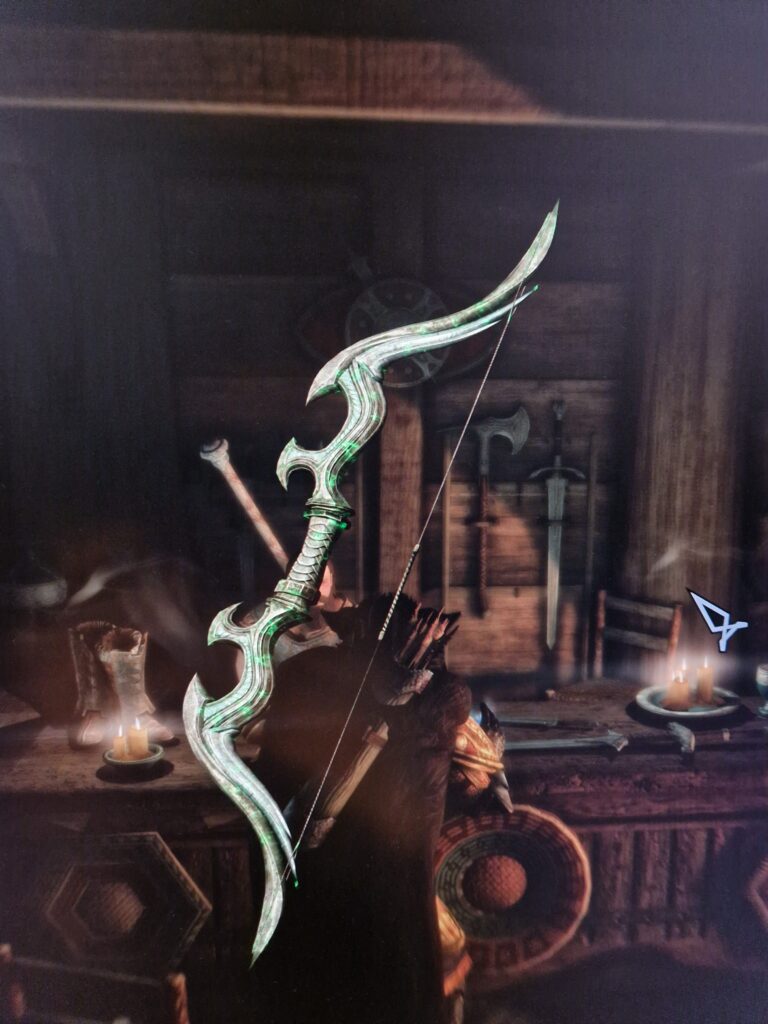
I did have a labradorite cabochon in my treasure chest but I have never crafted anything resembling a longbow. Damn, I don’t think I’ve ever seen one in real life. This is where imagination is the key: if you can construct something in your head there is a chance it is achievable in reality. Plus I can always reach out to Skyrim for some fantasy longbows inspiration (thank you Bethesda)!
Sketching
My first sketch wasn’t too pretty but it was enough to kick off a conversation. I reached out to the author asking if this would be okay to make jewellery based on her book. The answer I got was so enthusiastic it gave me extra inspiration to really push my creative skills.
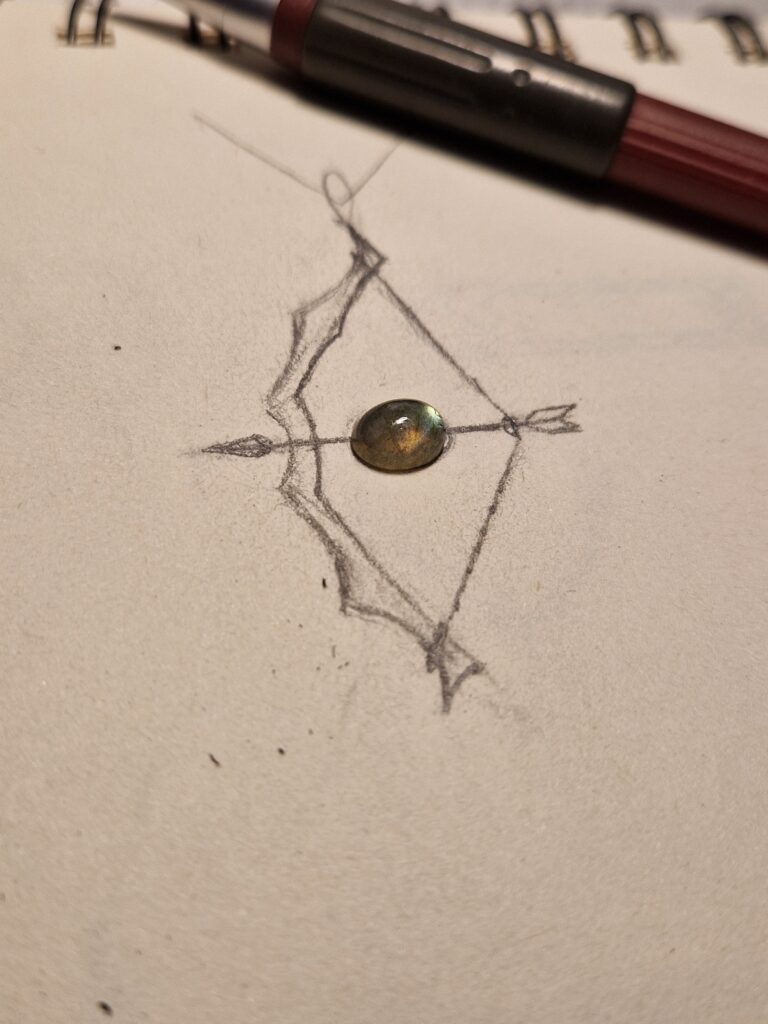
After about 20 sketches I felt like it’s getting somewhere. First I set on the idea to set the gem on the arrow which would spin – how cool would that be? But my engineering backgroung rejected this stunt as the gem woul dend up looking downwards most of the time. Perhaps I will get back to this design once I figure out the balancing or some ratchet mechanism to hold the stone in a good looking position.
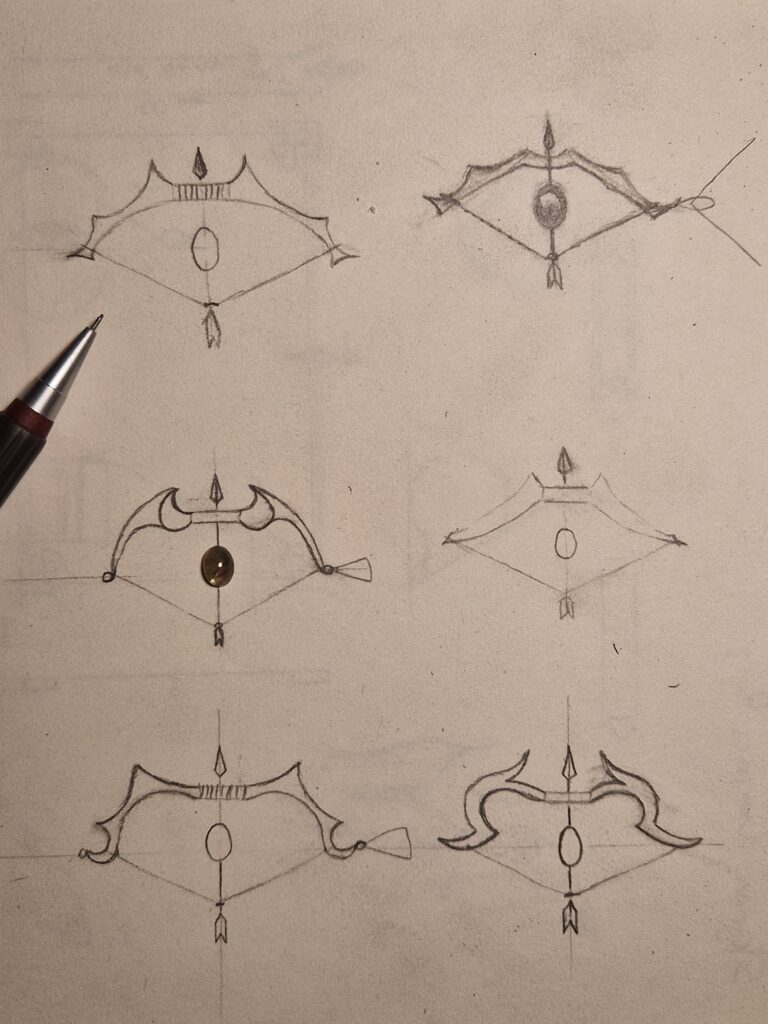
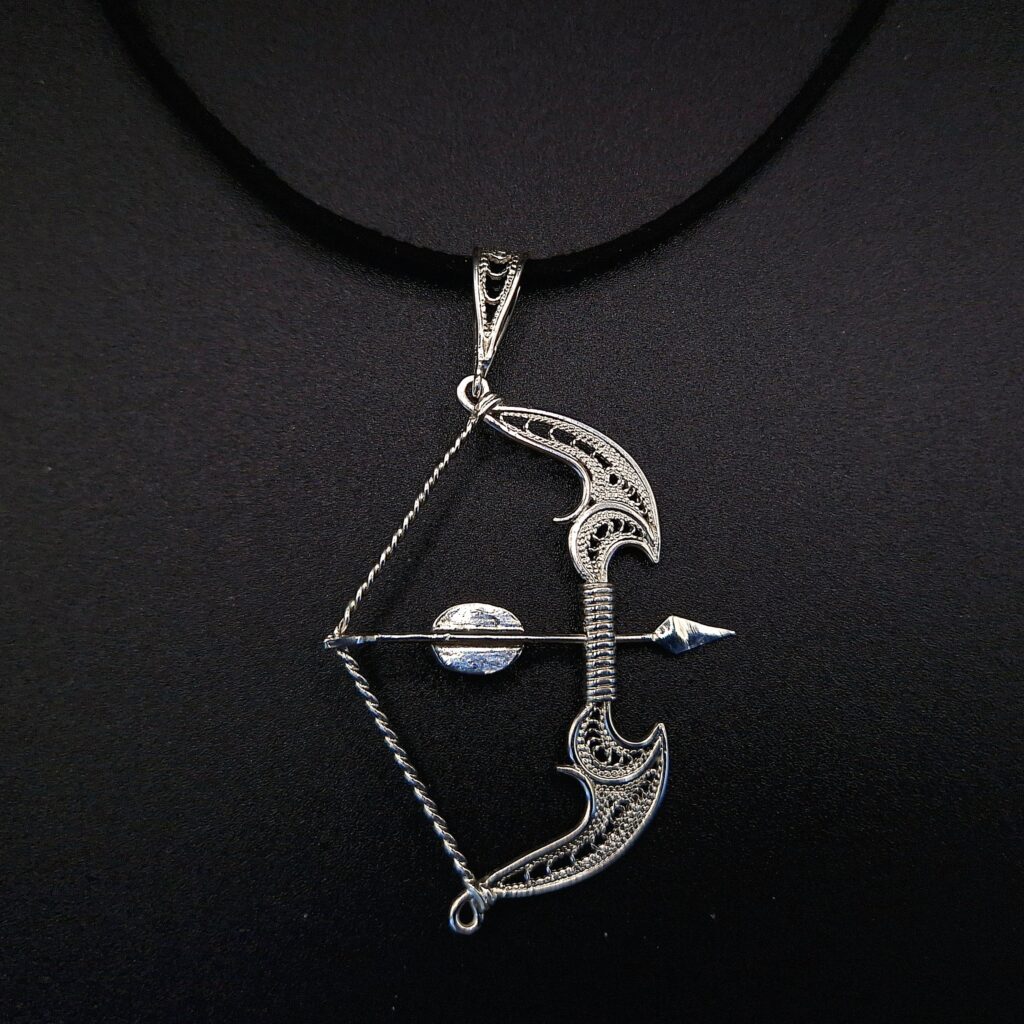
I accpeted the compromise of having a no moving parts in the bow and selected an option I liked. The grip would be slick and the limbs on the contrary should be rather large to fit in the filigree decorative elements. I will make the string with a twisted 0.6 wire and the pendant bail will be attached to the top nock. The arrow would go through the grip and be firmly soldered to it and to the string to safely hold a gem.
Crafting bow handle
Where does the longbow production start? I didn’t know either. So I began with making a grip – a central element the archer holds the bow by. I took a 0.8mm wire and tightly wound on a thin awl tool, soldered and then squeezed in my Stanley vice. Becuase it is hollow the first elements of the bow limbs will partially fit inside it. It will give a great structural strength when soldered.
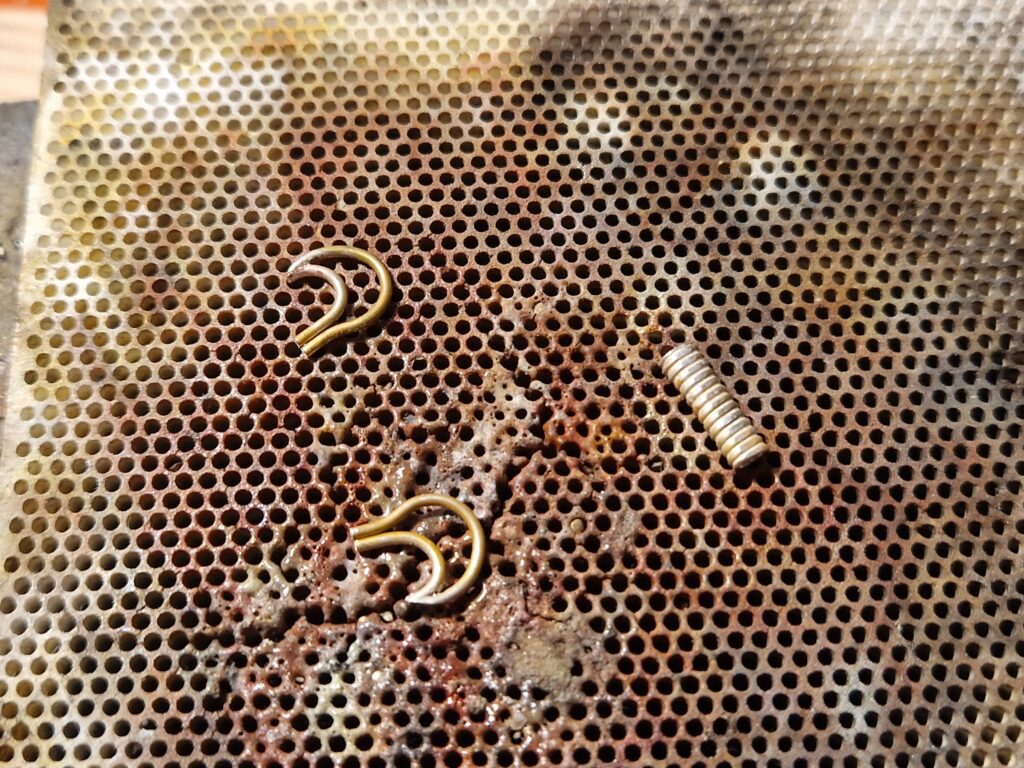
The rest of the bow limbs are made with a 1.0mm wire. I usually cut wire in a slightly longer pieces to then remove the excess after soldering. But when I soldered the first element to the grip I really liked the way it little thorn looked. On both nocks of the handle I added loops: the top one is for the bail and the lower one is just for symmetry. Since the limbs are to be decorated I postponed soldering the grip because it would lift up the elements making them much harder to work with.
Applying filigree
Everything is prettier with a filigree. A fellow pro jeweller told me this once and I cannot disagree. For filling the spaces in the bow limbs I used a 0.9 filigree wire. This stage is very time consuming as I try to put loops of thin twisted wire inside a wireframes. I usually use a pair of high precision tweezers and an awl tool for this operation. Once all the spaces filled I solder them in with a soft solder keeping an eye on both sides of the element. Only when the decoration is completed I solder bow limbs to the grip to get a beautiful bow handle.
String attached
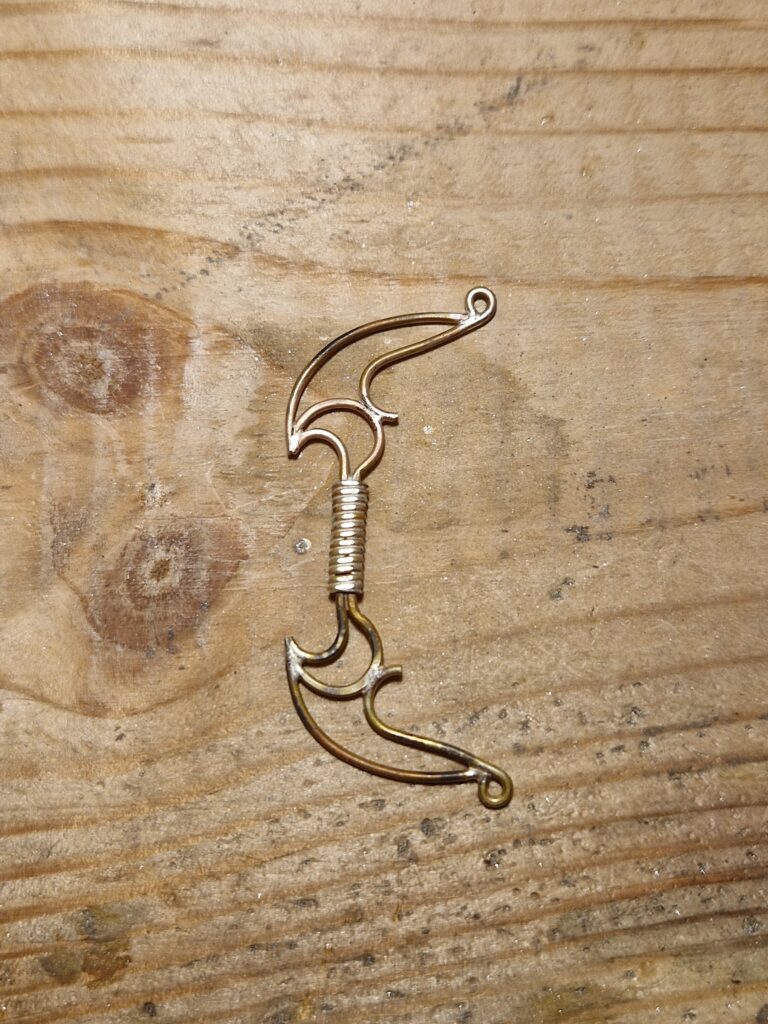
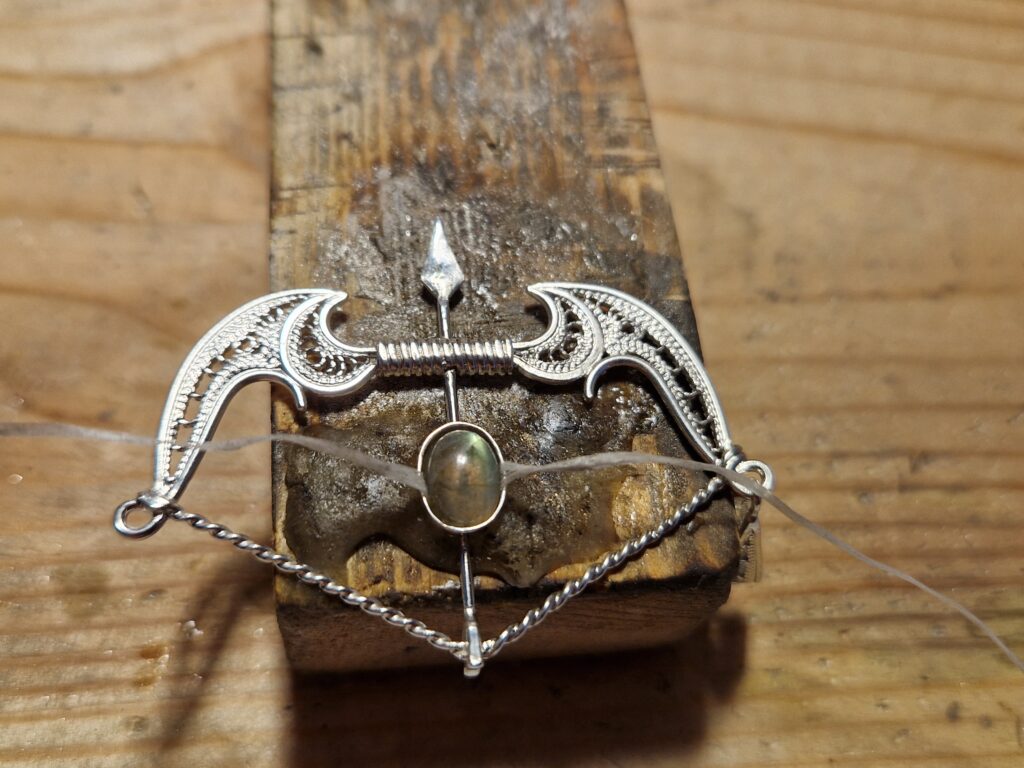
The most difficult part is completed. Or so I thought. Now it is time to attach the string and put an arrow in the knee bow (TES fans would probably find this one funny). For the string I twisted and soldered a loop of a 0.8 wire. I made slight grooves on both nocks of the bow handle where the strings would go and soldered it with medium solder. So far the results were rather promising.
Now what about the arrow? It must be attached to the grip on one side and to the string on the other. And it should hold the gemstone. The easiest option would be just cutting through the side of the grip and solder the arrow inside, but it would probably ruin the aestetics. I could also make the arrow with separate chunks of wire: this would keep the grip intact but I wasn’t sure I can align them quite right.
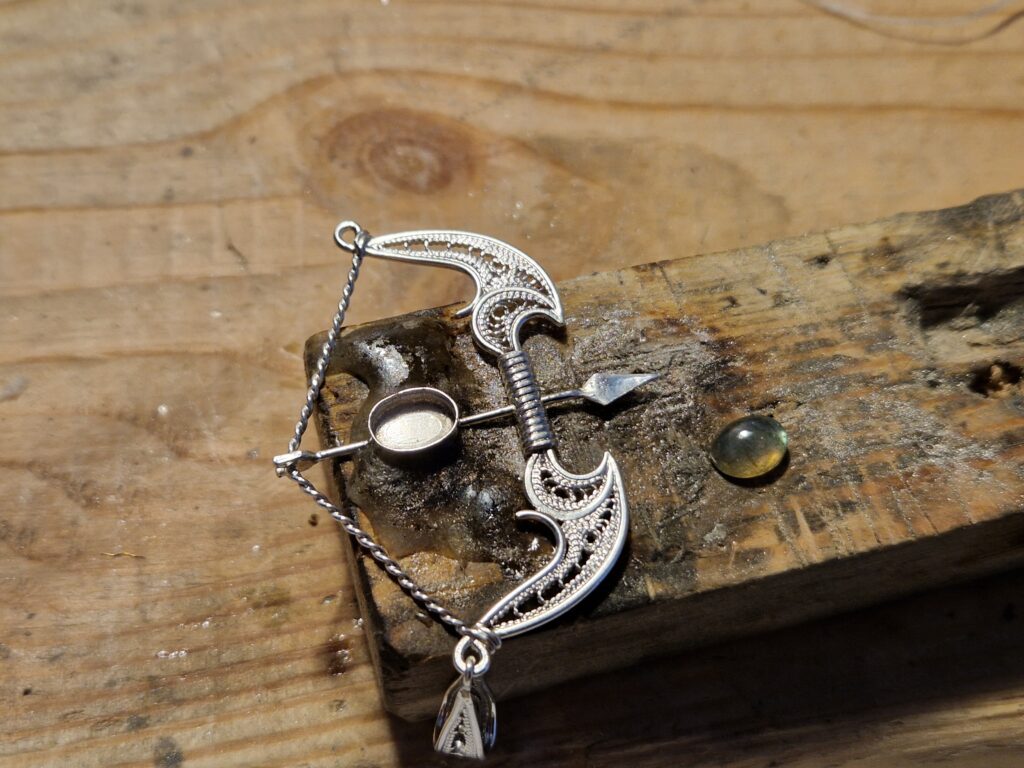
The compromise was to drill a hole through the center of the grip and push the arrow inside it. The tricky part is that the arrowhead wouldn’t fit in the hole so it has to be attached later on. So first I prepared a bezel for my labradorite gem and soldered it on the headless arrow. Then the arrow went through the hole in the grip and sat tightly on the bowstring. Only when it was perfectly aligned and fixed in position I trued to solder the arrowhead. It wasn’t easy to get this right because the end of the arrow was lifted up a little and there was no way to fix the arrowhed in a third hand.
Setting the stone
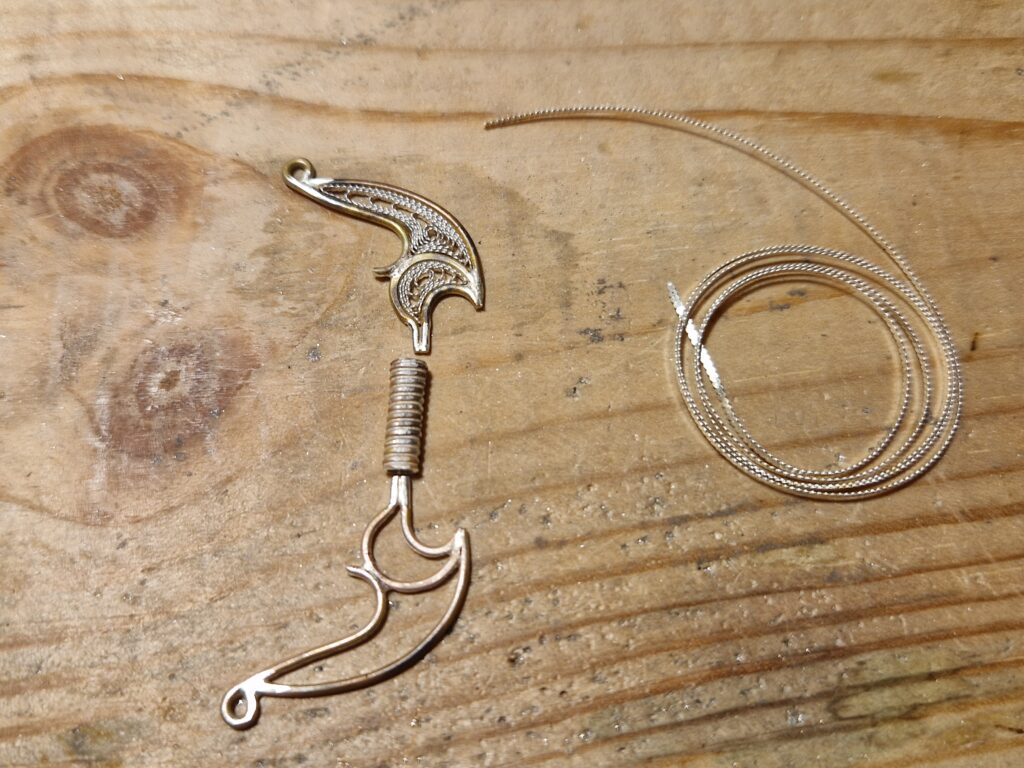
Thankfully I managed to properly attach the arrowhead in its rightful place. Then I fill up all the arrow joints with extra soft solder once again just to be certain. The last soldering operation was to attach a bail to the top nock of the bow. The bail itself is just a loop of 0.8 wire filled with filigree and folded in the middle – pretty much the same I made for the Foxy pendant a while ago.
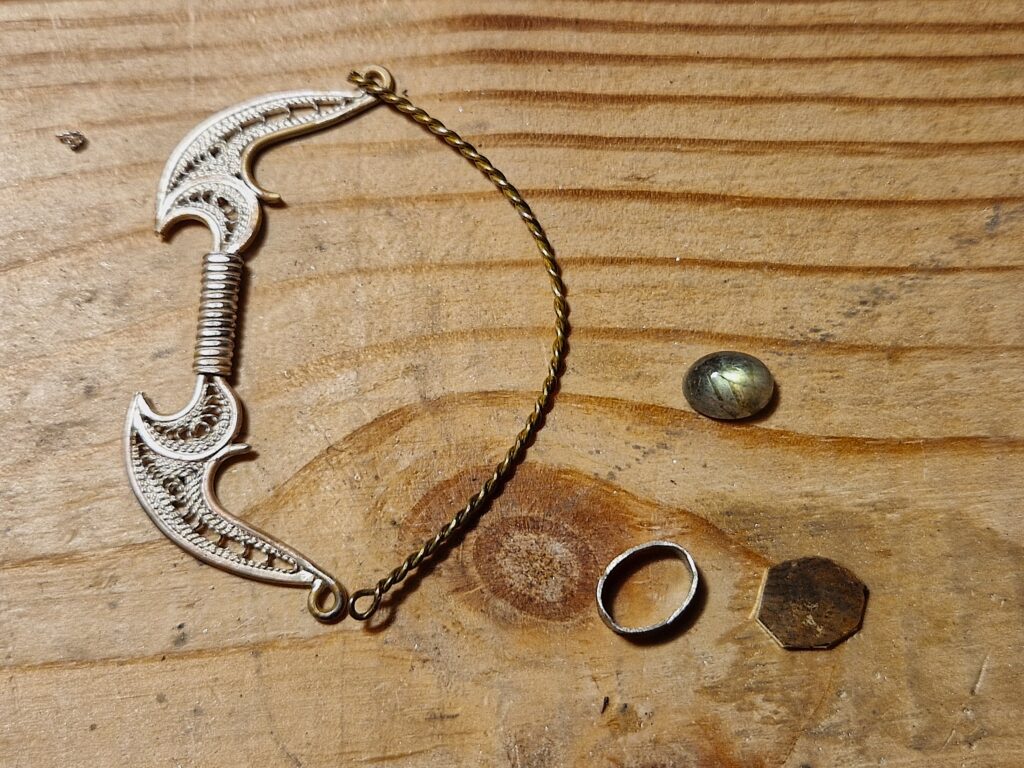
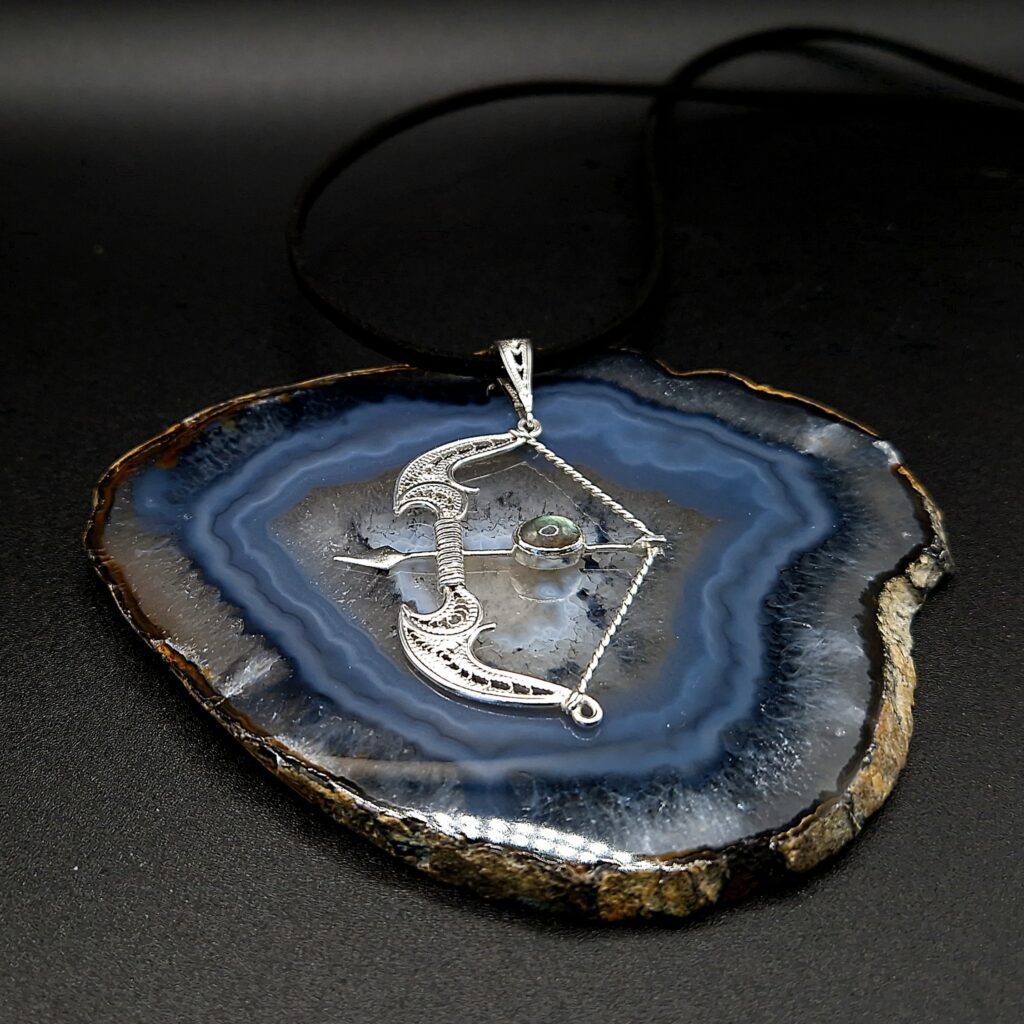
Once all soldering is done and the pendant is after the acid bath, it is time to set some stones. This time there is only one stone to set, but this labradorite cabochon is just marvelous. Before the final setting I run a final fitnes check by placing dental floww in a bezel. During the soldering, tumbling and polishing the bezel might deform so you might have to straighten it or even grind off the inner walls a little.
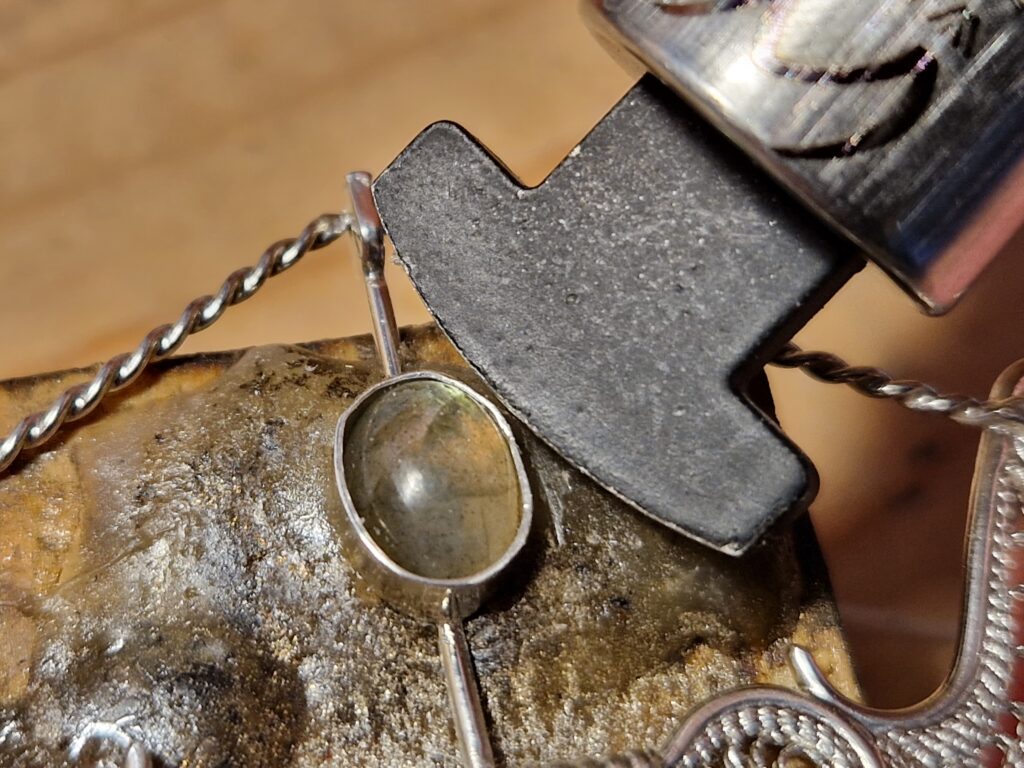
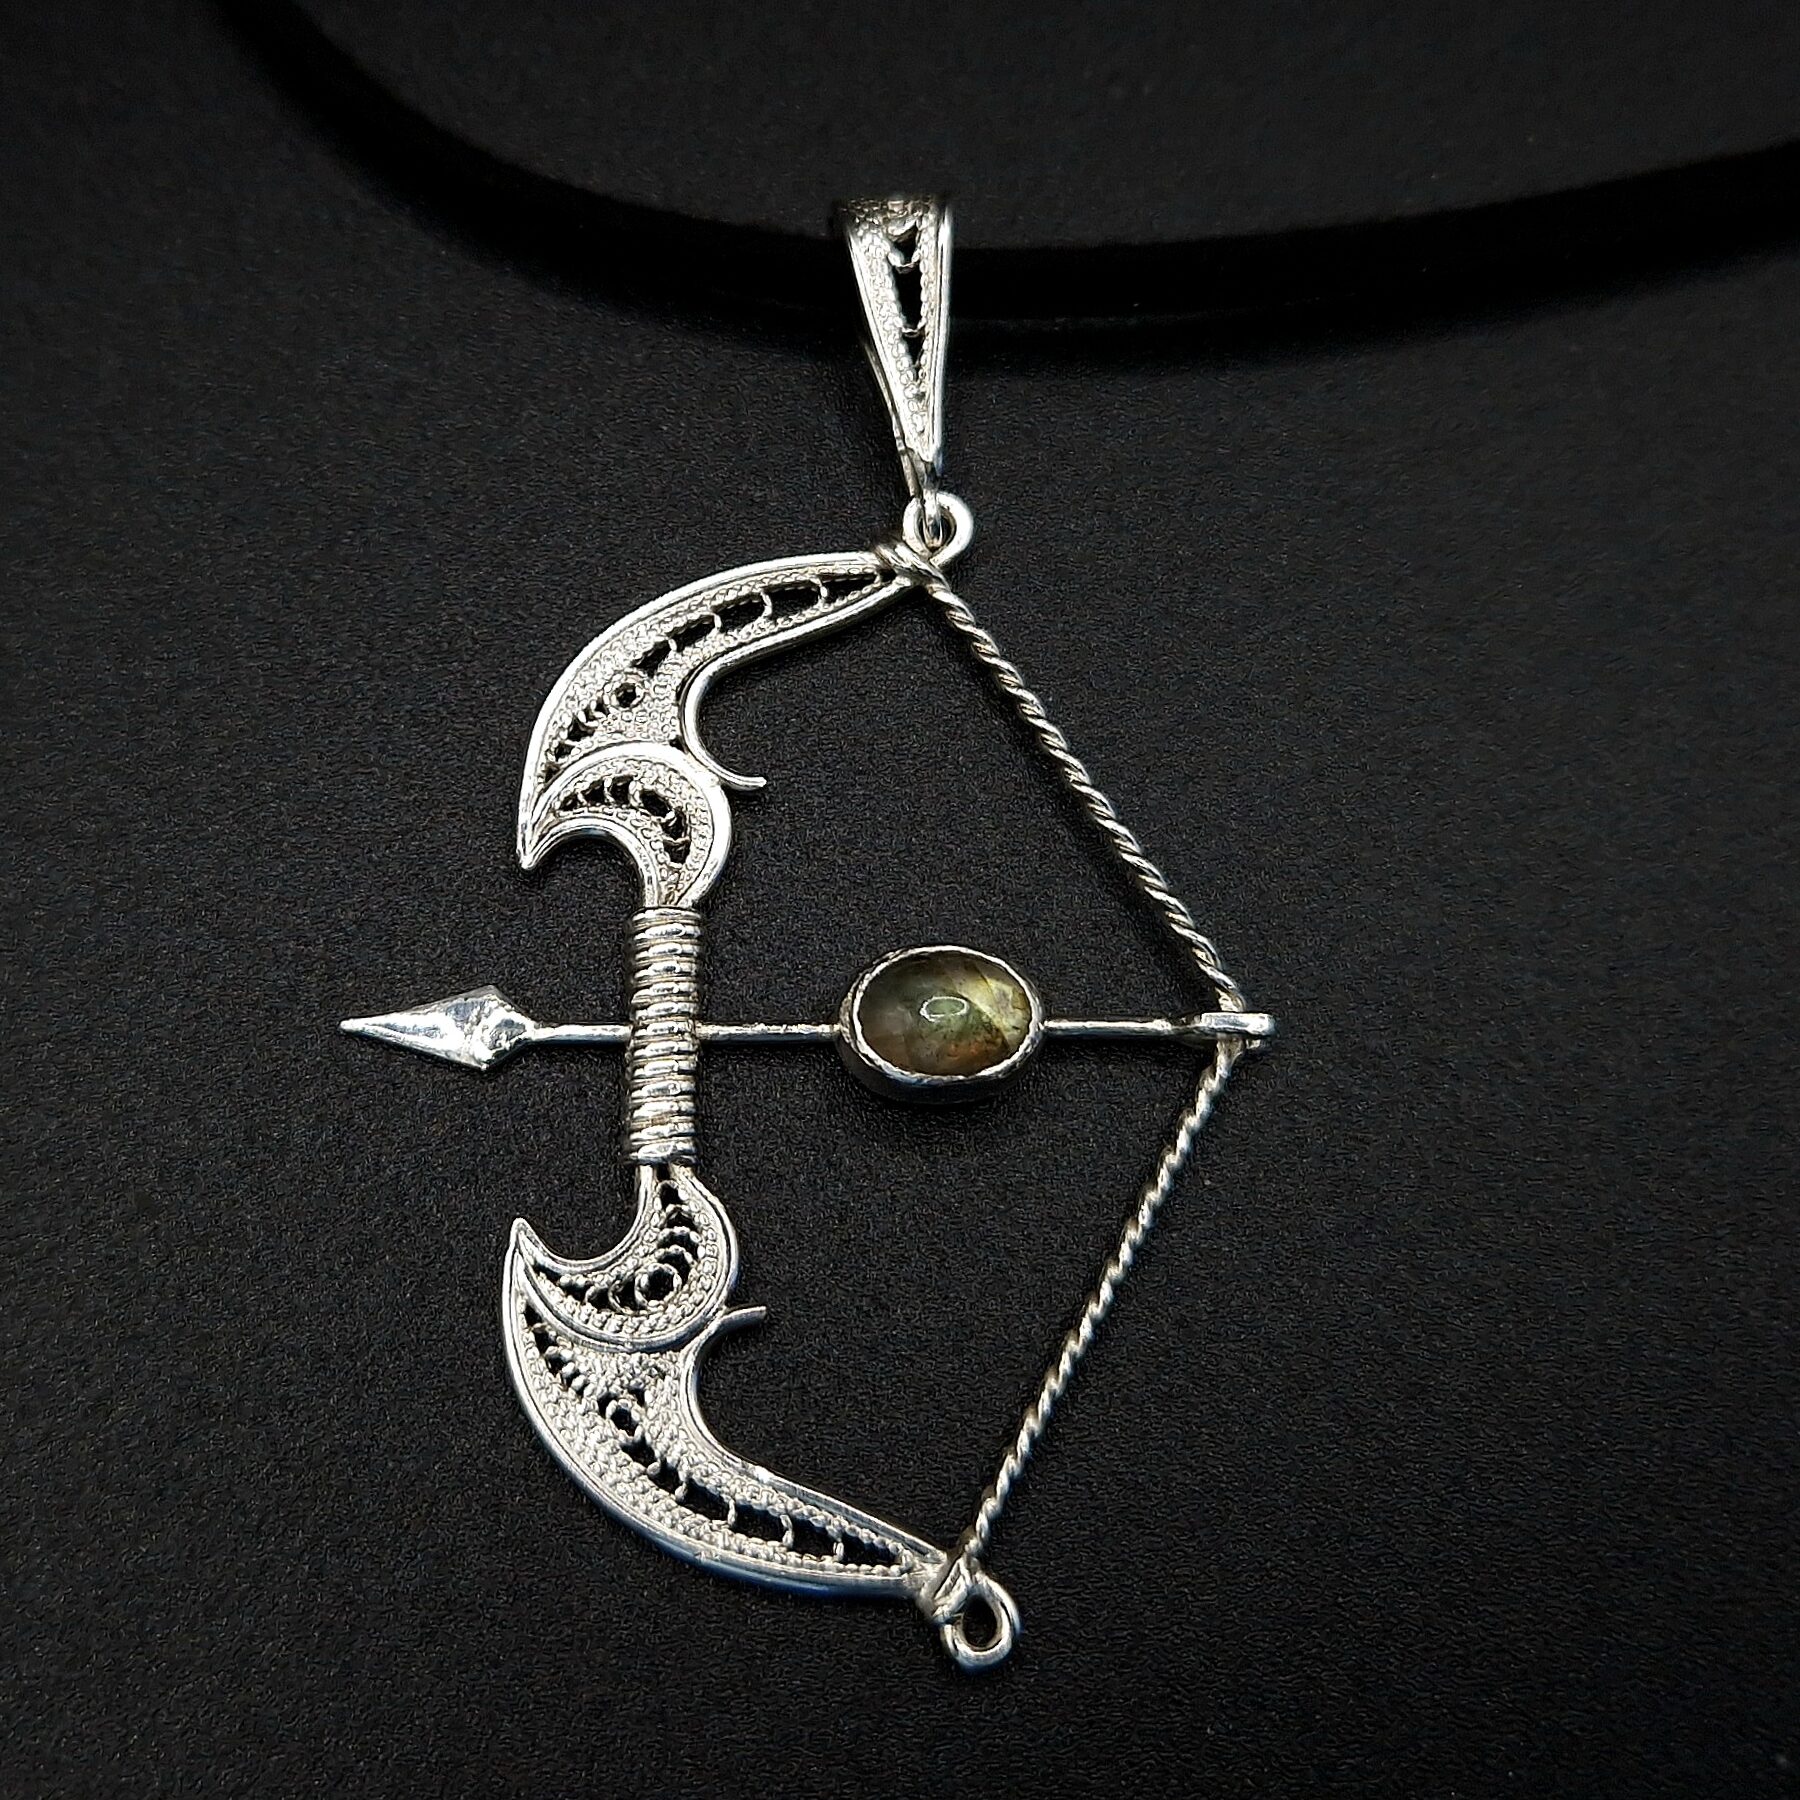
Finally the gem fits perfectly and I can get it set with my bezel pusher. This is a long and meticulus part of the process. I don’t use glue in my jewellery and want to make sure the stone sits firmly in its place. After this step is completed I do some final polishing, cleaning and a well-deserved photoshoot.
The result
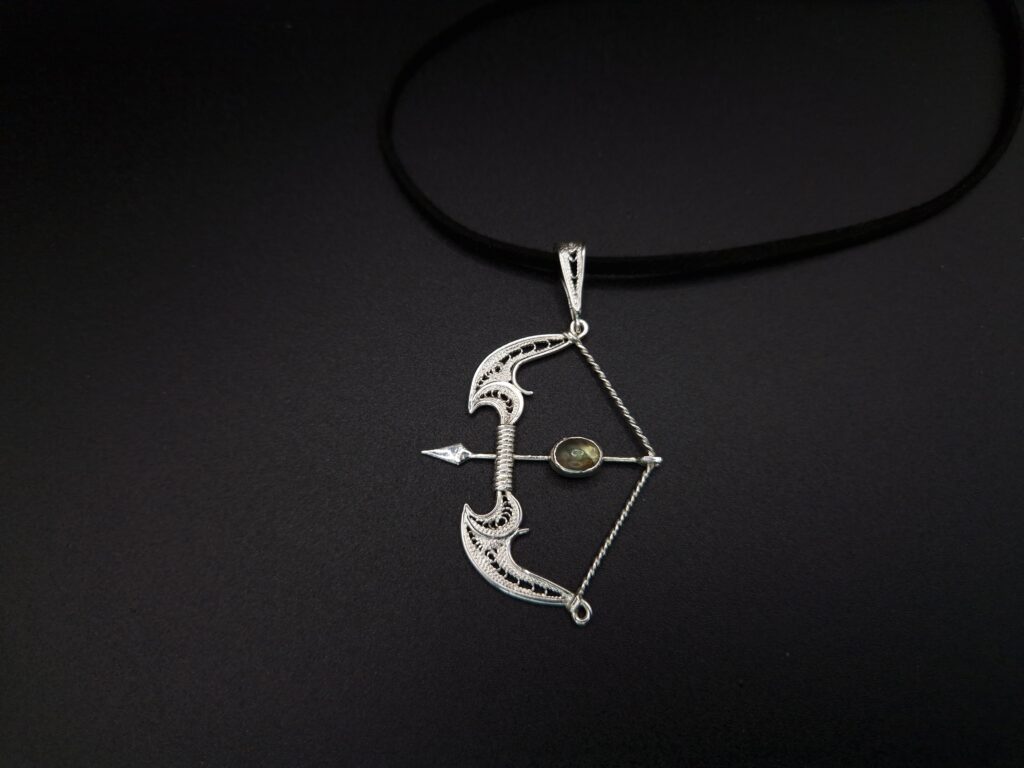
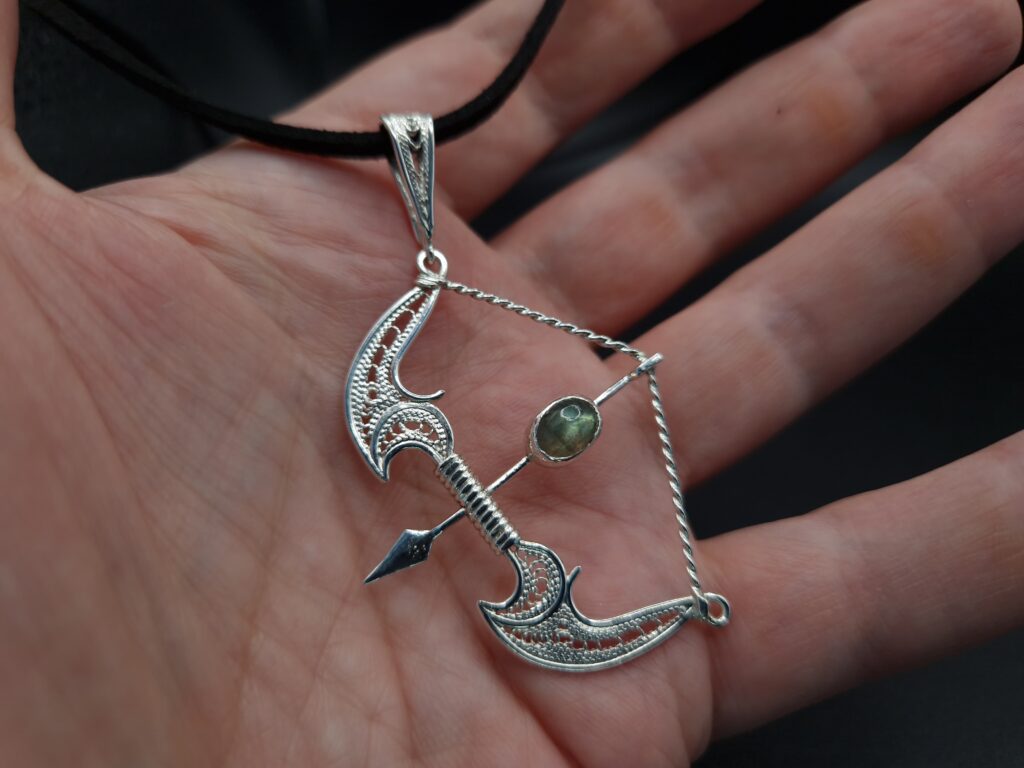
If you like the things I create you might want to browse around my Etsy 🙂