Hey there. Let me tell you a story of making a silver pendant for my friend’s birthday. My wife came up with the design and I decided to use a chrysoprase cabochon for this project and decorate it with filigree wire.
I was a bit stuck trying to come up with an idea for a birthday gift. Have you eve faced a similar struggle? Even though you know this person all your life but the brain goes pitch black when it comes to choosing the right present. I believe that the perfect gift must be personalised and carry a meaningful message. It can as well be a super expensive thing to make your friend crazy happy, but unfortunately I’m not a billionaire. Yet.
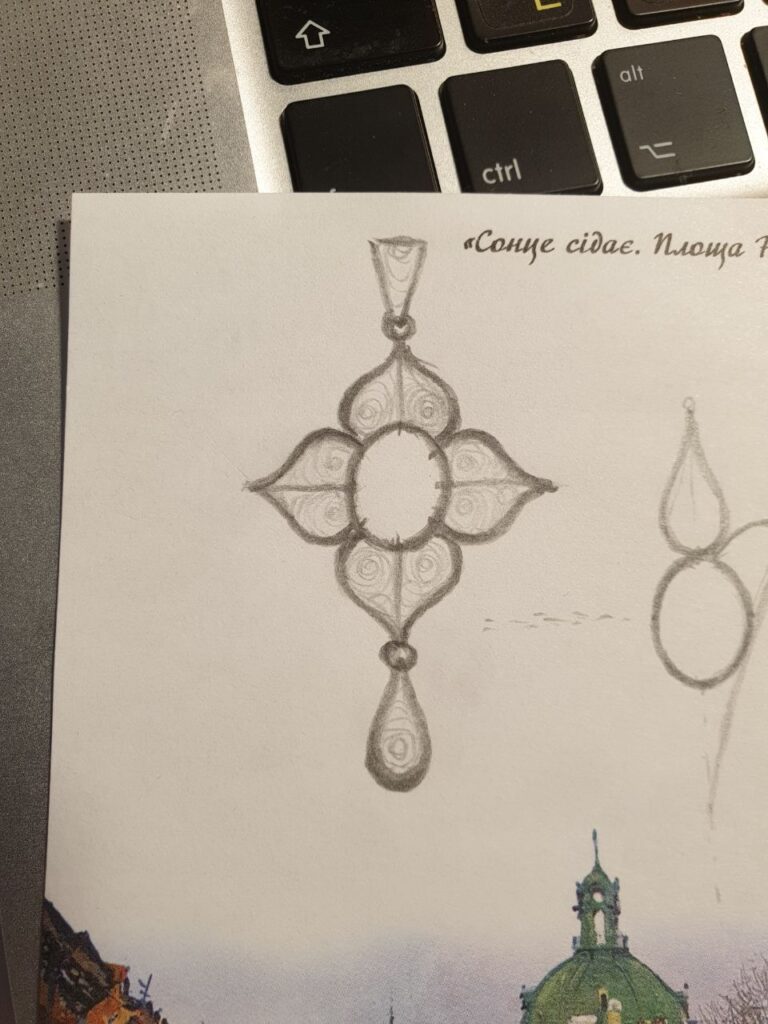
Hence, I was looking for something meaningful and personalised. Luckily my wife is an extremely creative person and she sketched out a lovely design for a pendant with a place for a cabochon in its center.
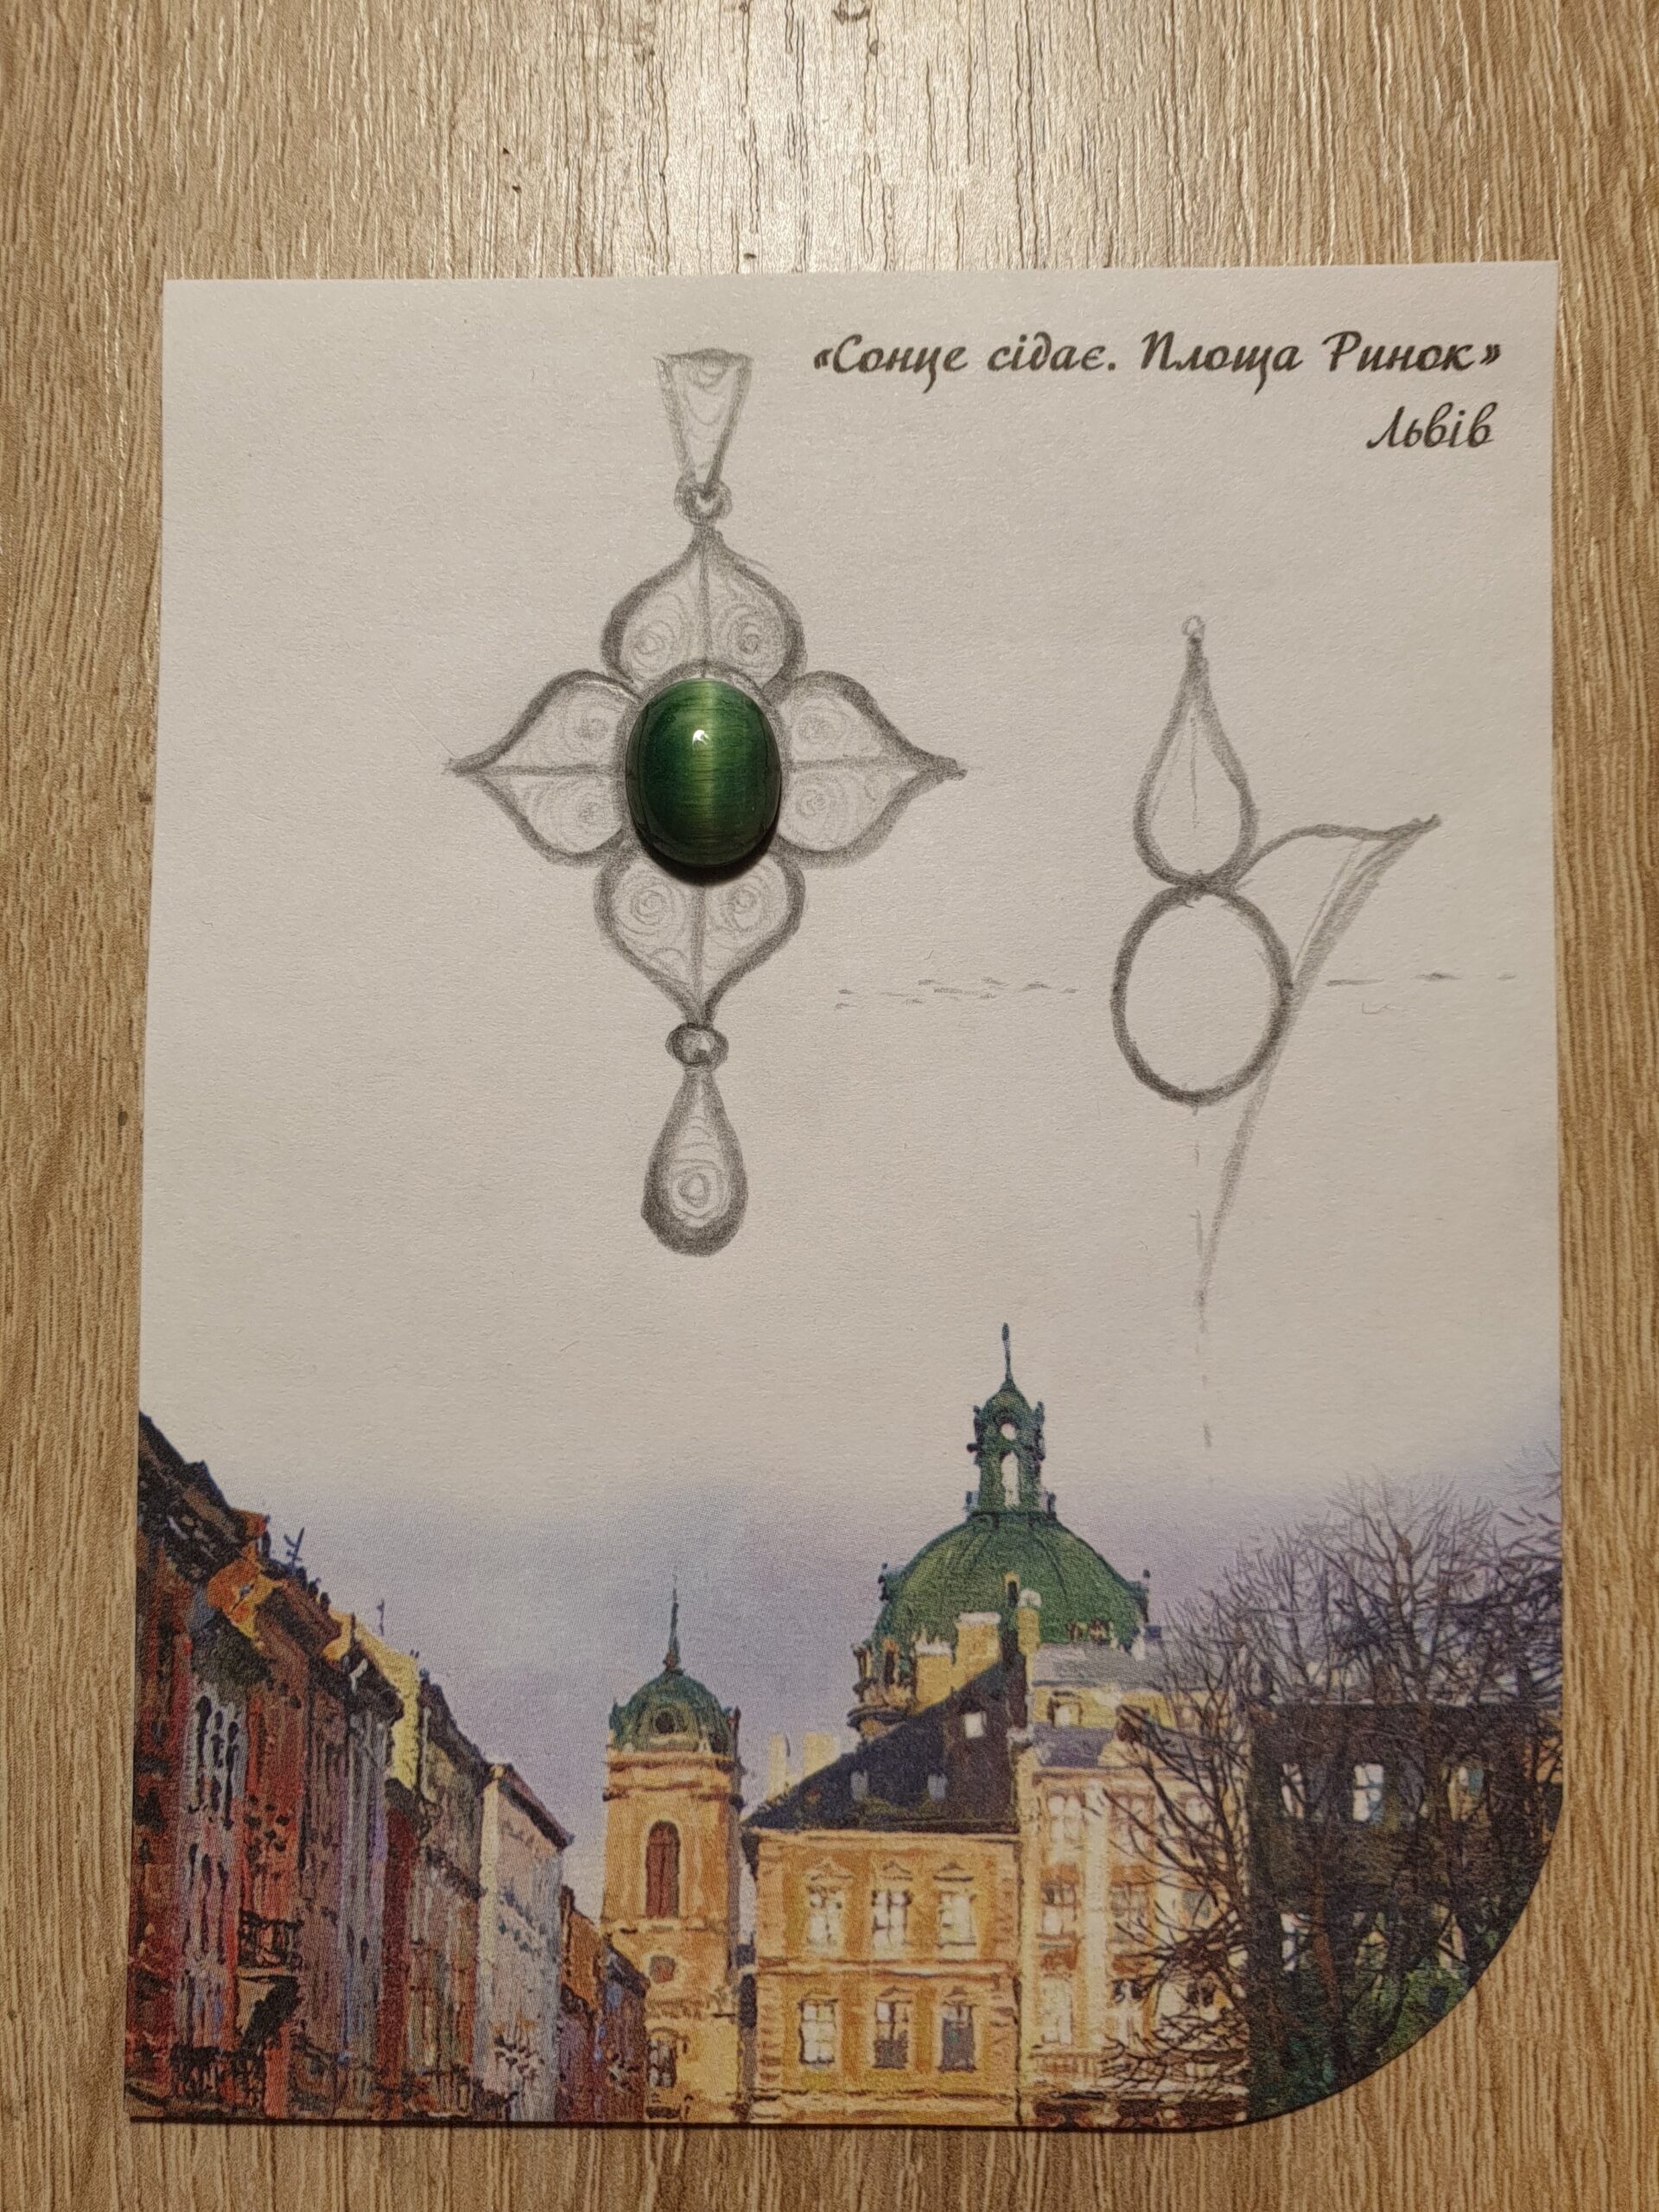
The meaning behind this design is an interpretation of a lucky symbol – the four leaf clover. Its leaf are sort of inverted into a pointy outline to add a bit of elvish elegancy to the piece. Once I placed the cabochon on this drawing I knew it was the right way to go.
The timing was perfect as there were only few days left before the birthday party. Due to the hurry I did not take much pictures of the manufacturing stages. Instead I managed to set up my old iPhone (with newly replaced battery) to record the entire process.
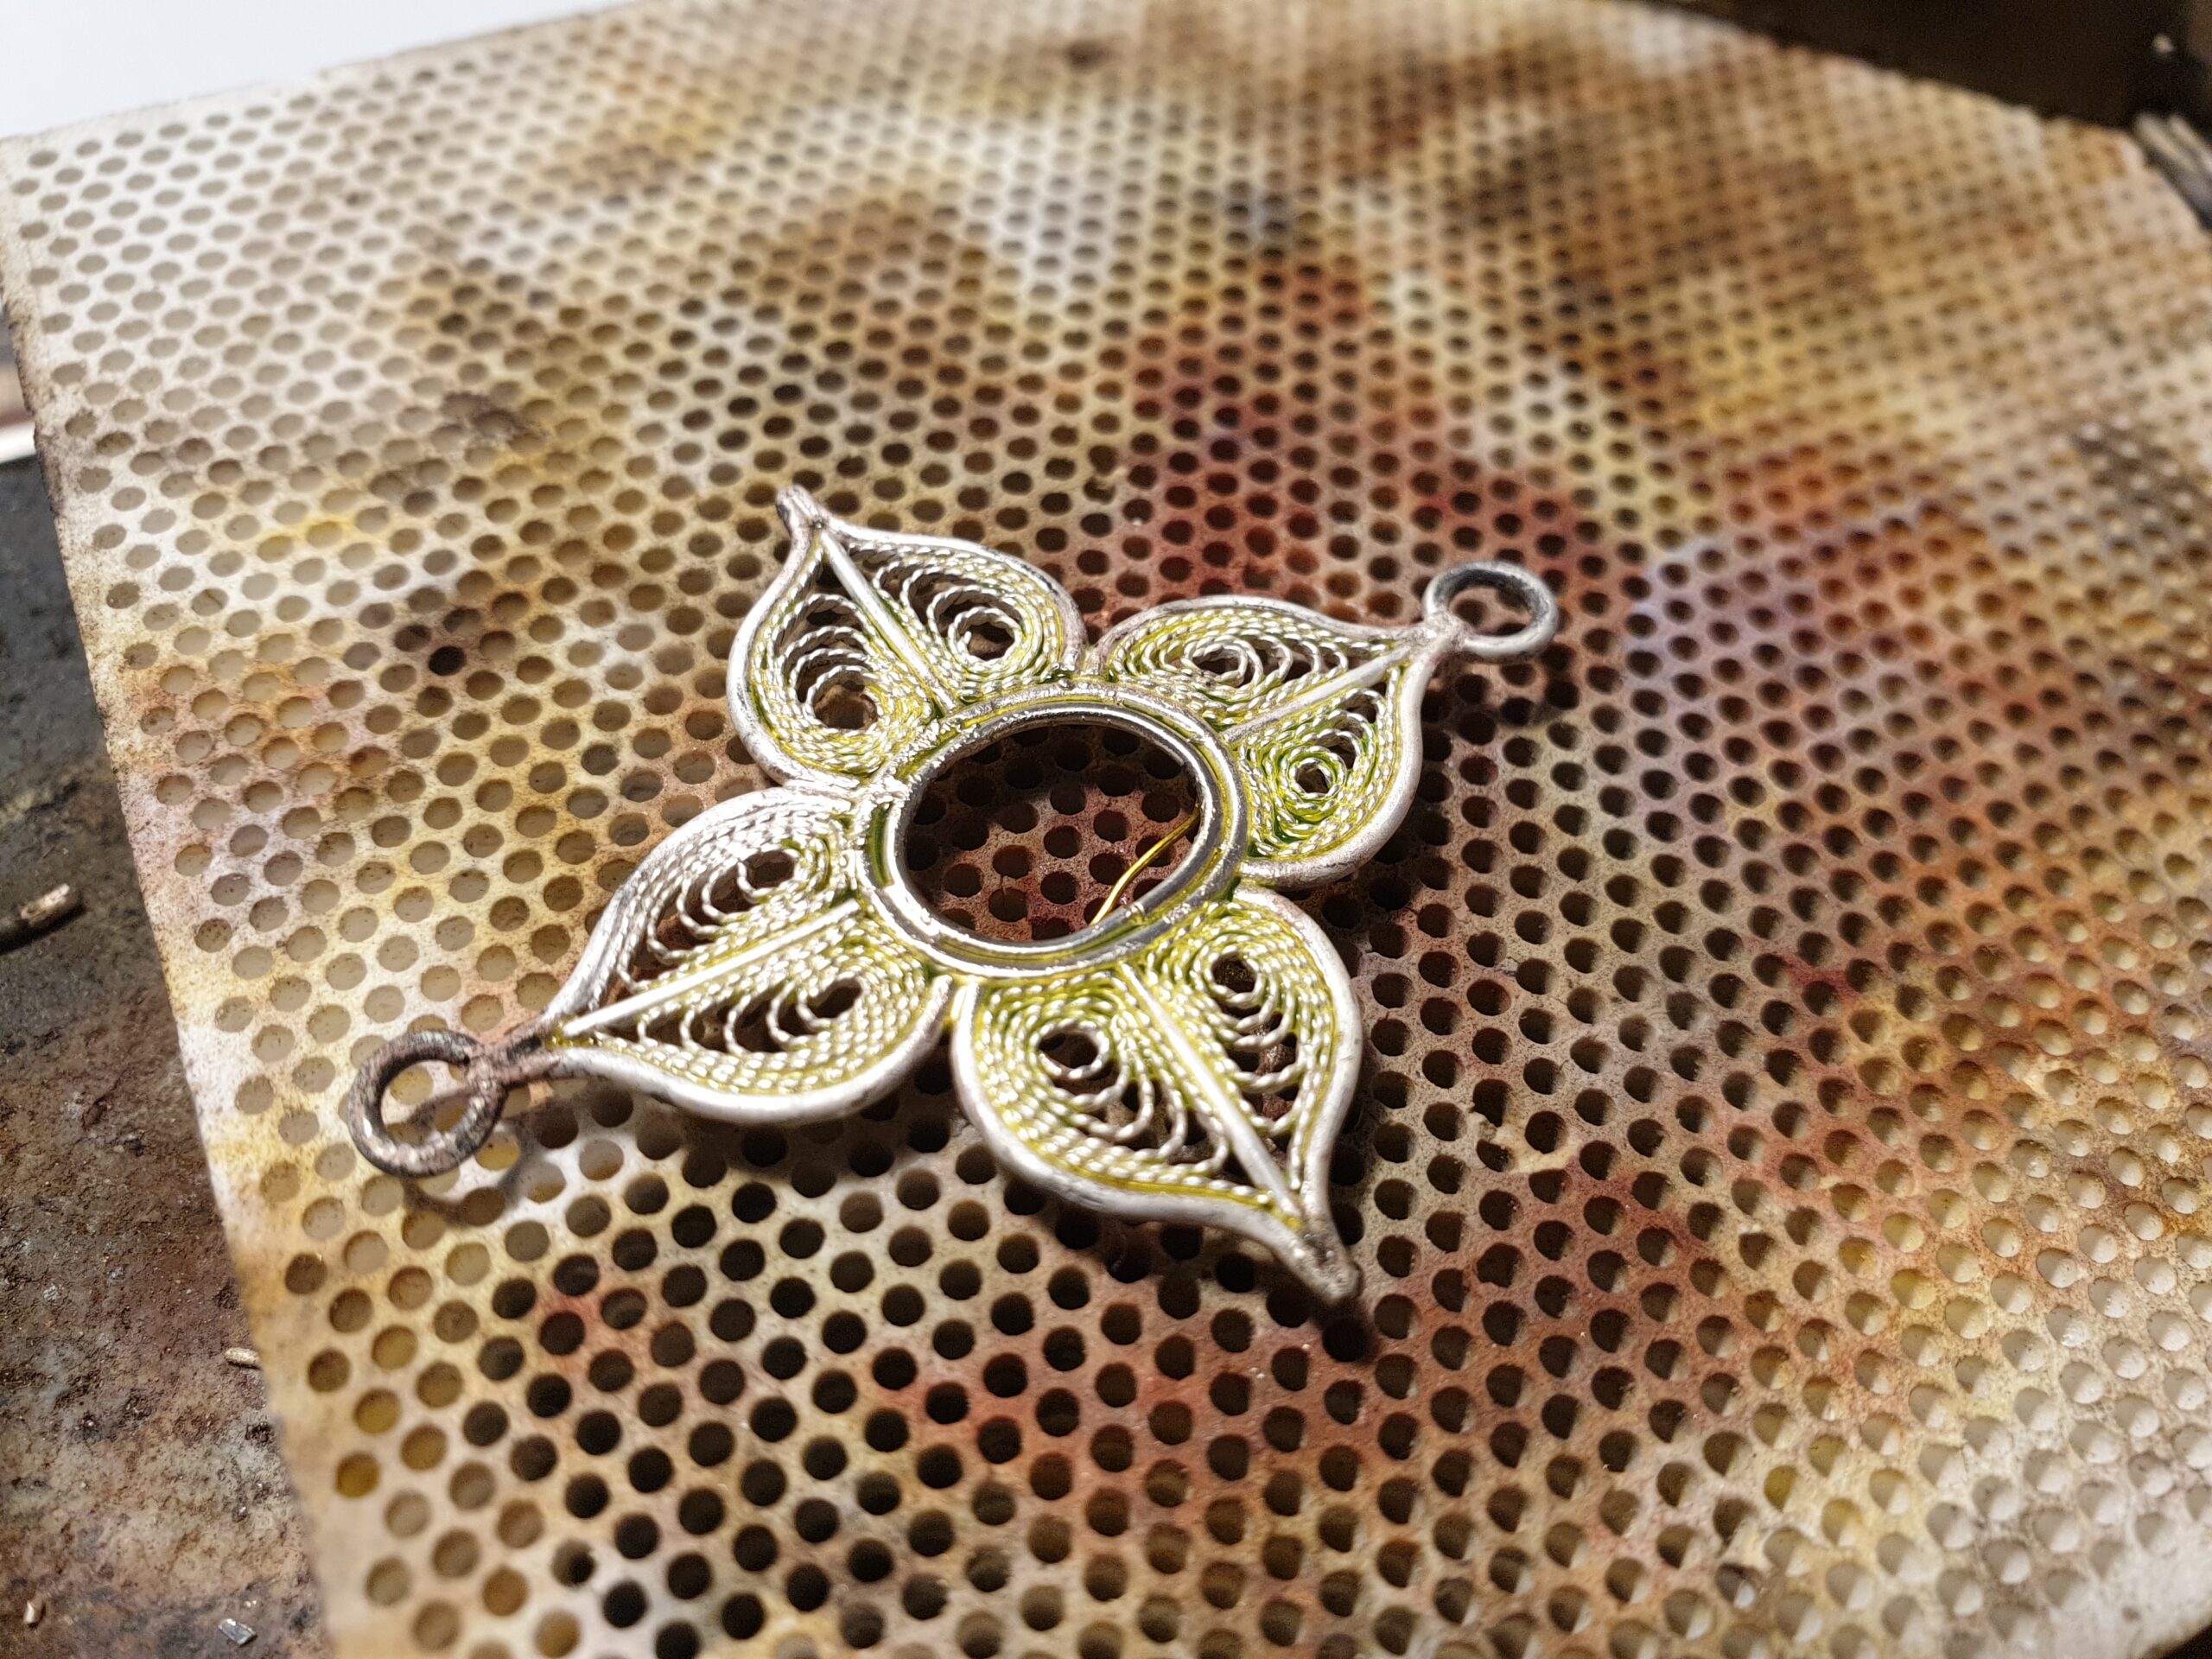
The production was rather straightforward with not much of complex surface challenges like I had with my High Heeled Amethyst Earrings or with the recent Strappy high heeled pendant with garnet cabochon. The quatrefoil pendant is basically a symmetrical wireframe with a cabochon cast in the middle and two jump rings on top and bottom peaks. Based on previous projects I thoughtfully reinforced the center cast with additional wire loop to keep the stone firmly in its place. Once the framework was soldered together the filigree got packed in. It always brings a mysterious and elegant effect to any jewellery piece.
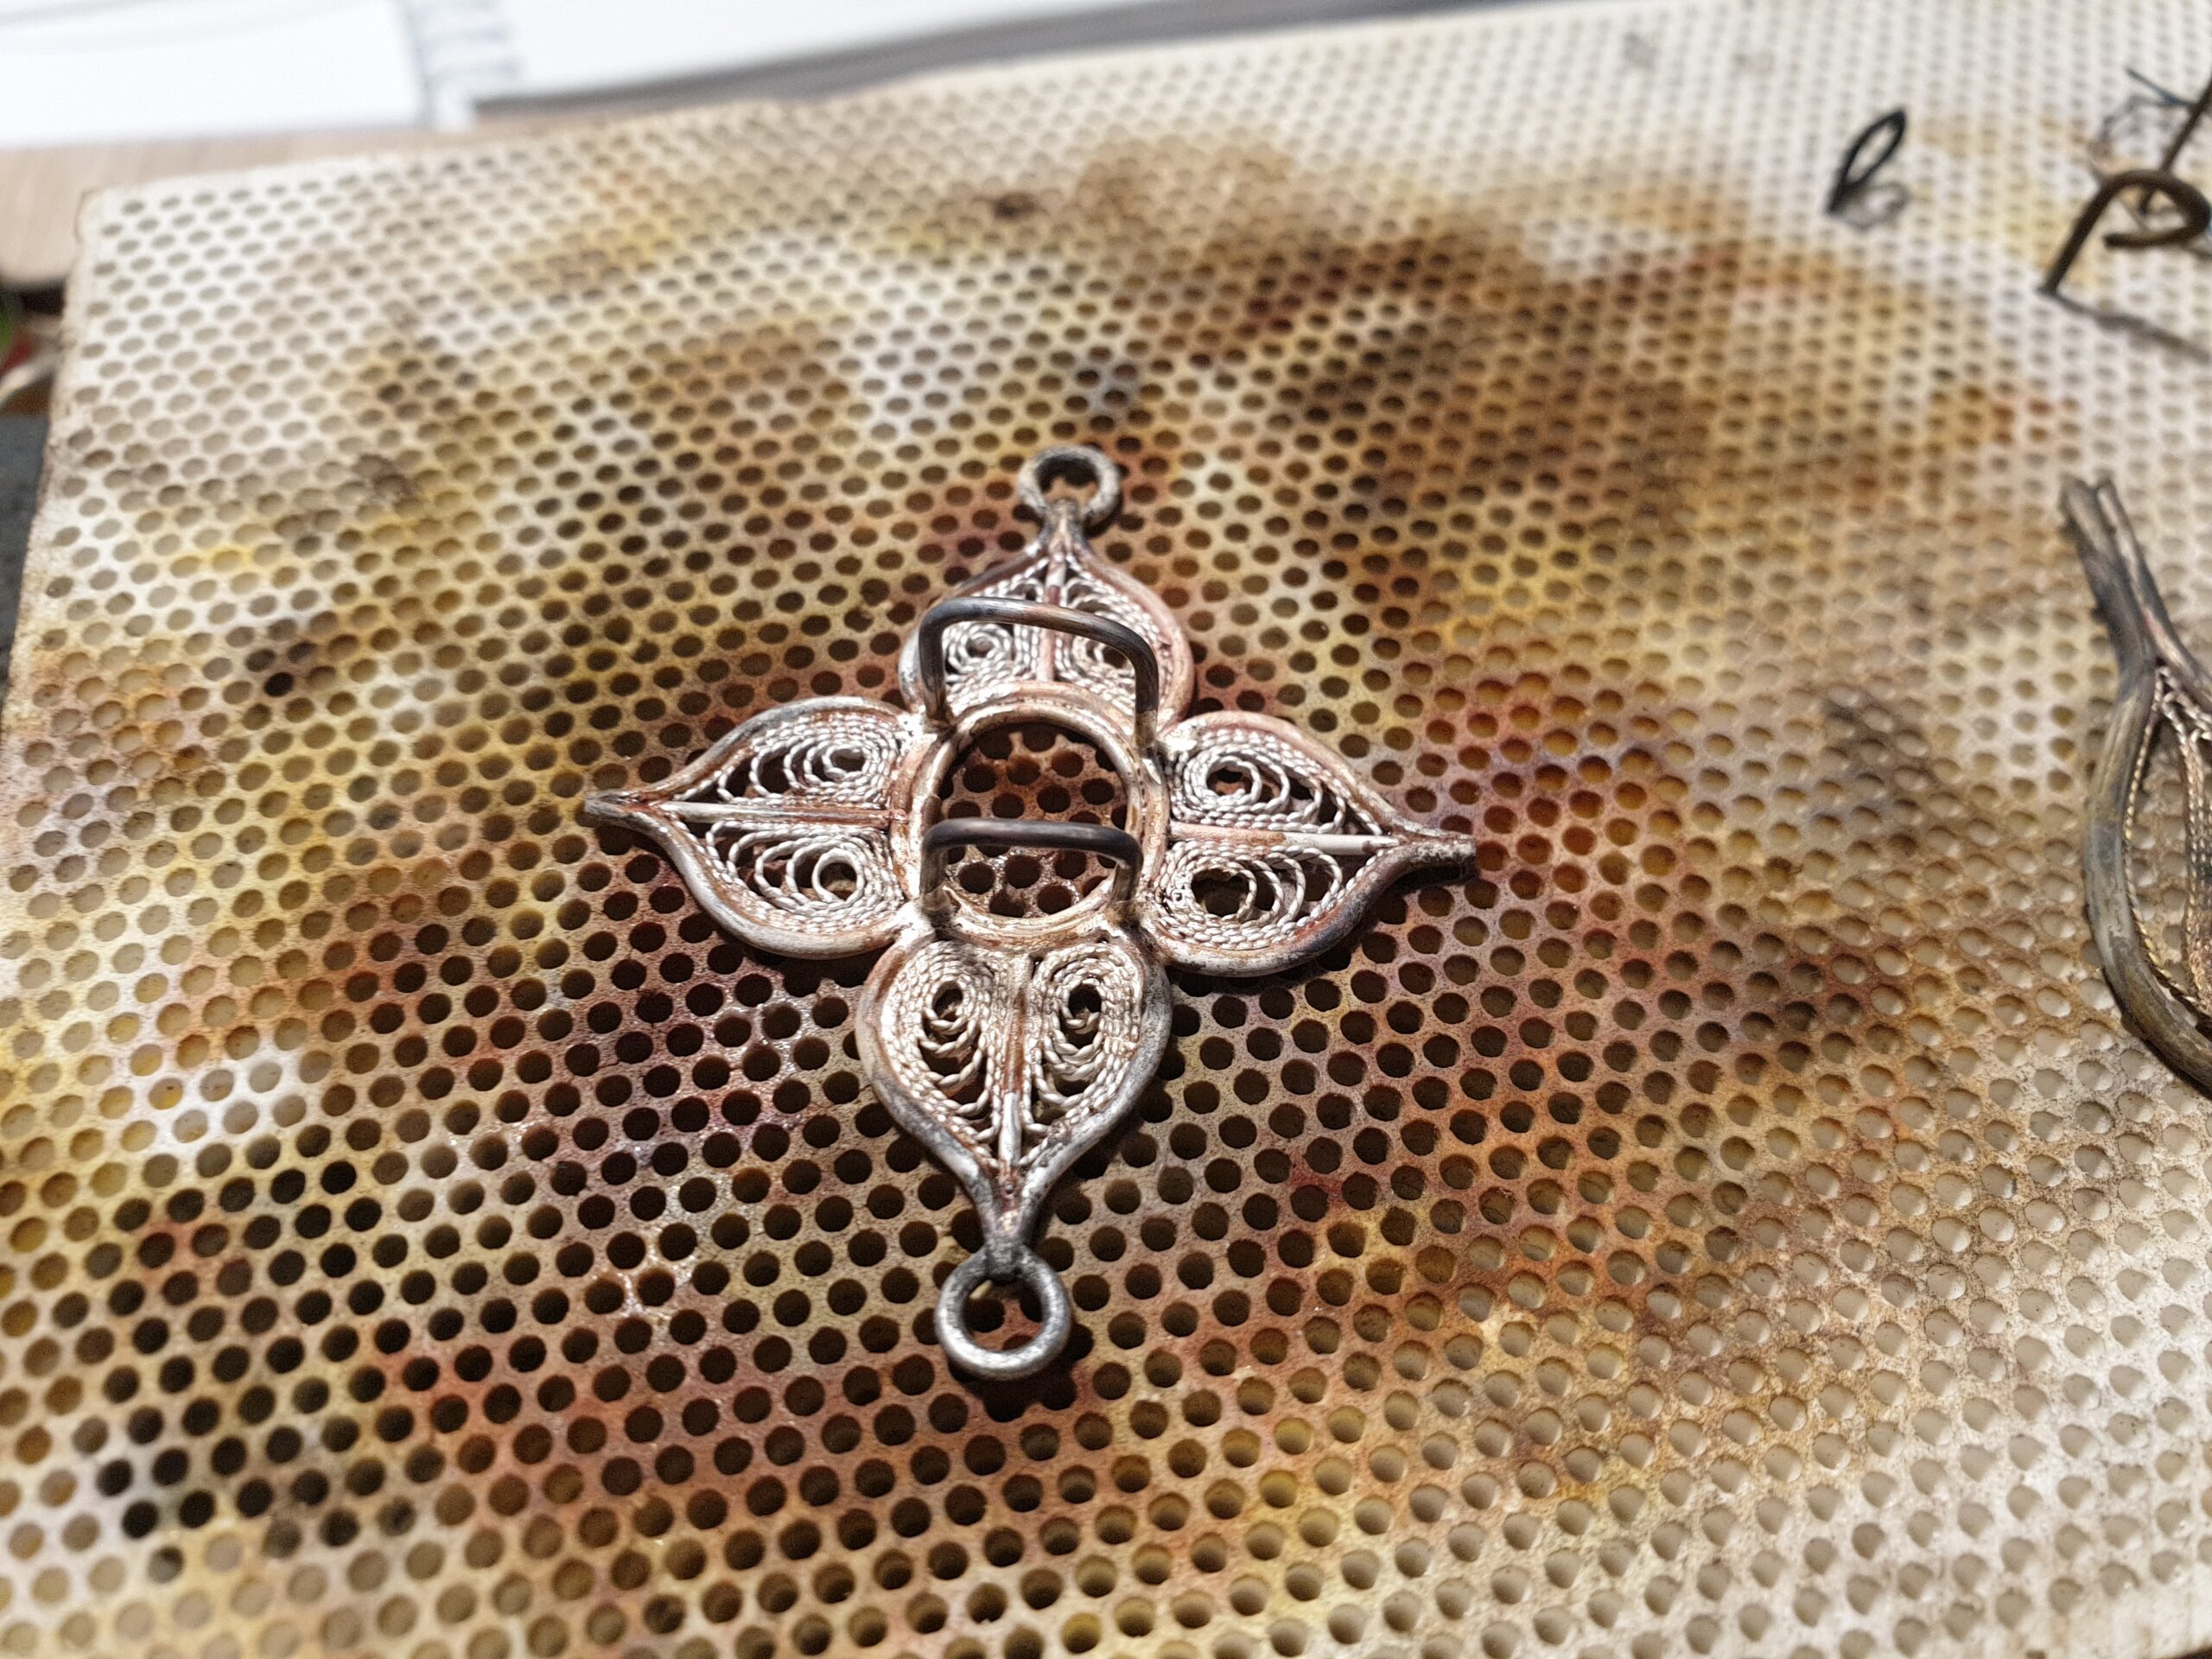
Apart from time pressure the biggest challenge in this project was to set the prongs right. This is an operation which requires a lot more hands on experience than I’ve got so far. In my first try I soldered the prongs before the filigree went in. It was a bad idea as 3 of 4 prongs got displaced when the filigree was getting soldered. So I just cut them off, finished with filigree and tried again. This time instead of soldering a single prong I made 2 staples to make it easier to set in place. It went way better and easier to handle, but the next time I have to remember to make a bit deeper grooves where the prong touches the frame.
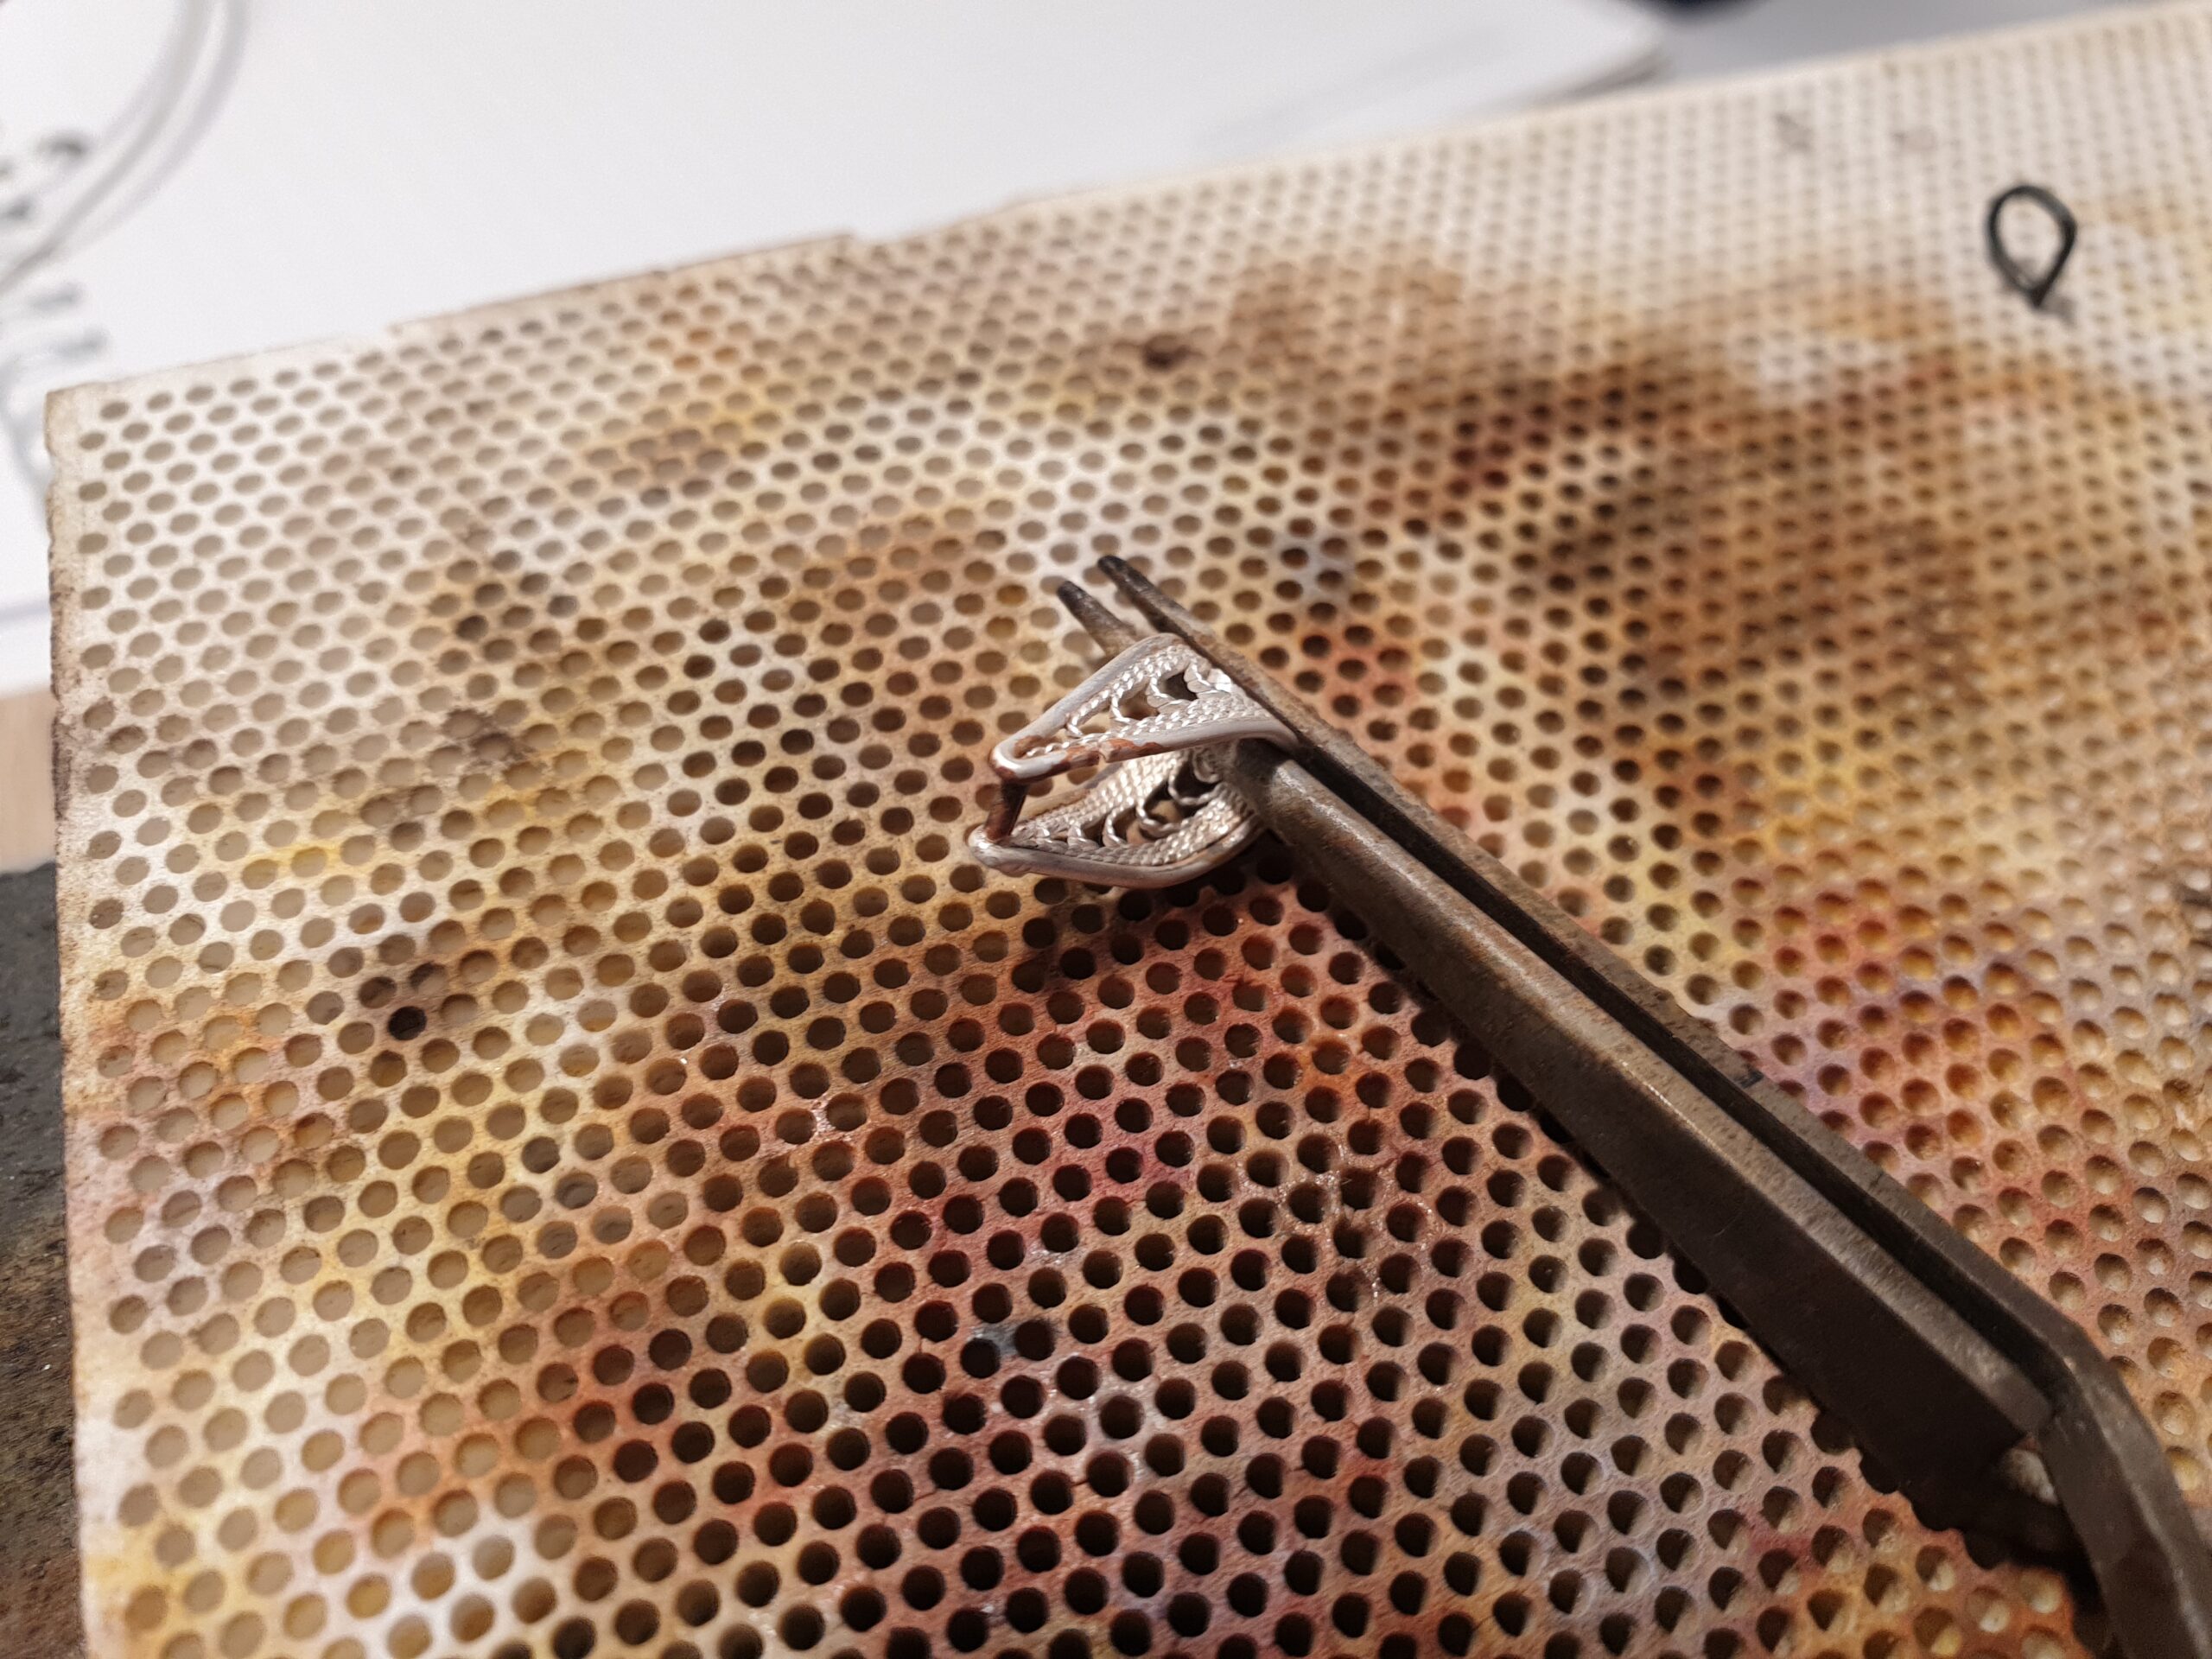
The pendant needs to have a clamp to be attached to a neck chain. I made a circle out of a thin silver wire and squeezed it on one side. That it was only a matter of filling in the filigree and bending it into a loop shape. I made similar element for the bottom jump ring only smaller and with no bending.
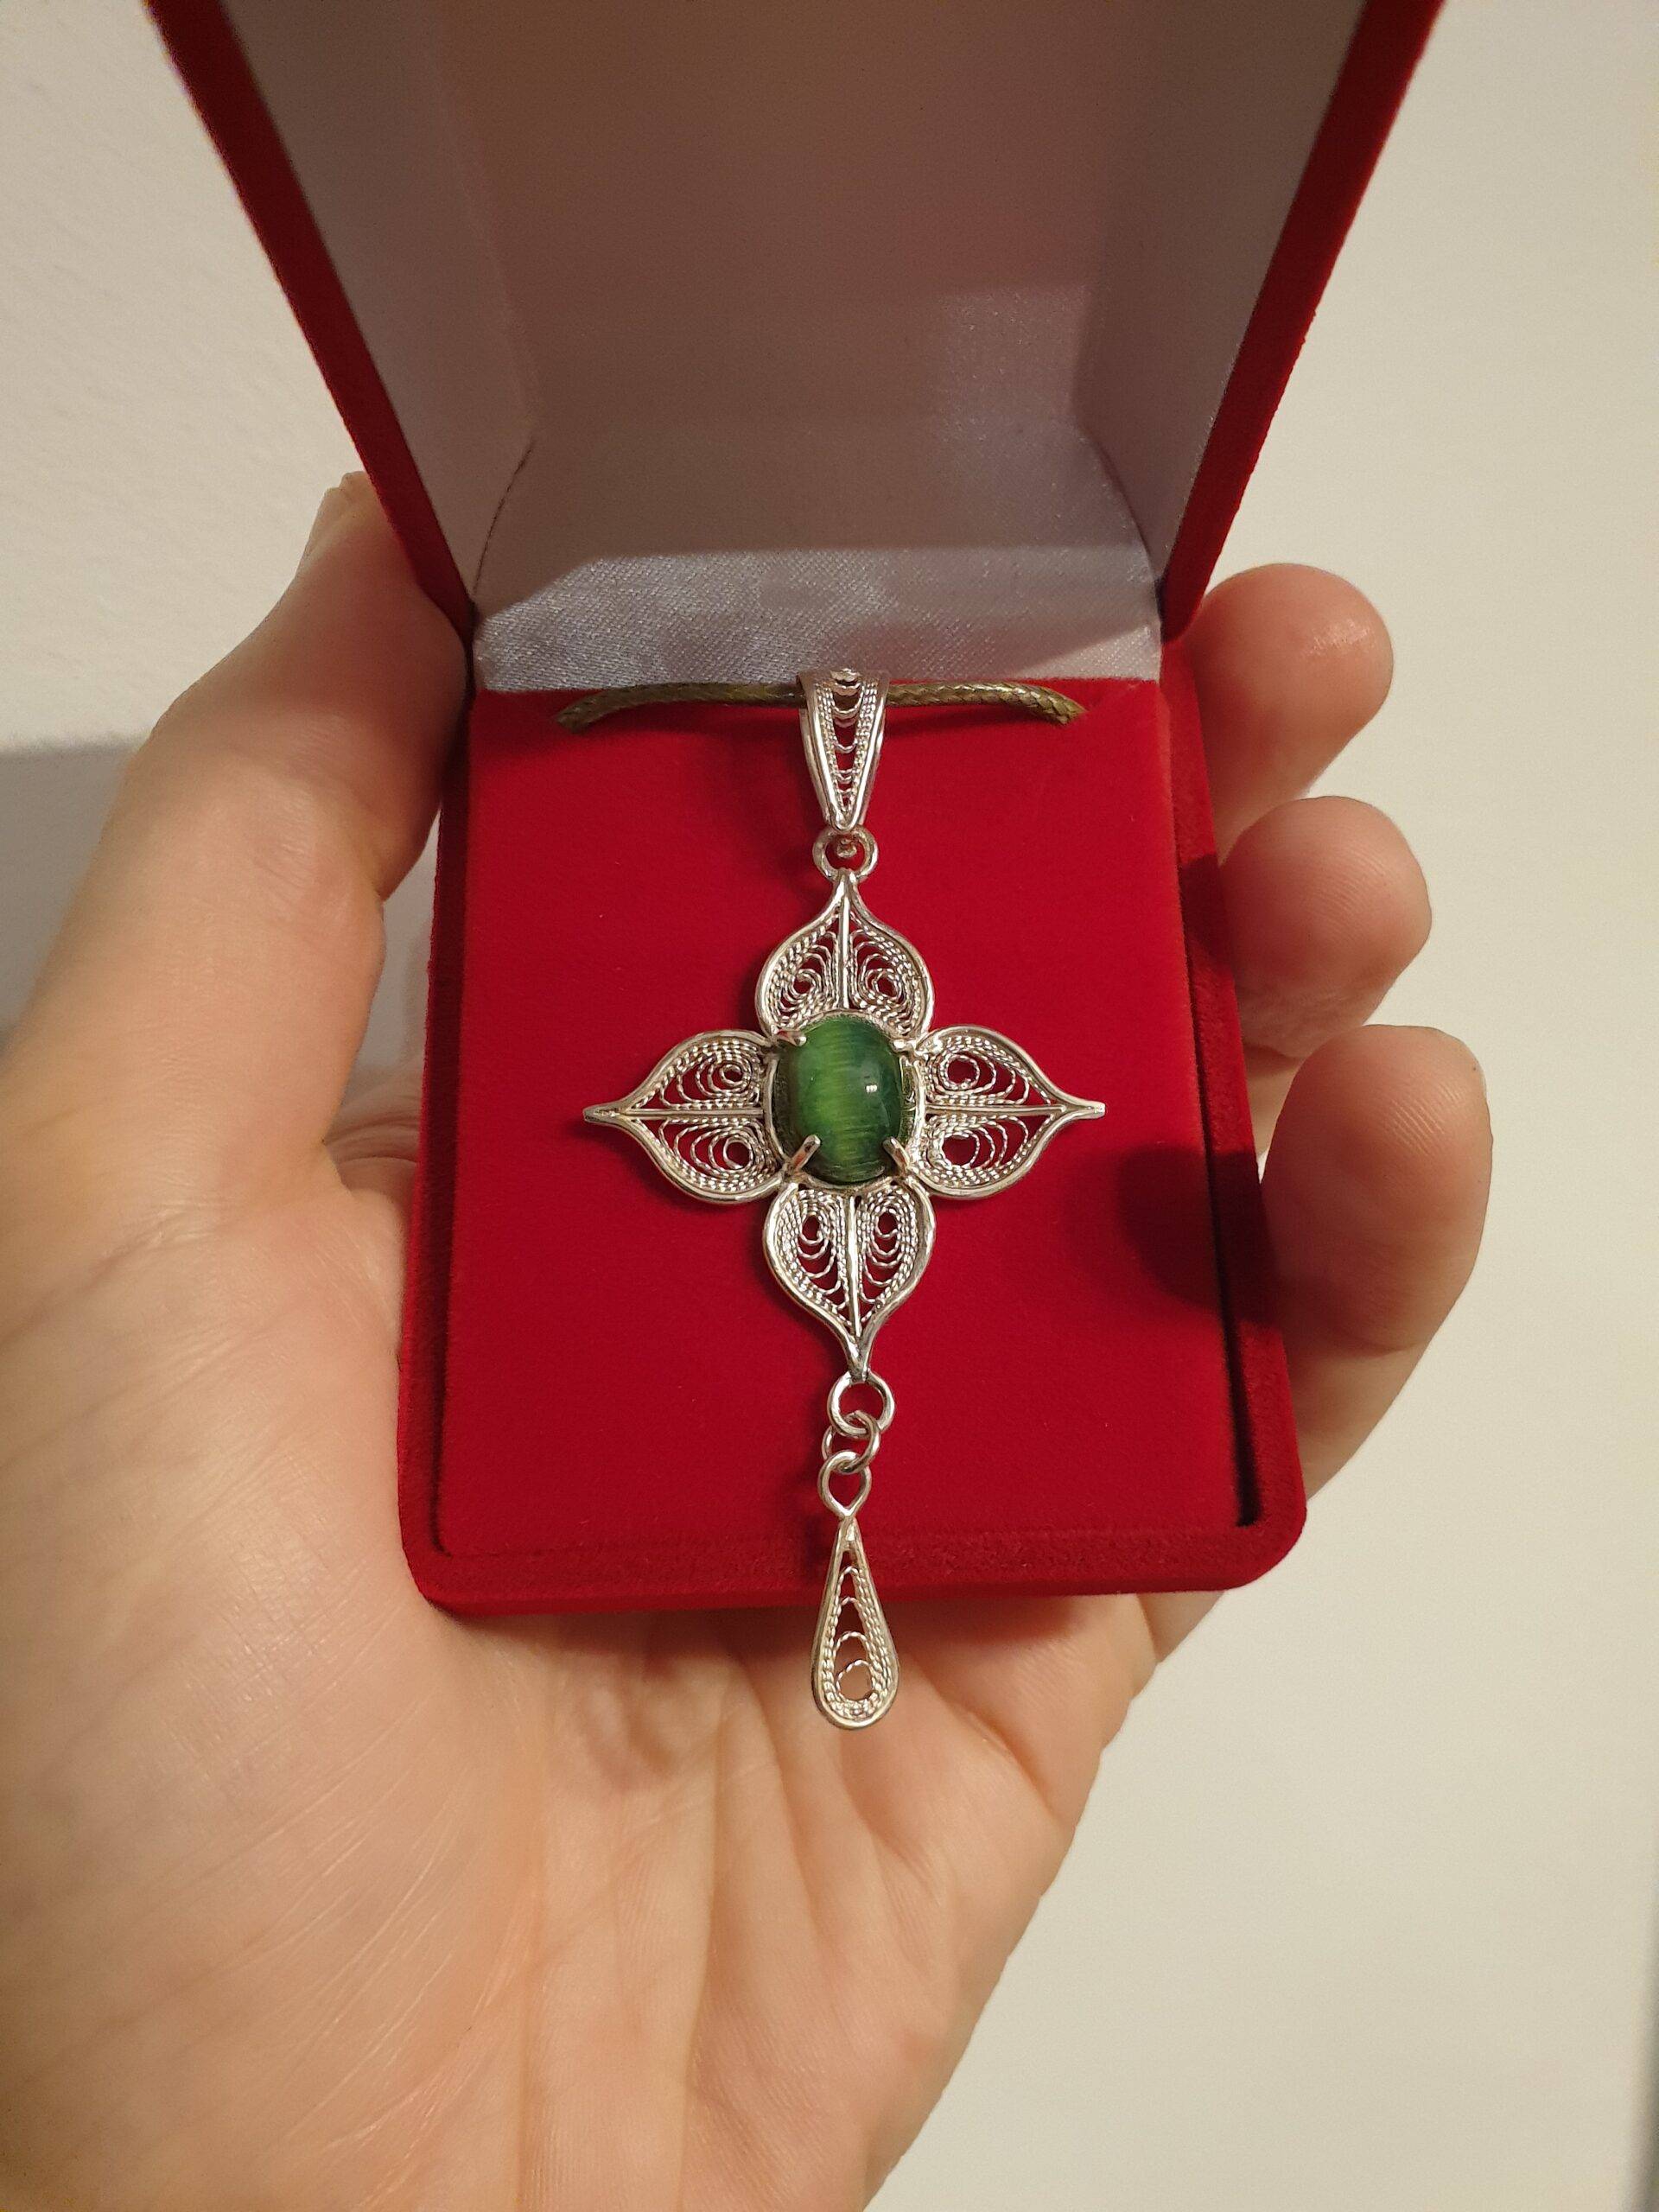
Deadline was approaching fast and I didn’t make any pictures of final polishing stage as a well as stone setting operation. Also my iPhone ran out of space and stopped filming my magic. But in the end the final piece looked really pretty and I’m really proud that I actually pulled it off. Enjoy the video I put together about handcrafting this pendant!
Unfortunately, this item is not available for purchase. If you dream about something similar, please check my Etsy store or contact me through the form or on Instagram and let’s see what I can do 🙂